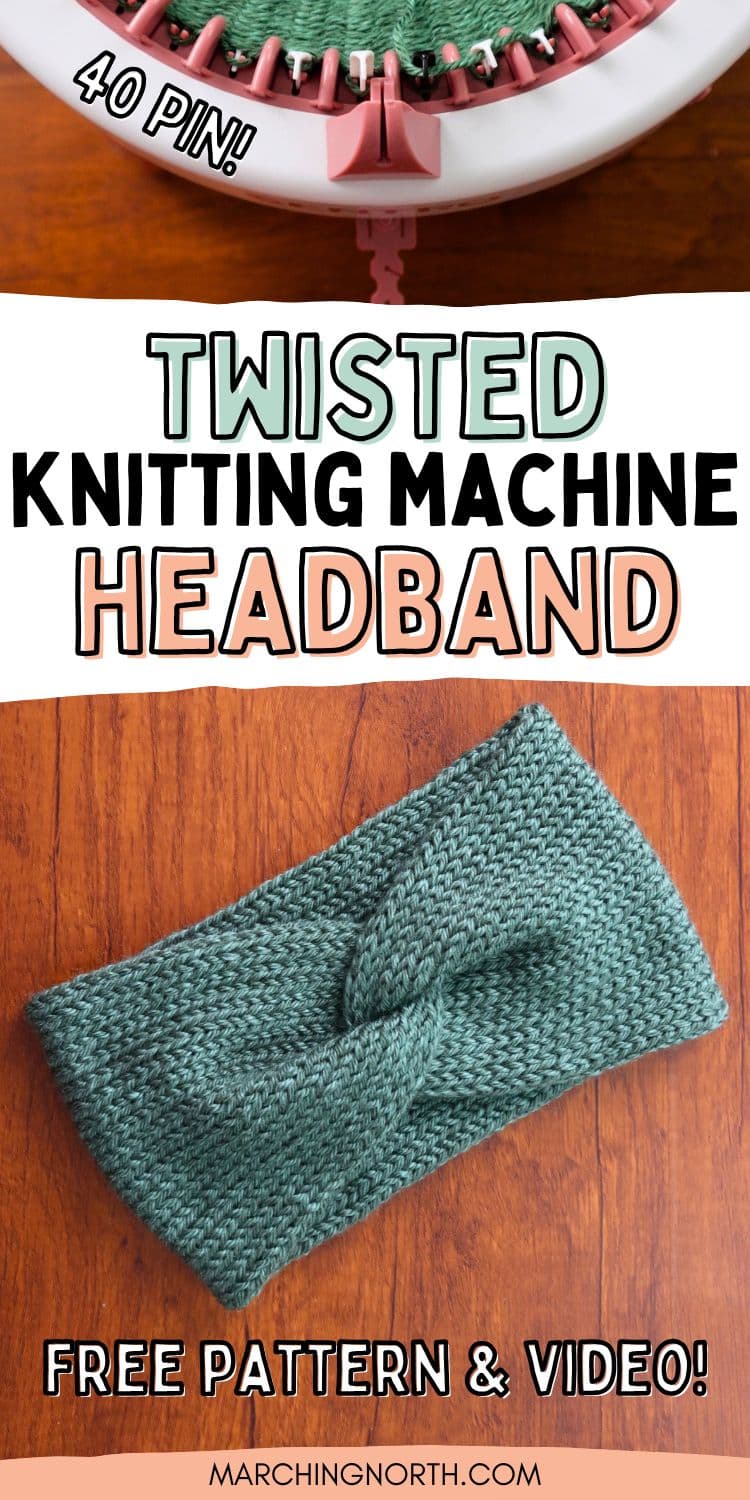
Free Twisted Knitting Machine Headband Pattern (40 Hook Sentro or Addi)
Learn how to make an easy and super cute twisted headband on your 40 hook circular knitting machine in this step by step written pattern and video tutorial!
Don’t forget to pin this for later!
(This post may contain affiliate links. If you click one and make a purchase, I may receive a small commission at no extra cost to you. Read the disclaimer here. Thank you for your support!)
A couple years back I shared a free pattern for a twisted headband using a 48 hook knitting machine, and in this version we’ll be using a 40 hook machine to get a slimmer but equally cozy and awesome headband!
It’s perfect if you have a smaller head, or maybe you just don’t want your whole head to be covered in headband.
This one is wide enough to cover your ears, but not so wide that it feels like a hat with a hole in the top. Lol.
Best Yarn for Knitting Machine Headbands
For this pattern, I used Lion Brand Heartland yarn in the color Rocky Mountains.

If you’re looking for a good yarn to use in your knitting machine, Heartland is a fantastic choice. It’s my go to for knitting machine projects!
This yarn is super soft, comes in beautiful colors, and it flows through the knitting machine easily and smoothly.
You’ll end up with a headband that’s soft, warm, and not even remotely scratchy. It’s got some nice give to it and you can wash it. Win win!
Heartland Yarn by Lion Brand is wonderfully soft and it comes in beautiful colors inspired by national parks and nature. It's 100% acrylic and a great choice for all kinds of projects.
Using Waste Yarn with Your Knitting Machine
For this pattern, we’ll be doing the waste yarn technique at the beginning and end of the headband knitting process.
Doing this makes sure the ends of your knitting look nice and neat, and it’s really easy to cast off and finish the ends of the headband without dropping any stitches.
All you have to do is use waste yarn to knit 5 to 10 rows, switch to your main color, and then switch back to waste yarn at the end for 5 to 10 rows.
You can use any leftover yarn you have that’s the same weight as the main yarn you’ll be using.
We’ll be using medium weight worsted yarn for this headband, so you’ll want your waste yarn to be medium weight as well.
I recommend using a contrasting color so it’s easy to tell which stitches are which. That’ll make the assembly process go a lot smoother!
You won’t need much yarn for the waste yarn, and you can reuse it if you manage to pull it out at the end without having to cut it.
NOTE: In the video, I did 10 rows of waste yarn at the beginning and the end, but you can do just 5 and it’ll work fine.
Supplies You’ll Need
- 1 skein Lion Brand Heartland yarn (Yarn weight: worsted or size 4 medium)
- 40 peg circular knitting machine (mine is a Sentro)
- Yarn needle or tapestry needle
- Crochet hook (5 mm or so)
- Waste yarn in a contrasting color
Finished Size
Adult (about 22″ to 24″ head circumference)
Check out the video tutorial on my YouTube channel Yarn Stash with Marching North, and don’t forget to subscribe!
Step 1: Cast on & first 5 rows
Grab your waste yarn.
Turn the crank of your knitting machine until the first hook is at the front and in the up position. (On my machine the first hook is the black one.)
Wrap the waste yarn around the first hook going to the left. This will be the first stitch.
Start cranking and bring the yarn behind the next hook, in front of the next, and continue going back and forth like that all the way around the machine until you get to the hook just to the right of the first hook.
Make sure the yarn is under the plastic divider that’s between the hooks, and thread the yarn into the yarn holder.
Thread it into the first hole of the tension gauge that’s closest to the machine, and begin cranking the 2nd row.
Knit 5 rows with the waste yarn. Cut the waste yarn and place the end in the center of the knitting machine.
(NOTE: I did 10 rows, but that’s not necessary.)
Step 2: Knitting the headband
Grab the main yarn, place the end in the center of the knitting machine and thread it into the yarn holder and center hole of the tension gauge.
Pinch both pieces of yarn down close to the hooks as you knit the first few stitches. That will prevent dropped stitches.
Knit several stitches, and then loosely tie the waste yarn end and main yarn end together in a half knot.
Continue knitting for 95 rows with the main yarn.
When the headband tube starts to drag on the table, roll it up onto itself so it doesn’t end up all twisted.
Cut the yarn, leaving a long tail. Put the tail in the center of the knitting machine.
NOTE: If you make the yarn tail extra long, like about 24 to 30 inches, you can use it to sew up the headband at the end.
Step 3: Last 5 rows and cast off
Grab another piece of waste yarn and thread it onto the knitting machine just like we did at the beginning of step 2.
Just like we did before, pinch both pieces of yarn down close to the hooks as you knit the first few stitches.
Knit 5 rows.
Cut the waste yarn and put the end in the center of the machine.
Knit 2 more rows with no yarn threaded on. The headband will fall off the hooks on the last row.
Step 4: Closing up the ends
Lay the headband on a table and straighten it out.
Now we’re going to use the crochet hook to close each end of the headband.
Starting on one end, find the side with the end of the main color of yarn sticking out.
Go across to the opposite side and insert your crochet hook under the farthest stitch on this side. You’ll be working under the first row of stitches of the actual headband.
Just ignore the loops of the waste yarn, we’ll remove those in a minute.
So at this point you have the hook under the stitch on the end. Insert the hook in the next stitch over on the left of the one you currently have on your hook.
Pull that loop through the first loop.
Insert your hook in the next stitch on the right side this time and pull it through the loop.
Continue going back and forth down the row like this to close up the end.
Once you have all the loops sewn up, pull the yarn end through the last loop to finish this side.
You’re going to do the exact same thing on the other side of the headband tube.
Once you get both ends closed up, you can remove the waste yarn.
On one end, you can just pull the yarn tail and it’ll start coming right out.
On the other end, you’ll need to pull the yarn tail out from all the loops of the first row, and then it’ll start to unravel like the other side.
Step 5: Sewing the ends into a twist
Lay your headband out on your work surface. If you left a long tail to sew this part up with, thread it onto your yarn needle and you’ll want the long tail of yarn to be on the bottom left corner.
I just used a new piece of yarn to sew mine up, so you don’t have to worry about which corner is where if you’re using that method.
If you are using a new piece of yarn, go ahead and cut a piece about 30 inches long and thread it onto your yarn needle.
Fold the left side of the headband into a C shape.
Take the right side and insert the bottom into the “mouth” of the C shape. Wrap the top around the top of the C.
Now you’ll have a 4 layer thick sandwich to sew through.
Start on the end the yarn is coming out of and sew upward through all 4 layers.
Then move a little bit to the left and sew down through all the layers.
Continue sewing up and down as you go across and make sure you go through all 4 layers with each stitch.
When you reach the end, tie a couple of knots to secure the yarn.
Step 6: Finishing
Use your yarn needle to weave all the tails into the inside of the two layers of the headband.
Cut the excess yarn and stretch the headband a bit so the tails disappear inside.
Turn it right side out and it’s ready to go!
In Conclusion
I hope you enjoyed this fun and easy knitting machine headband pattern!
Looking for more projects to make? Check out these ones!
Hello. I have just discovered you & your wonderful tutorials. Thank you. The detail & photographs are quite grand. I have a 48 pin Sentro that I have been working with since January & an unopened 40-pin Sentro; now I have a pattern to begin the smaller one with. Thank you. What fun! Two things: it is amazing how quickly a hat can be cranked out & then how long it can take me to do the finishing. I have a standing order from a school system nearby for 70 hats at the end of this month & I am on schedule. Thank goodness.
And thank you for all of your sharing. pj stitches!