How to Crochet the Spider Stitch (Written Pattern & Video!)
Learn how to crochet the spider stitch in this step by step tutorial and video!
I’ll show you how to create this easy stitch pattern in the written pattern below and in a video tutorial as well.
The spider stitch is easy enough for beginners, because you only need to know a few simple stitches!
Want to remember this? Post this Crochet Spider Stitch tutorial to your favorite DIY Pinterest board!
(This post may contain affiliate links. If you click one and make a purchase, I may receive a small commission at no extra cost to you. Read the disclaimer here. Thank you for your support!)
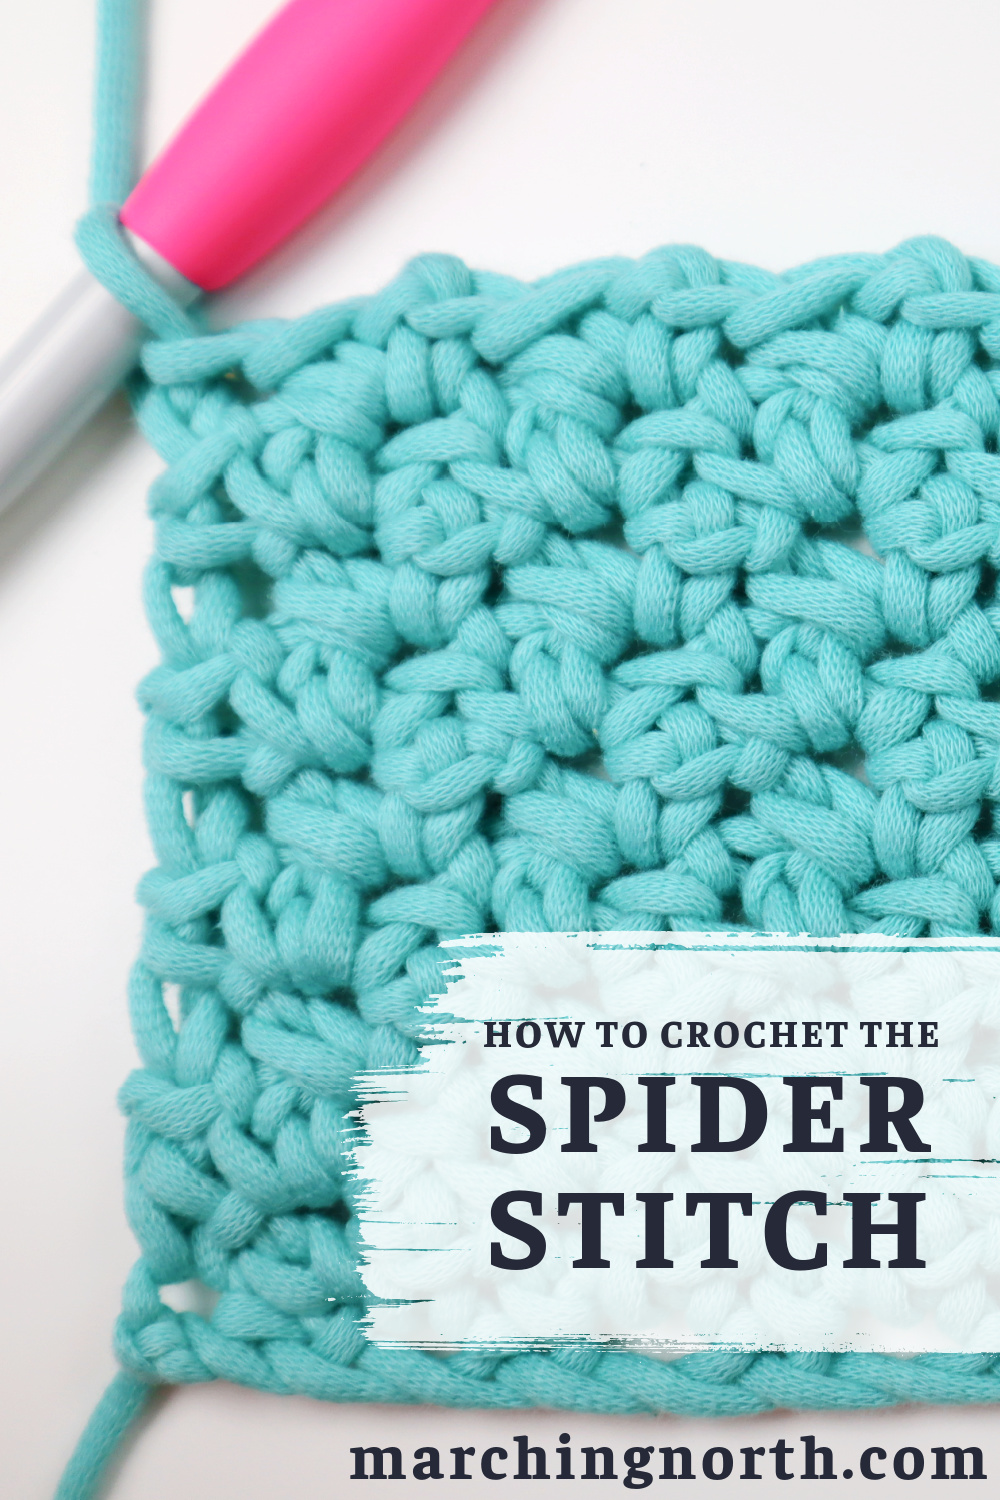
The spider stitch is a single row repeat, which means each row you just repeat the same process over and over.
I love patterns like that because you can get into mindless crochet mode and not have to worry about counting or remembering what row your on.
It’s basically done the same way as the V-Stitch, but you’ll be doing single crochet instead of double crochet. So, you can think of it as a single crochet v-stitch.

How to Crochet the Spider Stitch for Beginners
To make the spider stitch, you’ll need to know the following crochet skills:
- chain
- single crochet
Pretty easy, right? Here are a couple of extra tips that will make this stitch go nice and smoothly:
- Work your foundation chain a little looser than normal. You can go up a crochet hook size if you want just for the foundation row, and then switch to the recommended size for your yarn to complete the rest of the rows.
- If you have a hard time finding the turning chain to work into at the end of the row, try placing a marker in the turning chain at the end of each row.
- At the very beginning, we’ll skip the first chain and the second chain and work into the third chain from the hook. You can place a stitch marker in the second stitch to help you see where to make the last sc of row 2 if you want.
Projects You Can Make with the Spider Stitch
This stitch is great for projects that need a nice, sturdy stitch but could use a little extra texture and a pretty pattern.
Crocheted dishcloths, hand towels, hot pads, trivets, or coasters definitely work well with the spider stitch, and you could also use it for blankets, scarves and hats.
It’s a versatile stitch and since it’s so easy to make you can test it out with lots of different projects!
Spider Stitch Pattern & Tutorial
Check out the video tutorial for this crochet stitch over on my YouTube channel, Yarn Stash with Marching North, and don’t forget to subscribe!
Abbreviations
Ch = chain
Sc = single crochet
St = stitch
Pattern is in US terms.
Skill level = beginner
Supplies You’ll Need
In this sample, I’m using Bernat Home Dec yarn and a size 8.0 mm Clover Amour hook.
You can use any yarn for this pattern with the appropriate hook size for that yarn.
A yarn with lots of definition will show off the pretty texture the best.
Foundation Row
Make an odd number of chains.
Row 1
In the 3rd ch from your hook make (1 sc, ch 1, 1 sc).
*Skip the next ch, and in the next make (1 sc, ch 1, 1 sc).
Repeat from * to the last 2 chains.
Skip 1 ch and make 1 sc in the last ch.
Ch 2, turn.
Row 2
Make (1 sc, ch 1, 1 sc) in the first ch-1 space from the previous row. It’ll be right in the middle of the first sc V.
Continue making (1 sc, ch 1, 1 sc) in each ch-1 space down the row.
At the end of the row, make 1 sc in the top of the turning chain.
Ch 2, turn.
Repeat row 2 for as many rows as necessary
In Conclusion
I hope you enjoyed this crochet spider stitch tutorial!
Looking for another crochet pattern or project to try? Check out these free patterns and posts from my site!
Thank you for this tutorial. The instructions + photos are clear and easy to understand. Also; thank you for the tips. I will try the larger hook for the foundation row and the stitch markers for the turning chain–maybe I will actually have straight edges on this project. :] I’m going to make a dishcloth first and then on to bigger things if it goes well. …but not too soon; when the sun is shining on the deck and there is no wind I just want to be like the cats, snoozing in the sun. I’m ready for spring!