Perfect Granny Square Crochet Pattern (Free Pattern & Video!)
Looking for a classic, polished and easy granny square pattern? Well, you’ve come to the right place my friend!
This is the updated version I now use for all my blankets and granny square projects. And I feel like it’s perfect and awesome and I highly recommend.
Here’s what makes this version different from your average granny square tutorial:
- We’ll do a different color for each round (OK this part is not that different, lol)
- a standing double crochet to start each new color (so there’s no chain-3 bump from round 2 onward)
- and an invisible join to close each round without a visible edge bump.
Stack those things together and you get a square that’s almost suspiciously seamless-looking.
The result is a super clean, polished square that honestly makes your finished project look like you’ve been doing this for years.
Even if you’re brand new to granny squares, don’t worry. I’ve got a full video tutorial to walk you through it!
Don’t forget to pin this for later!
(This post may contain affiliate links. If you click one and make a purchase, I may receive a small commission at no extra cost to you. Read the disclaimer here. Thank you for your support!)
This pattern makes a classic 5-round granny square.
You can stop at any round depending on how large you need your squares, or keep going past round 5 using the same logic – every round just adds one more group of side clusters.
Below you’ll find the full written pattern, plus notes on materials and a few tips that’ll make the whole process way smoother.
Let’s make some squares!
Grab the FREE printable PDF pattern for instant download below!
Best Yarn for Granny Squares
For granny squares, I recommend a smooth, medium weight (size 4) yarn.
Smooth yarns make it much easier to work into the stitches and see what you’re doing. Fluffy or textured yarns can be frustrating, especially when you’re learning.
I personally love acrylic for blanket squares because it’s washable, durable, and comes in a million colors. But wool is also awesome, and superwash is washable!
Here are some of my favorites:
- I Love This Yarn! from Hobby Lobby (easy to find, loads of gorgeous colors)
- Lion Brand Pound of Love (great for big blanket projects)
- Paintbox Simply Worsted Superwash Wool (a great option for bold solid colors)
How much yarn will you need for a square?
That depends on your hook size and what size yarn you’re using, but a single 5-round square with worsted weight uses roughly 15–20 yards total across all five colors.
Pattern Information
- Skill Level: Confident beginners
- Pattern written in US terms
- Finished Size: Approx. 5 inches across with a 5.5 mm hook and worsted weight yarn
Supplies & Materials
- Yarn: worsted weight (size 4) yarn in 5 colors (or however many colors you wish)
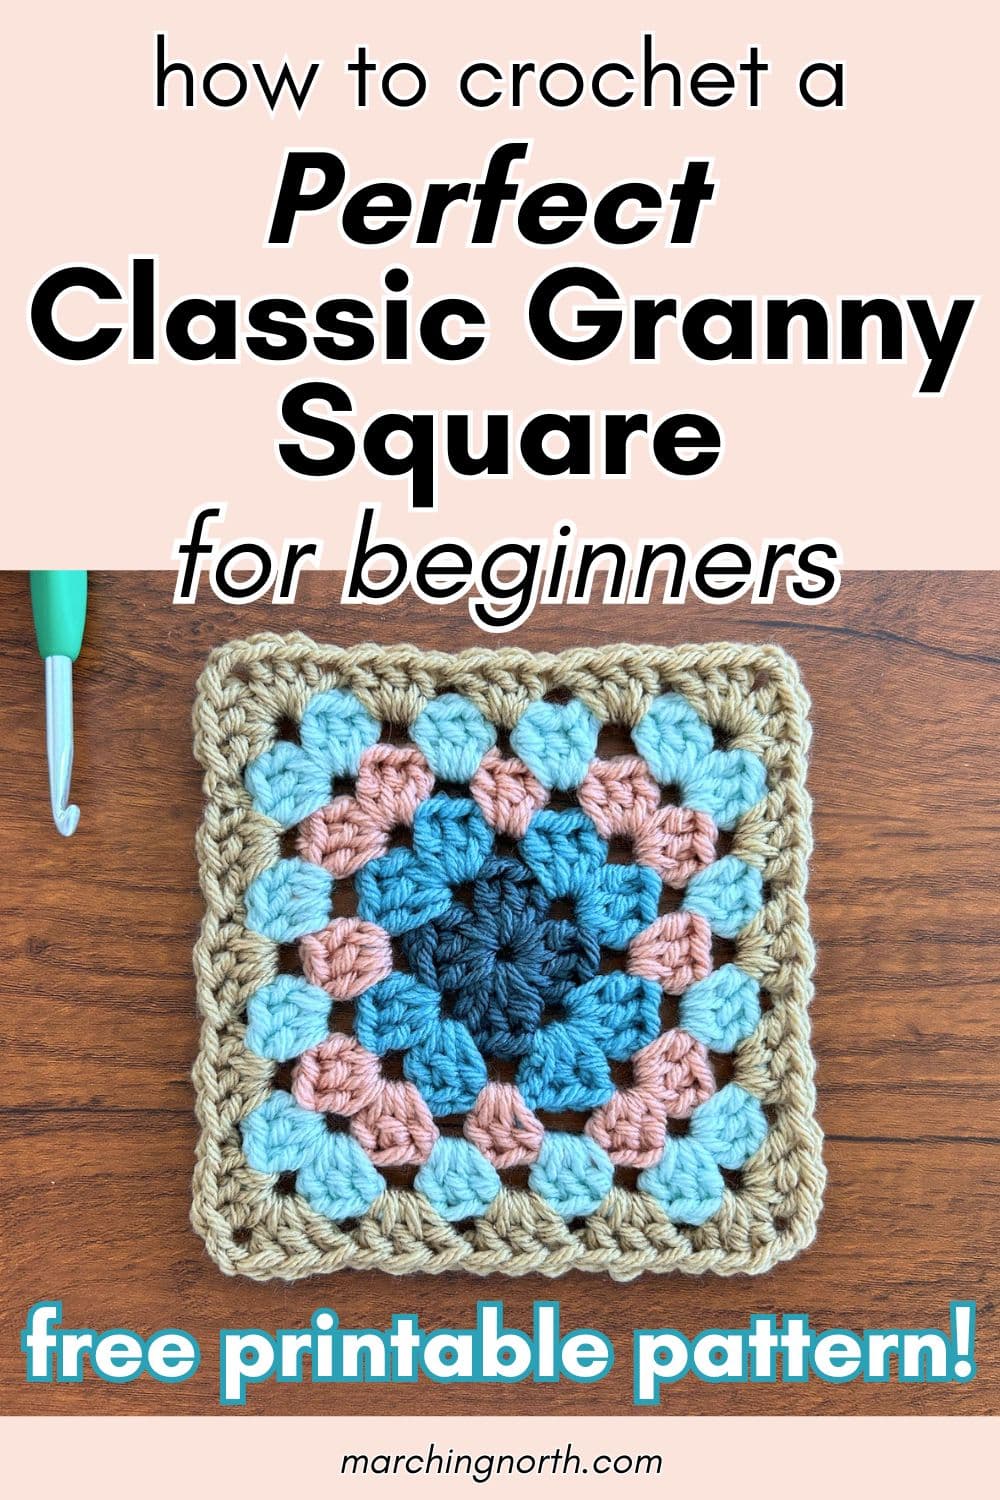
- Color A: Blue Spruce
- Color B: Sea Blue
- Color C: Cherry Blossom
- Color D: Glacier
- Color E: Light Taupe
- Hook: 5.5 mm crochet hook
- Notions:
- yarn needle (linked ones are nickel free and include a bunch of needle sizes!)
- scissors (these thread snips are titanium coated, so if you have a nickel allergy like me, these are awesome and don’t make you break out!)
- stitch markers (optional) – you can use these to mark the corners, which is helpful for beginners
Gauge
After 5 rounds, square should be approx. 5” across.
Gauge isn’t critical for this pattern unless you’re trying to match squares for a specific project size.
For blankets, consistent gauge between squares matters more than hitting a specific measurement. Just use the same hook and yarn throughout.
Abbreviations
- ch(s): chain(s)
- st(s): stitch(es)
- sl st: slip stitch
- dc: double crochet
- sdc: standing double crochet
- sp: space
- rep: repeat
- FO: finish off (cut yarn, pull yarn tail through last loop on hook and pull to tighten)
- IJ: invisible join – how we’ll join the last stitch of the round to the first one so there isn’t a bump
Special Stitches
Standing Double Crochet
A standing double crochet lets you join a new color and start crocheting without needing to chain up first. It creates a neater join that blends right in.
How to do it: Holding the yarn tail against the handle of your crochet hook, wrap the working yarn around the hook twice, coming up and over the top of the hook toward you…

hold those 2 loops in place by resting your finger on top of them, insert hook into indicated space…
yarn over and pull up a loop, place your finger over all loops…
yarn over and pull through two loops, yarn over and pull through remaining two loops.
Invisible Join
The invisible join is used at the end of each round to close your work without the visible bump of a slip stitch join. It’s done with a yarn needle after you finish off.
How to do it: Cut your yarn, leaving a tail of about 6 inches. Pull the last loop on your hook all the way out to “lock” your stitch.
Thread the tail onto a yarn needle. Insert the needle under both loops of the second dc of the round going from front to back. (Depending on which round you’re doing, the ch-3 or standing double crochet counts as the first dc, so insert under the two loops at the top of the stitch just to the left of that).
Pull yarn through. Then insert the needle down through the center of the last dc you made, where the yarn tail is coming out.
Pull through and adjust the tension to match your stitches. Weave in the tail really well on the back side of the square to secure.
(You might want to watch this part in the video – it’s one of those things that’s way easier to see than to read!)
Weaving In Ends As You Go
I highly recommend weaving in your yarn tails at the end of each round rather than waiting until all your squares are done.
Trust me on this one. The more you put it off, the more it becomes its own separate, not very fun project.
Video Tutorial
Here’s the video tutorial for this crochet pattern, and be sure to subscribe to my YouTube channel so you don’t miss any new videos!
Instructions
Starting Ring
With Color A: Ch 4, sl st into first ch to form a ring.
Round 1
Ch 3 (counts as first dc), 2 dc into ring, *ch 2, 3 dc into ring*; repeat from * to * 2 more times, ch 2.
FO and do an IJ (see Notes). Weave in ends.
Round 2
With Color B: Join with a standing dc into any ch-2 corner space, 2 dc into same corner space, ch 2, 3 dc into same corner space (first corner made), *3 dc, ch 2, 3 dc all into next ch-2 corner space*; repeat from * to * 2 more times.
FO and do an IJ. Weave in ends.
Note: There are no side spaces in Round 2 – you go straight from corner to corner.
Round 3
With Color C: Join with a standing dc into any ch-2 corner space, 2 dc into same corner space, ch 2, 3 dc into same corner space (first corner made), *3 dc into next side space, 3 dc, ch 2, 3 dc into next corner space*; repeat from * to * 2 more times, 3 dc into last side space.
FO and do an IJ. Weave in ends.
Rounds 4 and 5
Each additional round follows the same logic: work 3 dc into every space along each side (corners and sides), and 3 dc, ch 2, 3 dc into each corner space.
And like before, start each round with your standing dc.
- Round 4: Start with Color D. For this round you’ll have 2 side clusters on each side between corners.
- Round 5: Start with Color E. For this round you’ll have 3 side clusters on each side between corners.
To continue past Round 5, just keep going – each round adds one more side cluster per side.
FO and do an IJ. Weave in ends before starting the next round.
In Conclusion
I hope you love this granny square as much as I do!
The invisible join and standing double crochet take a minute to wrap your mind around, but once it clicks, you’ll never want to go back to the regular old granny square method. It just makes everything look so much cleaner.
If you make some granny squares following this pattern, I’d love to see them!
Tag me on social media or share a picture of your makes in the Yarn Stash Facebook community!
Looking for more crochet fun? Check out these recent posts!