How to Hand Knit a Chunky Ribbed Blanket (Free Pattern & Video!)
If you’ve been craving a big, chunky blanket project that doesn’t take a million years (or any needles), you’re in the right place.
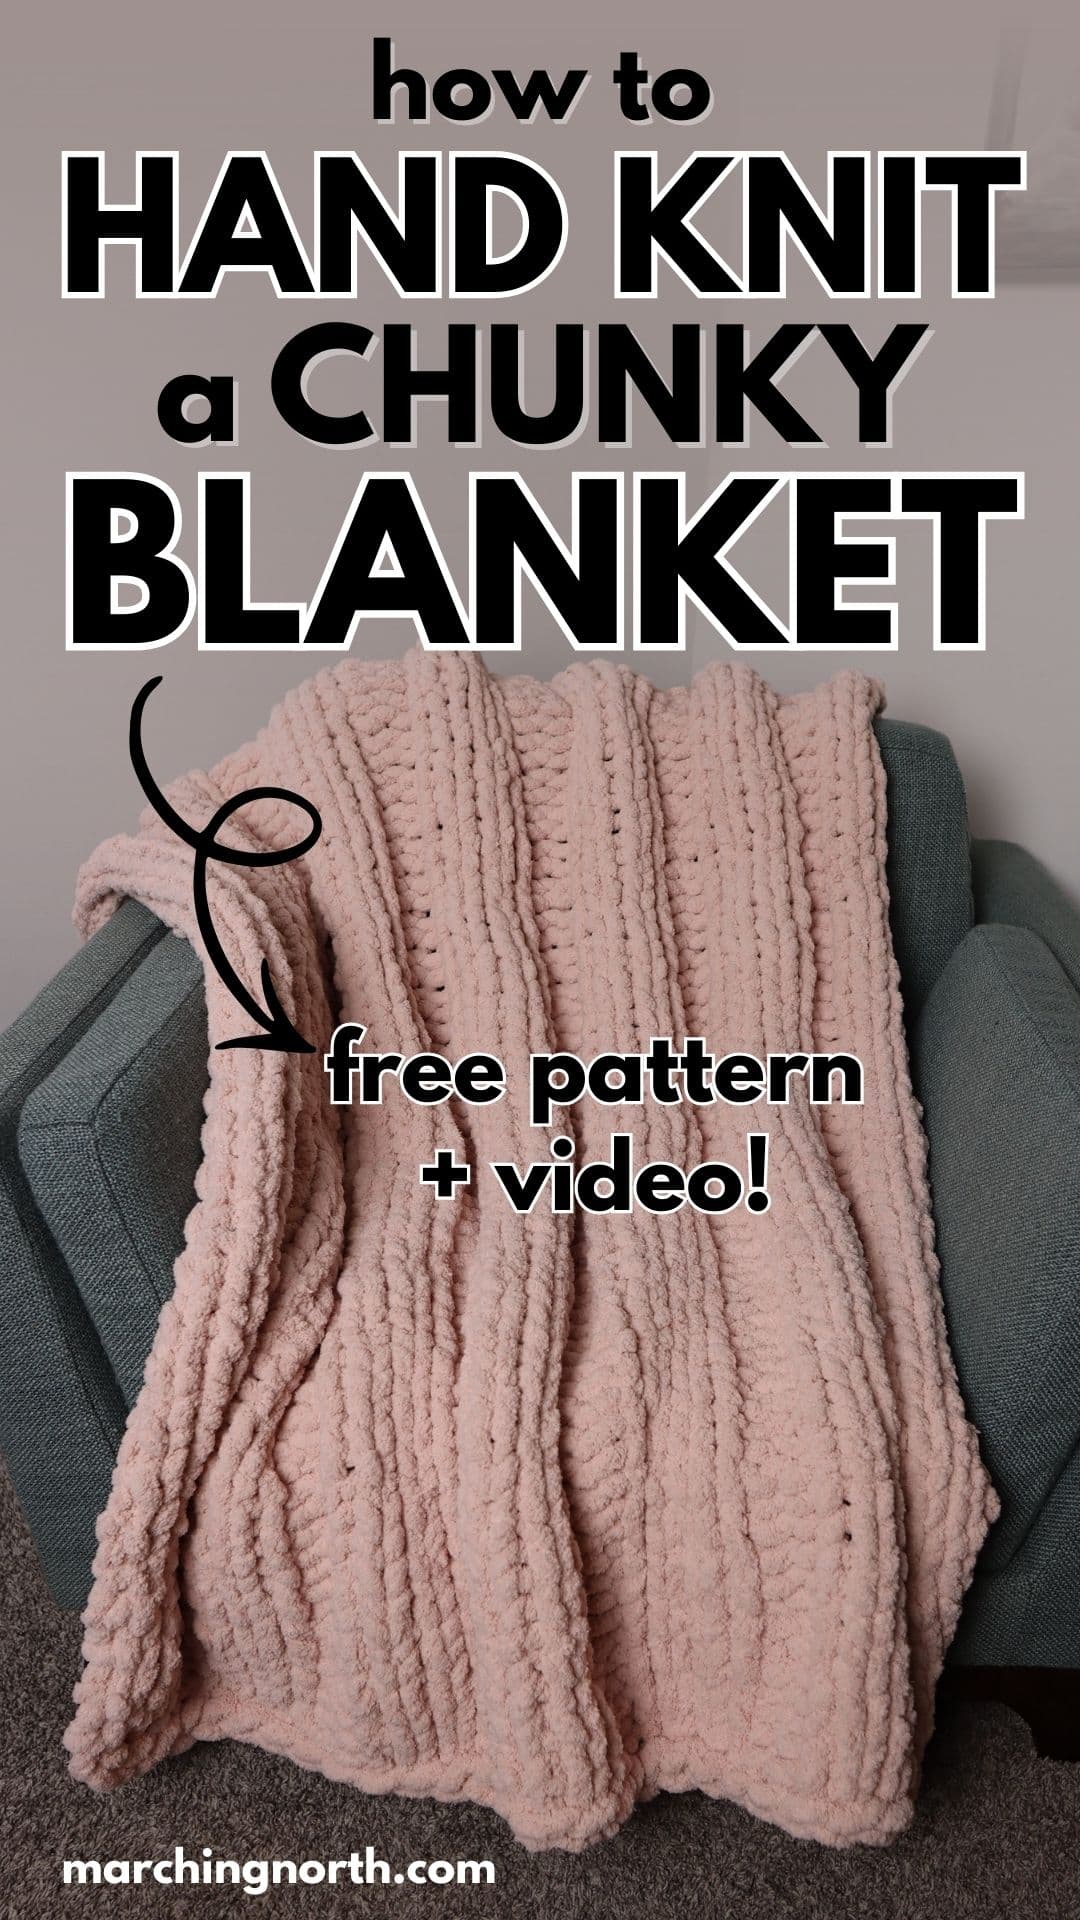
This finger-knit ribbed blanket is quick, cozy, and totally addictive to make.
Don’t forget to pin this for later!
(This post may contain affiliate links. If you click one and make a purchase, I may receive a small commission at no extra cost to you. Read the disclaimer here. Thank you for your support!)
I love this one because it looks fancy and textured, but it only uses the knit stitch and the purl stitch… nothing complicated, nothing fussy.
And the best part? You can finish this blanket in a day. Seriously. It’s the kind of project you can start in the afternoon, work on while binging your favorite show, and have it done before bedtime.
This ribbed design works beautifully with super chunky chenille yarn, giving you that soft, squishy, giant-cozy-hug vibe that we all need more of in life.
If you’re new to finger knitting (or hand knitting), don’t worry. I walk you through everything step-by-step. Once you get the hang of it, it’s smooth sailing and super satisfying.
Ready to make a blanket you’ll want to wrap yourself in immediately? Let’s get started!

Buy the PRINTABLE copy
Chunky Ribbed Finger Knit Blanket – Printable PDF Pattern!
Reference this pattern any time you want with the printable PDF version!
It’s ad-free, and includes the written pattern with step by step photo tutorial!
More Free Jumbo Yarn Patterns
Check out these other free BIG yarn patterns available on my website:
- How to Finger Knit a Chunky Blanket Fast! (for Beginners)
- Easy Round Finger Knit Throw Pillows (Free Pattern!)
- Chunky Square Finger Knit Pillow (Free Pattern!)
- Cozy Free Crochet Pillow Cover Pattern (Removable!)
- Free {Super Bulky} Crochet Throw Blanket Pattern
Chunky Ribbed Finger Knit Blanket – Tutorial
Supplies You’ll Need
- 7 skeins of jumbo [size 7] yarn (I used Bernat Blanket Big)
- sharp scissors
Notes
- Difficulty Level: Super Easy
Finished Size
- Throw blanket, approx: 52″ x 64″
Video Tutorial
Check out the tutorial video for this project on my YouTube channel, and don’t forget to subscribe!
Instructions
Foundation Chain:
Start by making a slip knot in the end of your yarn.
Loop the yarn around your hand, then reach you fingers under the yarn on the back of your fingers, grab the yarn and pull up a loop.
Slide your fingers out of the loop, then pull on the loop and both ends of the yarn to tighten up the knot.
Adjust the loop so it’s about 2 inches long.
NOTE ABOUT LOOP SIZE: I’ve found it’s best to keep your loops a little on the smaller side. The finished blanket ends up way nicer if the loops are 2 inches or slightly less than 2 inches.
It’s better to err on the side of smaller loops if you aren’t sure! Otherwise it ends up looking stretched out and holey.
Step 2: Make the foundation row
This part is just like doing a crochet chain, except you’re using your fingers instead of a hook.
Stick your fingers through the starting loop, and grab the yarn.
Pull through a loop that’s the same size as the starting loop.
That’s your first chain.
Keep doing that until you have a total of 33 chains.
Step 3: Knitting the Blanket
Now it’s time to start knitting!
First Row
Lay your working yarn above your chain and run the yarn all the way across the row to the left.
Starting with the last chain you made, pull a loop through the chain. Make it the same size as the chains you just made. (About 2 inches.)
That’s your first knit stitch. Make a knit stitch in the next 2 chains.
Now for the next 2 stitches we’re going to be doing a purl stitch.
All you have to do for that is lay the working yarn on top of the chain, then reach your fingers through the chain from the back side, grab the yarn and pull up a loop.
Repeat that for the next chain (2 purls made).
For the next 3 stitches, you’ll knit.
And then for the next 2, you’ll purl.
Repeat that going down the row, knit 3, purl 2. You’ll end the row with 3 knit stitches.
Row 2 and Onward
Now you’re going to go back the other way for row 2.
You’ll do everything the same way, just going in the opposite direction.
So start with 3 knit stitches.
Then do 2 purl stitches.
And repeat that down the row. Every row will begin and end with 3 knit stitches.
Pretty soon you’re going to run out of yarn, so next up I’ll show you how to add on a new skein.
Adding On Yarn When You Run Out
For this blanket, I used the magic knot method to join on yarn. It’s pretty easy and secure.
There’s also another way you can join yarn for these super chunky blankets- it involves a lighter and it’s the method I used in this finger knit blanket tutorial if you’re interested.
Instructions
Lay your first yarn tail (the one that just ran out) in front of you…
then grab the tail of your new skein of yarn.
Take the new skein and tie it around the old yarn tail, sorta close to the base, or where it’s coming out of your blanket.
Now, take the end of the OLD yarn tail and tie it around the NEW yarn tail. This knot will be closer to the skein than the first know was.
Now you’ll have 2 knots and a bit oval of yarn tied together.
Pull on the old yarn and the new yarn on either side of the knots until the two knots slide together in the middle.
Give it a good tug so they’re really mashed together (but don’t pull so hard that you snap the yarn.)
Now grab your scissors and cut the yarn tails off right next to the knot. Don’t worry, it won’t come undone. (That’s the magic! lol)
The knot is kinda huge at this point, but since this is super fluffy chenille yarn, we can give it a haircut.
Carefully cut the excess fluff off of the knot, being careful NOT to cut the inner cord that actually holds the yarn together.
Give the knot one more tug to make sure it’s good, and if so, yay! It’s time to keep on knitting.
(If you do accidentally cut the inner cord and the knot comes apart, don’t worry, you can just do it over again. It happens to me sometimes, too.)
The knot will blend in with the rest of the blanket, and there’s a good chance you can get it to land on the back side of the blanket where you really won’t ever see it.
Now that you know how to add on yarn, just keep knitting your blanket until you get to your last skein and you have a ball of yarn about as big as a softball left.
Now it’s time to do the finishing off row!
Finishing Off Row (or Casting Off)
It doesn’t matter if you start on the left side or the right side, it’s the same process either way. (You’ll just be going the opposite direction.)
I’m starting over on the right side.
Pull up the last knit stitch you made to make it a little bit larger than usual.
Then lay that stitch on top of the the next stitch over. Stick your fingers through both stitches and pull up another slightly larger loop.
Lay the loop over the next stitch and repeat. You’ll do this for every stitch across, and you do it the same way for knit stitches and purl stitches.
Once you get to the last stitch and you only have one loop left, cut the yarn leaving a tail about 7 or 8 inches long and pull it through the loop. Pull it to tighten up the knot.
All that’s left to do now is weaving in the yarn tails at the beginning and end of your blanket.
And now your cozy hand knit blanket is ready to go!
Stitch Multiple for Different Blanket Sizes
To make this blanket wider or narrower, use a stitch multiple of 5 + 3.
The rib pattern repeats 3 knit, 2 purl across the row and always ends with 3 knit stitches.
For example, the sample blanket uses 33 stitches (6 repeats of 5 stitches, plus 3).
So all you have to do is figure out a number that’s a multiple of 5, then add 3 to it and that would be how long your starting chain would be. Easy peasy!
In Conclusion
I hope you enjoyed this hand knit chunky ribbed blanket pattern! I’d love to see how your blanket turns out- be sure to share it with me on Instagram!
Looking for more yarny projects to try?
i really like your video , well explained