How to Hand Knit a Cozy Square Pillow (Free Pattern & Video!)
If you’ve been wanting to make your own chunky pillow but don’t have knitting needles, this finger knit pillow cover is the perfect place to start.
With just your hands and some soft jumbo yarn, you can create a beautiful square (or rectangular!) pillow cover that looks store-bought but takes hardly any time to make.
It’s a simple, cozy DIY that’s beginner-friendly and super satisfying to finish!
Don’t forget to pin this for later!
(This post may contain affiliate links. If you click one and make a purchase, I may receive a small commission at no extra cost to you. Read the disclaimer here. Thank you for your support!)
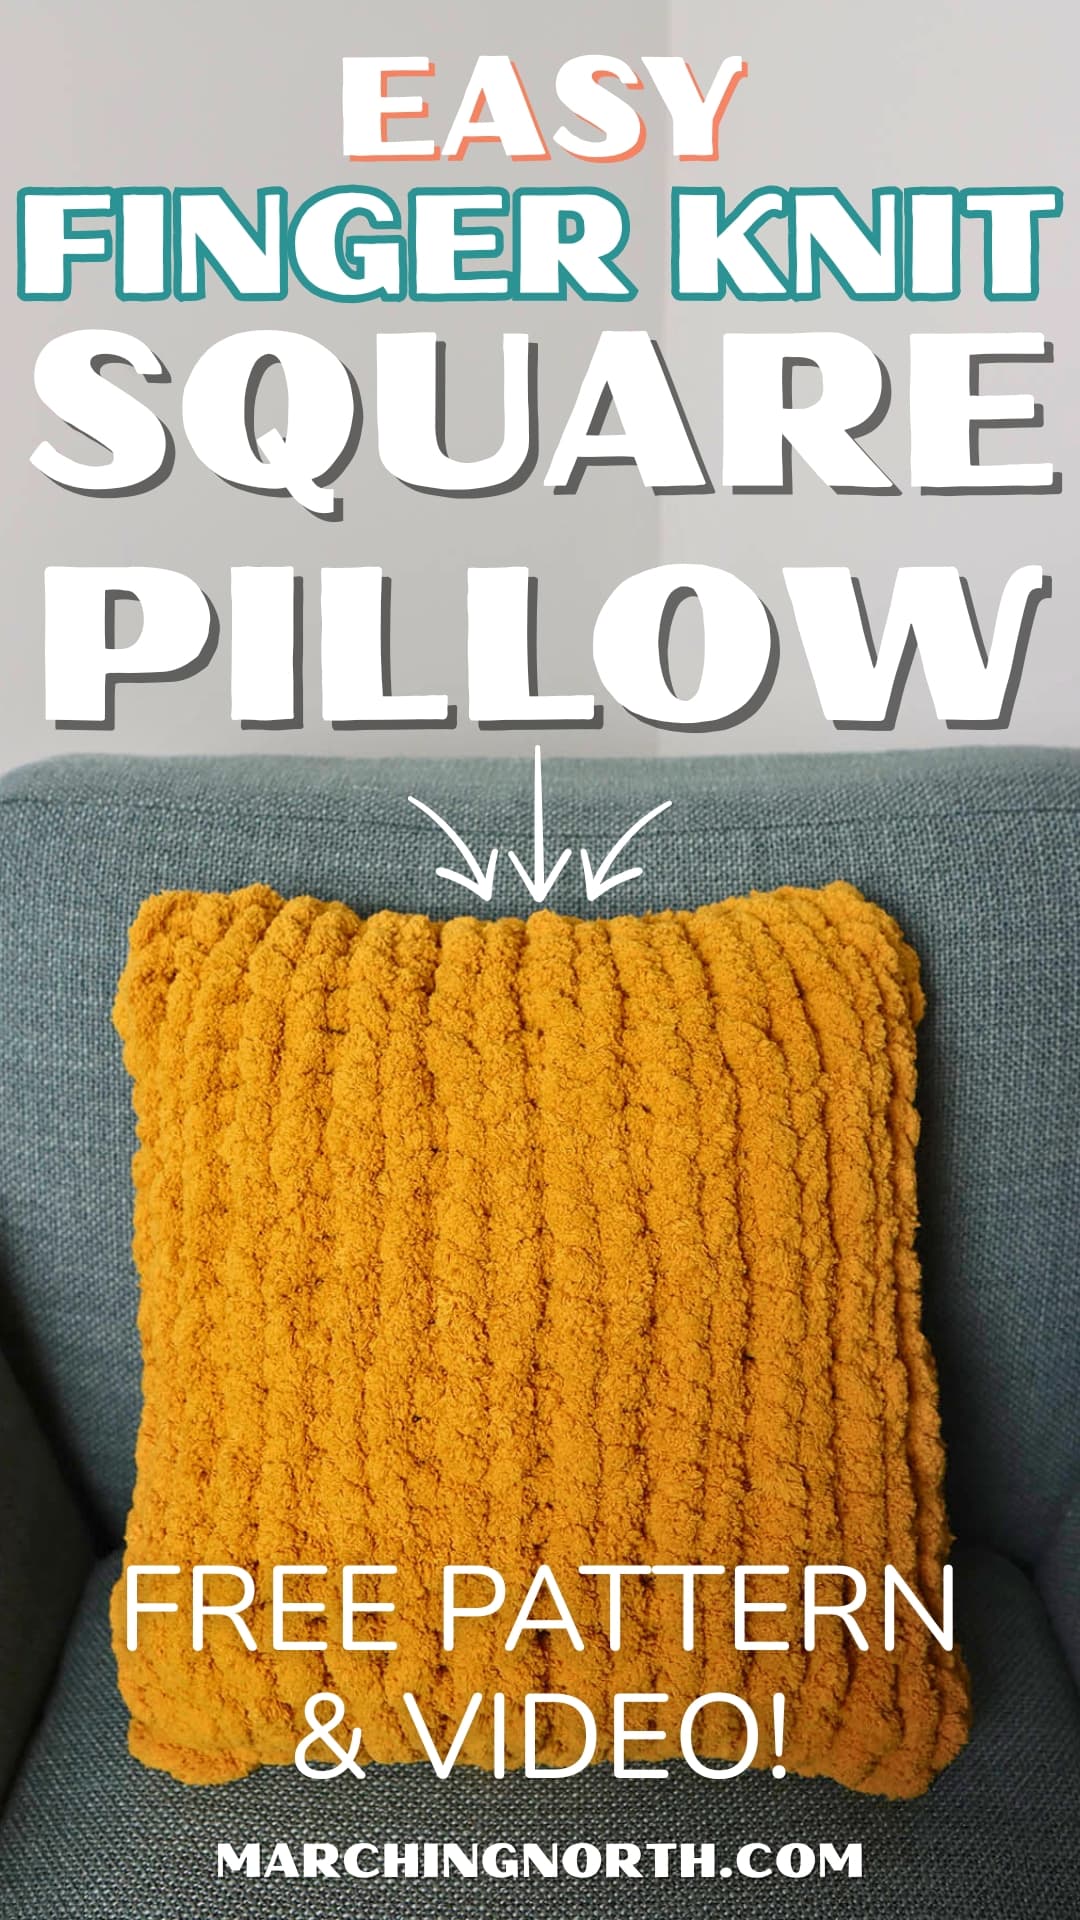
For my 18″ x 18″ throw pillow, I used about two skeins of jumbo yarn (just part of the second one) and it worked up in an evening.
You can easily adjust the size depending on the pillow form you’re using, and since there’s only one seam to close, you don’t have to sew a thing.
This easy finger knitting project adds instant texture and warmth to your home, and it’s a fun way to make custom throw pillows in your favorite colors.
Below you’ll find the free finger knit pillow pattern and step-by-step video tutorial so you can make your own cozy cushion cover today!

Buy the PRINTABLE copy
Chunky Square Finger Knit Pillow – Printable PDF Pattern!
Reference this pattern any time you want with the printable PDF version!
It’s ad-free, and includes the written pattern with step by step photo tutorial!
More Free Jumbo Yarn Patterns
Check out these other free BIG yarn patterns available on my website:
- How to Finger Knit a Chunky Blanket Fast! (for Beginners)
- Easy Round Finger Knit Throw Pillows (Free Pattern!)
- Cozy Free Crochet Pillow Cover Pattern (Removable!)
- Free {Super Bulky} Crochet Throw Blanket Pattern
Hand Knit Square Throw Pillow – Tutorial
Supplies You’ll Need
- 2 skeins of jumbo [size 7] yarn (I used Bernat Blanket Big)
- square or rectangle throw pillow insert (mine was 18″ x 18″ and I got it from a thrift store and washed it REALLY good)
- sharp scissors
Notes
- Difficulty Level: Super Easy
Finished Size
- Depends on the size of your pillow insert. Mine was 18″ x 18″.
Video Tutorial
Check out the tutorial video for this chunky hand knit pillow on my YouTube channel, and don’t forget to subscribe!
Instructions
Foundation Chain:
First we need to make a slip knot.
To make a slip knot, loop the yarn around your hand, pull the working yarn through to form a loop, then slide your hand out and tighten.
Make the starting loop about 2 inches long.
Then to continue chaining, reach through the first loop, grab the yarn, and pull up another loop the same size.
Keep doing that until you have a chain long enough to reach across your pillow.
Lay the chain out in front of you, and now we’re going to knit in each chain going across.
Starting in the last chain you made over on the right side, insert your fingers through the loop and pull up a loop. This is the first stitch of the first row.
Move on to the next chain over on the left.
Pull up a loop the same size as the first one you made.
Continue down the row, pulling a loop through each chain.
Once you get to the end of the row, rotate the whole thing around clockwise, and we’re going to knit along the other side of the chain.
NOTE: Count your loops from the first side. That’s how many stitches you need to make on this back side of the chain, too.
The first thing that looks like a chain on the far right side is actually the slip knot we started with, so it doesn’t count.
I always count over from the last chain on the left just to make sure 100% I know which loop to start with.
Starting with the first *actual* chain on the second side, knit a loop through each one going down the row.
Here’s how it will look when you finish the second side of row 1.
Now you’re just going to continue knitting around through all the loops for row 2.
I like to add a contrasting piece of yarn to use as a stitch marker in the first stitch, just so I can easily tell when I get to the start of a new row.
Then just continue knitting rows until you’ve finished 3 or 4. It’s going to start rolling up onto itself, which is fine.
Now it’s time to flip it around and fold it in half before we continue.
So flip it over onto the front side, so the wrong side is facing up…
Then you’re going to fold it like a taco. A fluffy, yarny taco.
It’s a little fiddly at first, but it’ll stay folded better once you finish a few more rows.
Now just continue knitting rows around until you either:
A. Have knitted enough rows to cover your pillow
or
B. Run out of yarn.
Adding on more yarn
I like to add on yarn using a magic knot.
You can also join this kind of yarn by melting the end with a lighter and quickly smashing the new yarn tail into the melted one, but we’re not doing that today.
(If you indeed want to do that today, I’ll show you how in this finger knit blanket post.)
Start by crossing the old yarn tail and the new yarn tail together in a sort of smooshed X shape.
Now you’re going to take the yarn tail over on the right, and tie a knot with that tail going AROUND the old yarn tail.
Pull it really good and tight.
Now go over to the other yarn tail (it should be to the left of the knot you just tied), and use it to tie a knot AROUND the other yarn tail.
Now you’ll have 2 knots.
Grab the yarn on either side of the knots, and pull it to bring the 2 knots together.
Pull it really good, but don’t pull so hard that you break the yarn.
Now you can cut the yarn tails off right next to the knot, and then we need to give the knot a haircut so it blends in.
As long as you don’t cut the inner cord that holds the yarn together, it’ll be fine. Just trim off the outer fluff.
Here’s how the knot will look after you get it all trimmed up.
Now you can just go back to knitting, and if you’re really lucky the knot will end up falling in such a way that its hidden in the inside of the pillow.
Continue knitting rows until your pillow is fully encapsulated with yarny goodness.
Now it’s time to finish off and seal up the end.
I have my pillow case laying so that the working yarn is over on the left side and that’s where my last stitch was done.
If yours is on the right side, just flip it over so it looks like mine (just to make things simpler.)
Start by finding the front and back loops on the far left.
You’re going to stack them together, and insert your finger through them both and pull up a loop.
Make this loop a little longer than the ones you’ve been doing. Don’t worry, we can adjust it later so it’s not crazy big.
Lay this new loop overtop of the next loop to the right.
Now you’re going to stack those 2 loops plus the corresponding back loop together, insert your fingers through them and pull up a loop through all 3.
Before moving on, pull on the new loop to adjust the size of the previous loop. You just want to tighten it up a bit so it isn’t super huge.
Then pull the yarn tail to shrink the current loop down to a normalish but slightly large size.
Repeat that across the row until you have 1 loop left.
Cut the yarn tail, leaving several inches of yarn to weave in (just in case) and bring the tail through the loop.
Pull it to tighten up the knot.
Now you can weave in the yarn tail (or just stuff it inside the pillow, like I did.)
Now your square finger knit (or hand knit) throw pillow is complete and ready to throw onto your couch!
In Conclusion
I hope you enjoyed this finger knit pillow tutorial, and I’d love to see how your pillow turns out- be sure to share it with me on social media!
Looking for more yarny projects to try?