3 Easy Tie Dye Patterns for Making Cool Tie Dye Shirts!
Tie dye is such a fun activity and great way to get creative and make a really neat shirt to add to your wardrobe.
If you’re ready to learn how to make some fun tie dye projects, you came to the right place!
I’ll show you 3 different ways to make a super cool tie dye shirt in this step by step tutorial and video.
Want to remember this? Post this Easy Tie Dye tutorial to your favorite DIY Pinterest board!
(This post may contain affiliate links. If you click one and make a purchase, I may receive a small commission at no extra cost to you. Read the disclaimer here. Thank you for your support!)
Tie Dye Designs
There are so many unique patterns and designs you can make with tie dyeing.
In today’s tutorial, I’ll show you 3 simple but classic tie dye designs, and once you get the hang of those you can try all kind of other different patterns! This is the perfect project for a rainy day.
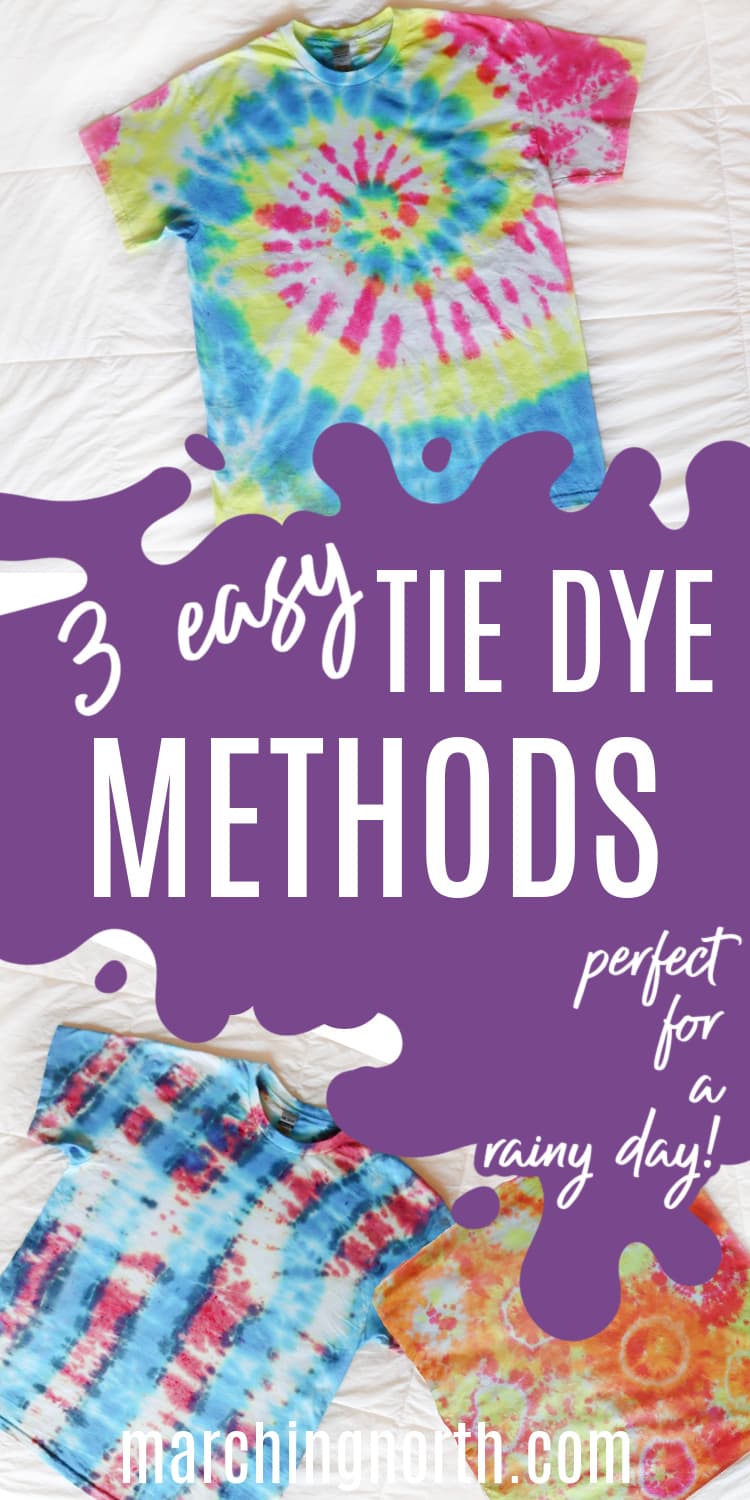
The patterns we’ll be learning today are:
- classic spiral pattern
- vertical stripes
- mini bullseye design
Once you master those, you can try one of these other different tie dye techniques:
- scrunch technique
- diagonal stripes
- horizontal stripes
- red, white and blue patriotic design
- sunburst design
- reverse tie dye
- ice dyeing
- natural avocado dyeing
Tie Dye Supplies You’ll Need
The supplies you’ll need for this tie dye project are:
- fiber reactive dye – there are two main dye options to choose from: one step tie dye kits and procion fiber reactive dye. For this tutorial, I’m using a one step kit (and they make it super simple). More on these two types of dye in a minute.
- plastic squeeze bottles for the fabric dye
- plain white t-shirt or two, 100% cotton (you can even use old t-shirts or other old clothes you have laying around)
- wire rack to hold your project up while you’re applying dye
- washing machine with mild detergent (Synthrapol is a good option for detergent)
- cold water
- rubber gloves
- elastic bands
- sealable plastic bag (or you can recycle grocery bags as long as they don’t have a hole)
If you purchase a tie-dye kit, it should come with rubber bands, different colors of dye, soda ash, and step by step instructions.
So specifically for this tutorial, you’ll need the following supplies:
- Tulip Tie Dye Kit
- 100% cotton t-shirts, bandanas, or whatever you want to tie dye
- a wire rack (I’m using a wire bin flipped upside down)
- a sink or bathtub with running water (that you don’t mind getting tie dye on, it comes off but sometimes it takes a little scrubbing)
- mild laundry detergent or Synthrapol
- washing machine
Then all you’ll need is your fabric item, the wire rack, water, and a way to wash your finished item.
Different Types of Fiber Reactive Dye
I mentioned earlier that there are two main types of tie dye to choose from when you’re picking out supplies.
Let’s talk about the difference between these two types of dye.
One Step Tie Dye Kits

For this tutorial, I used a Tulip One Step Tie Dye Kit.
These kits come with the dye powder already measured out into plastic squeeze bottles, and the soda ash is measured out and premixed with the dye.
They usually come with between 4 and 18 colors of dye, and you don’t have to presoak your items in soda ash before hand since it’s included with the dye.
All you have to do is add water to the top of the bottle, close it up, shake it really well and you’re ready to go!
The trade off with these tie dye kits is the colors aren’t quite as bright as professional brands of dye, and they fade more quickly.
But you can’t beat the simplicity, especially if you’ll be having a tie dye party with several people!
Procion Dye
Procion MX dyes are a professional brand of tie dye that results in longer lasting, bright colors. It also comes in 43+ different colors!
With this type of cold water dye, you’ll need to presoak your items in soda ash solution for a minimum of 20 minutes prior to dyeing.
Be sure to wear gloves and a mask when handling the soda ash. You’ll need a ratio of 1 cup of soda ash to 1 gallon of warm water.
Soak your items to be dyed for 20 minutes, then squeeze out the excess moisture.
After that, you’ll mix at least 2 teaspoons of dye to 1 cup of water, put it in a plastic squeeze bottle, and you’re ready to dye!
What is Soda Ash?
Soda ash (also known as sodium carbonate, salt soda, or washing soda), raises the pH level of your dye which helps fix the fiber reactive dye to the fabric you’re dyeing.
If you don’t use soda ash when you tie dye, your colors will run together and not be as vibrant.
One important thing to remember is you need to wear your rubber gloves and a mask when you’re dealing with soda ash, as it’s a skin and respiratory irritant.
You can find soda ash for tie dye online and in craft stores.
In a pinch, you can actually make your own soda ash by heating baking soda at 300°F for an hour.
Doing so causes carbon dioxide and water vapor to be released, and you’ll be left with sodium carbonate!
I’ll be using a Tulip All in One kit for this tutorial. If you want to know more about how to tie dye with Procion dye, check out this post.
Alright, now that we covered all the basics, let’s get down to tie dyeing!
How to Tie Dye with an All in One Kit
For all three techniques we’ll be learning below, the basic steps are the same.
Let’s go over how to apply the tie dye in general, and then I’ll show you the 3 different folding techniques.
Step 1: Prepare your area and your shirts
One of the most important steps is to prepare your work area. Tie dye is messy business and you need to be able to focus when you’re in the middle of it.
Before you start prepping, go ahead and throw your items to be dyed into the washing machine with some Synthrapol or regular mild laundry detergent.
If you purchased an all in one kit, it’ll come with a plastic sheet to cover your work surface.
Protect your work surface with the plastic cover, and also grab a roll of paper towels for best results.
You can use layers of plastic wrap or a plastic table cloth to protect your surfaces as well.
I taped my plastic sheet down so it wouldn’t move while I was working.
Place your metal rack on top of the plastic sheet and put a layer of paper towels under it to minimize splashing.
Lay out your rubber gloves, rubber bands, and everything else you’ll need so it’s ready to go before you begin.
Step 2: Mix up your dyes
This part is super easy with the Tulip kits! Put on your gloves, open up the top of the bottle and pour in cold water up to the top.
Put the lid back on, shake them until all the powdered dye is mixed in, and you’re ready to go.
Go ahead and get all the colors ready that you’re planning to use.
If you want to save some for later, don’t mix them up until you’re ready to use them. The dye will only last about 48 hours until it starts losing its potency.
Step 3: Get your shirts out of the washing machine and fold them up
Now it’s time to fold your shirts or whatever items you’ll be dyeing. This is the part where you’ll get different effects based on how you fold.
You’ll need lots of rubber bands, zip ties, or string for this part.
We’ll go over the specific folding techniques down below.
Step 4: Squirt on the dye
Now it’s time for the fun part!
It’s tempting to just go for it and start applying dye all willy-nilly, but you’ll have better results if you plan out your design first.
Remember the rules of color theory! When you apply the dyes next to each other, they’ll mix at least somewhat and create another color in between.
If you put blue and yellow next to each other, you’ll get green in between. If you do red and yellow, you’ll get orange. You know the drill.
If you put complementary colors together, like red and green, you’ll get a muddy brown color in between.
Think about what colors you want to use and how they’ll react with each other before you start squirting on the dye.
Step 5: Wait for the dye to set
Now we wait. Place your tie dyed item in a plastic bag and put it in a warm place to set for 8 to 24 hours.
I let my items sit over night just to be safe. The longer they set, the brighter the colors!
You can speed this process up by putting your bagged tie dyed items in an extra warm spot, like outside in the sun, or you can even put them in the microwave!
I left mine overnight for at least 12 hours to set up.
Step 6: Rinse, rinse, rinse, and wash!
This part takes a while, but it’s so satisfying to see how your tie-dye projects turned out!
Remove your tie dye items from the plastic bag and rinse them under cool tap water.
Take off the rubber bands or ties, and continue washing it out until the water runs mostly clear.
It won’t run completely clear, but that’s OK.
Now it’s time to throw your tie dye projects into the washing machine with some mild detergent.
I washed mine on a regular cycle with cold water. Then I threw them in the dryer just like normal.
The dye will probably bleed a bit during this wash, so wash them separately from your other laundry.
Alright, that’s the steps you’ll need to follow to make your tie dye projects, so now let’s jump into the different folding techniques you can try!
Video Tutorial
Here’s the step by step video tutorial for the techniques below.
Don’t forget to subscribe to Marching North so you don’t miss any new videos!
Tie Dye Technique #1: Vertical Stripes
For this tutorial, I’m dyeing a white t-shirt. Sort of accordion fold and scrunch it up starting from the bottom.
Once it’s folded all the way to the top of the shirt, secure it with rubber bands all the way across.
You can make your rubber bands as far apart or close together as you like, I left about 3 or 4 inches in between each elastic band.
When you apply the dye, alternating colors for each section. If you leave some space where the rubber bands are, you’ll get a bit of white space in between.
I added black dye right over the rubber bands for a little contrast.
Flip the whole thing over and repeat on the other side.
Tie Dye Technique #2: Mini Bullseyes
For this project, I used a cotton bandana, but you can do the same thing with a t-shirt.
Pinch the fabric and tie it up in a rubber band.
Repeat that all over the fabric, each rubber banded spot will make a little bullseye or bubble design.
I just applied the dye randomly all over, but you can specifically add one color to the banded section for a cool effect.
Be sure to flip your project over and add dye to the back if it doesn’t bleed all the way through. The bandana I used was thin so it wasn’t necessary.
Tie Dye Technique #3: Classic Spiral Design
This is one of my favorite tie-dye patterns and surprisingly easy to make!
Lay your shirt out on your work surface with the BACK facing you. This will make the spiral shape more defined on the front of the shirt.
Pinch the middle of the shirt and begin to twist it. Continue twisting until the whole shirt is twisted up into a flat spiral circle.
Put rubber bands across the shirt, dividing it into fairly even pie slices. I recommend using at least 3 or 4 rubber bands.
When you apply the dye, you can use the rubber banded sections to guide your dye placement.
I like to fill in the pie shaped areas with each color, then flip it over and do the same thing on the other side.
In Conclusion
I hope you enjoyed this tutorial and made some of your own awesome tie dye projects.
This is a such a fun craft and perfect for summer camps or if you’re looking for a way to entertain your bored teens!
If you made a tie dye shirt or any other projects, I’d love to see a picture! Share it over on Instagram and tag me @marchingnorth so I can take a look, it makes my day!