Easy Striped Crochet Bucket Hat (Free Pattern & Video!)
If you’re looking for some cute free crochet bucket hat patterns, I’ve got the perfect pattern for you!
This easy crochet bucket hat pattern is super beginner friendly and uses basic crochet stitches. I’ll walk you through the whole process step by step with photo tutorials and a video down below.
Want to remember this? Post this Free Crochet Bucket Hat Pattern to your favorite DIY Pinterest board!
(This post may contain affiliate links. If you click one and make a purchase, I may receive a small commission at no extra cost to you. Read the disclaimer here. Thank you for your support!)
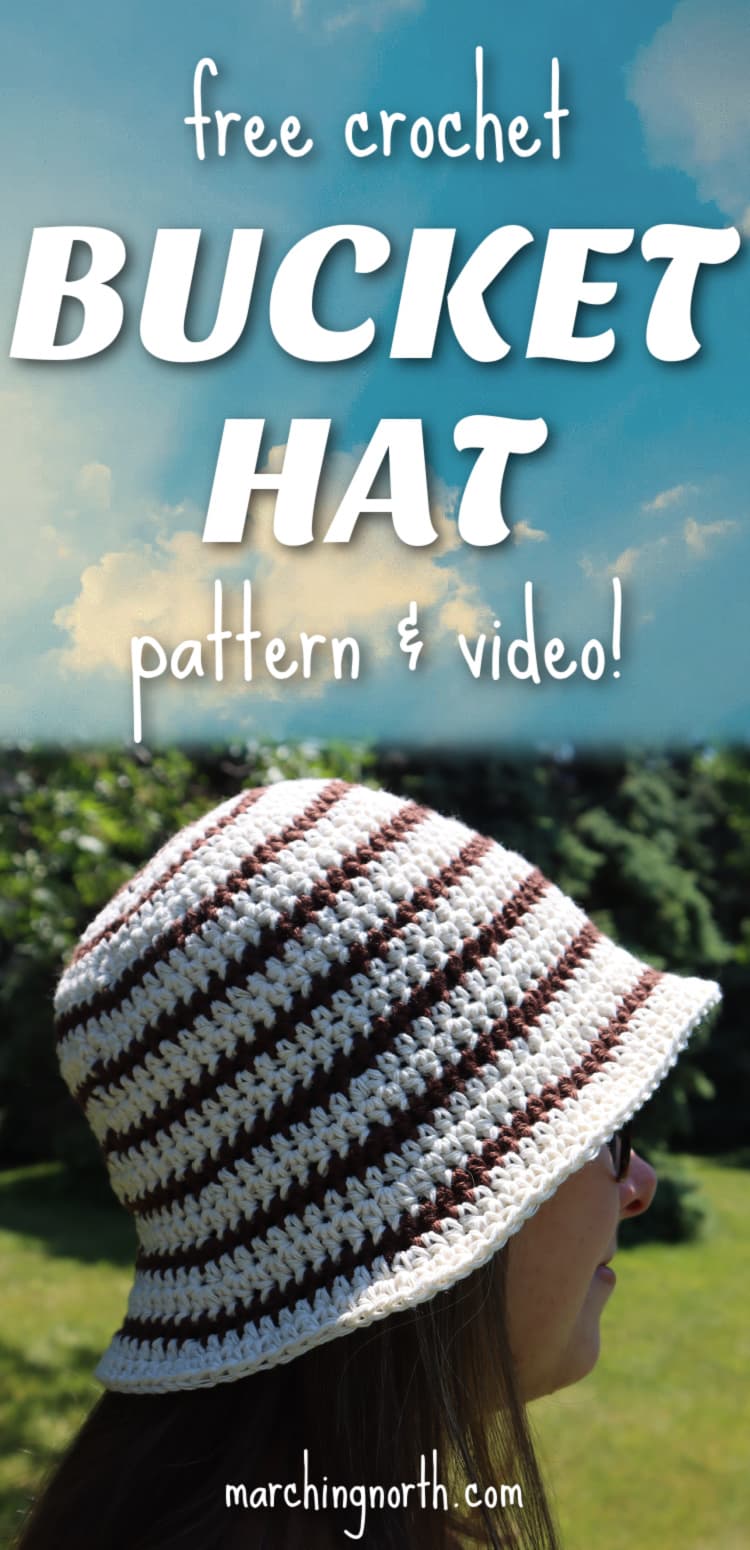
As a 90’s kid, I just love the bucket hat trend because it takes me right back to the summer days of my youth. This free crochet pattern has plenty of that awesome 90’s vibe and it’ll keep you cool on sunny days thanks to breezy cotton yarn.
This is a great project to make in the summer, when you want a quick project to crochet and just aren’t feeling heavy, warm yarn.
For this pattern I made a striped sun hat, but you could easily make it a solid color instead. You can even make a different color hat to match all of your summer outfits!
It’s super easy to customize this pattern to your own personal style. Don’t you just love patterns like that? I know I do!
Grab the Printable Pattern!
If you prefer a printable crochet pattern, you can find the AD-free, printable version in my shop!
It includes the full supply list, instructions, and the link to the video tutorial over on YouTube. Thank you so much for your support!

Best Yarn for Making Crochet Bucket Hats
Because this is a summer crochet pattern, I recommend using cotton yarn. It’s nice and cool, plus it comes in lots of fun colors that are perfect for summer.
Acrylic yarn is a little too warm for this crochet hat pattern and won’t be very comfy in warm weather.
Another good option would be a cotton/linen blend, like this Cotlin yarn from Knit Picks.
You’ll want to stick to a worsted weight yarn for this pattern so you can get the correct gauge.
If you try to switch to a bulky weight yarn and a larger hook, you’ll end up with a gigantic hat! Plus bulky yarn would make a pretty warm hat and that’s just not what we’re going for here.
Another cool option to try would be raffia yarn, although it’s a little bit trickier to work with than cotton, in my opinion.
Info, Tips and Tricks
We’ll be working this pattern with half double crochet stitches. This is one of my favorite stitches to use for hats because it works up quicker than single crochet stitches, but the finished product still has a nice solid look.
At the end of each row, you’ll join to the first stitch with a special join that I’ll explain below.
If this hat was one color I would probably go with continuous rounds or spiral rounds, but since we’re changing colors it looks best if we join each row instead.
This hat is sized to fit an average adult head size and the brim is about 3″. This makes a perfect hat to keep the sun out of your eyes without getting in your way.
If you want to make a wide brim hat, you could repeat the brim rows a few extra times to make it a bit longer.
More Free Crochet Patterns to Check Out
- Easy Crochet Bandana Scarf Pattern
- How to Make a Head Scarf Bandana with Granny Squares
- Beaded Crochet Necklace or Bracelet Pattern
Striped Crochet Bucket Hat Pattern
Abbreviations
- st(s) – stitch(es)
- sl st – slip stitch
- hdc – half double crochet
- inc – increase (make 2 hdc in the same stitch)
- FLO – work in front loop only, leaving the back loop un-worked
Special Stitches
Special Join – At the end of the row, pull up the loop on your hook until it’s twice as big as usual.
Carefully remove your hook from the loop. Insert your hook into the back of the first stitch of the row, going under both loops from back to front.
Place the large loop onto your hook and pull the working yarn to tighten up the loop a bit. Carefully pull the loop through the stitch to the back.
Doing this join at the end of your rows will result in a less obvious seam once your hat is complete. If you don’t want to use this special join, just do a normal slip stitch join at the end of each row instead.
Tools and Materials
- worsted weight cotton yarn in 2 colors
- 1 skein Color A – Natural or White
- 1 skein Color B – Brown
- 4.00 mm crochet hook
- stitch marker
- scissors
- yarn needle
Gauge
Once you get the first 8 rows completed, the circle should measure 6″ across.
If your circle is larger, you might want to go down a hook size, and if it’s too small, you can increase your hook size.
Final Size
- Crown of the hat: 6″ across
- Body of the hat: 3.5″ long
- Brim of the hat: 3″ long
This pattern makes a hat that is sized to fit a medium adult head that’s approx. 22 inches around.
Notes
- This pattern is written in US terms
- Skill level: Advanced Beginner (if you’re new, definitely check out the video tutorial as well)
- If you make this hat with two colors like I did, you don’t need to cut the yarn each time you switch to the other color.
Instead, just drop the first color of yarn and pick up the second color, leaving them both attached.
This will create “floats” on the inside of your hat, but they aren’t noticeable from the outside.
It’s a lot easier than weaving in all those ends!
- To change colors of yarn, you’ll finish out the row using the first color until you get to the last stitch.
On the last stitch of the row, you’ll do the first half of the hdc until you have 3 loops on your hook. Then you’ll switch to the new color to complete the stitch.
This also helps get a more seamless look for your finished hat.
- To get the same look as the example, you’ll do 2 rows with natural or white yarn, and 1 row with brown, and repeat that all throughout the hat.
- Each row starts with a chain 2, but that chain does NOT count as a stitch.
Place marker in first stitch of each row if you’re worried you won’t be able to tell which is the first stitch and which is the ch 2. You’ll be joining to the first stitch of each row and not to the chain.
Video Tutorial
Check out the video tutorial for this free bucket hat pattern over on my YouTube channel Yarn Stash with Marching North.
Don’t forget to subscribe so you don’t miss any of my future videos!
Foundation Ring
With color A, make a magic ring. ch 2.
Alternatively, you could chain 4, and slip stitch into the first ch to make a ring and work into that instead, but it will leave a small hole on the top of your hat.
Round 1
8 hdc in magic ring, join to first hdc with special join (see pictures below and Special Stitches section for more info).
Round 2
ch 2, 1 inc. in each st. On your last hdc of this round, stop when you have 3 loops on your hook, yarn over with color B and finish out the stitch with the new color.
Leave first color attached and just let the yarn hang. Join to first hdc with special join.
Round 3
ch 2, [hdc in next st, inc in next st] repeat around 8 times. On last st, switch back to color A. Join to first hdc with special join.
Round 4
ch 2, [hdc in next 2 sts, inc in next st] repeat around 8 times. Join to first hdc with special join.
Round 5
ch 2, [hdc in next 3 sts, inc in next st] repeat around 8 times. On last st, switch to color B. Join to first hdc with special join.
Round 6
ch 2, [hdc in next 4 sts, inc in next st] repeat around 8 times. On last st, switch to color A. Join to first hdc with special join.
Round 7
ch 2, [hdc in next 5 sts, inc in next st] repeat around 8 times. Join to first hdc with special join.
Round 8
ch 2, [hdc in next 6 sts, inc in next st] repeat around 8 times. On last st, switch to color B. Join to first hdc with special join.
Round 9
ch 2, hdc in each st. On last st, switch to color A. Join to first hdc with special join.
Rounds 10 – 18
Repeat row 9, continue alternating colors with 2 rows of white and 1 row of brown.
Round 19
ch 2, in FLO [hdc in next 7 sts, inc in next st] repeat around 8 times. Join to first hdc with special join.
Round 20
ch 2, (now we’re back to working in both loops again) hdc in each st. On last st, switch to color B. Join to first hdc with special join.
Round 21
ch 2, [hdc in next 8 sts, inc in next st] repeat around 8 times. On last st, switch to color A. Join to first hdc with special join.
Round 22
ch 2, hdc in each st. Join to first hdc with special join.
Round 23
ch 2, [hdc in next 9 sts, inc in next st] repeat around 8 times. On last st, switch to color B. Join to first hdc with special join.
Round 24
ch 2, hdc in each st. On last st, switch to color A. Join to first hdc with special join.
Round 25
ch 2, [hdc in next 10 sts, inc in next st] repeat around 8 times. Join to first hdc with special join.
Round 26
ch 2, [hdc in next 11 sts, inc in next st] repeat around 8 times. Join to first hdc with sl st. Cut yarn and finish off.
Finishing
Cut other color of yarn, leaving a decent length tail to weave in.
Use your yarn needle and weave the ends under several stitches. You can also tie a knot and weave in the end a bit more to be extra safe.
Thread the starting tail from the magic loop onto your needle and weave the end under all the stitches going around the magic ring to secure it, tie a knot, and weave in the end.
Cut off all your loose ends and your hat is complete!
Care Instructions
Since this hat is made with cotton yarn, it’s machine washable. It will most likely shrink if you put it in the dryer, so I would recommend laying it flat to dry.
Or better yet, if you can place it over something round to keep it’s shape while it dries that would be even better!
In Conclusion
I hope you enjoyed this easy bucket hat crochet pattern!
If you make one of these hats, please share a pic over on Instagram and tag me @marchingnorth so I can take a look.
I love seeing all of your awesome creations, it makes my day!
Looking for more free crochet patterns? Check out the ones below: