
Easy Closed Granny Square Crochet Pattern (Free Pattern & Video)
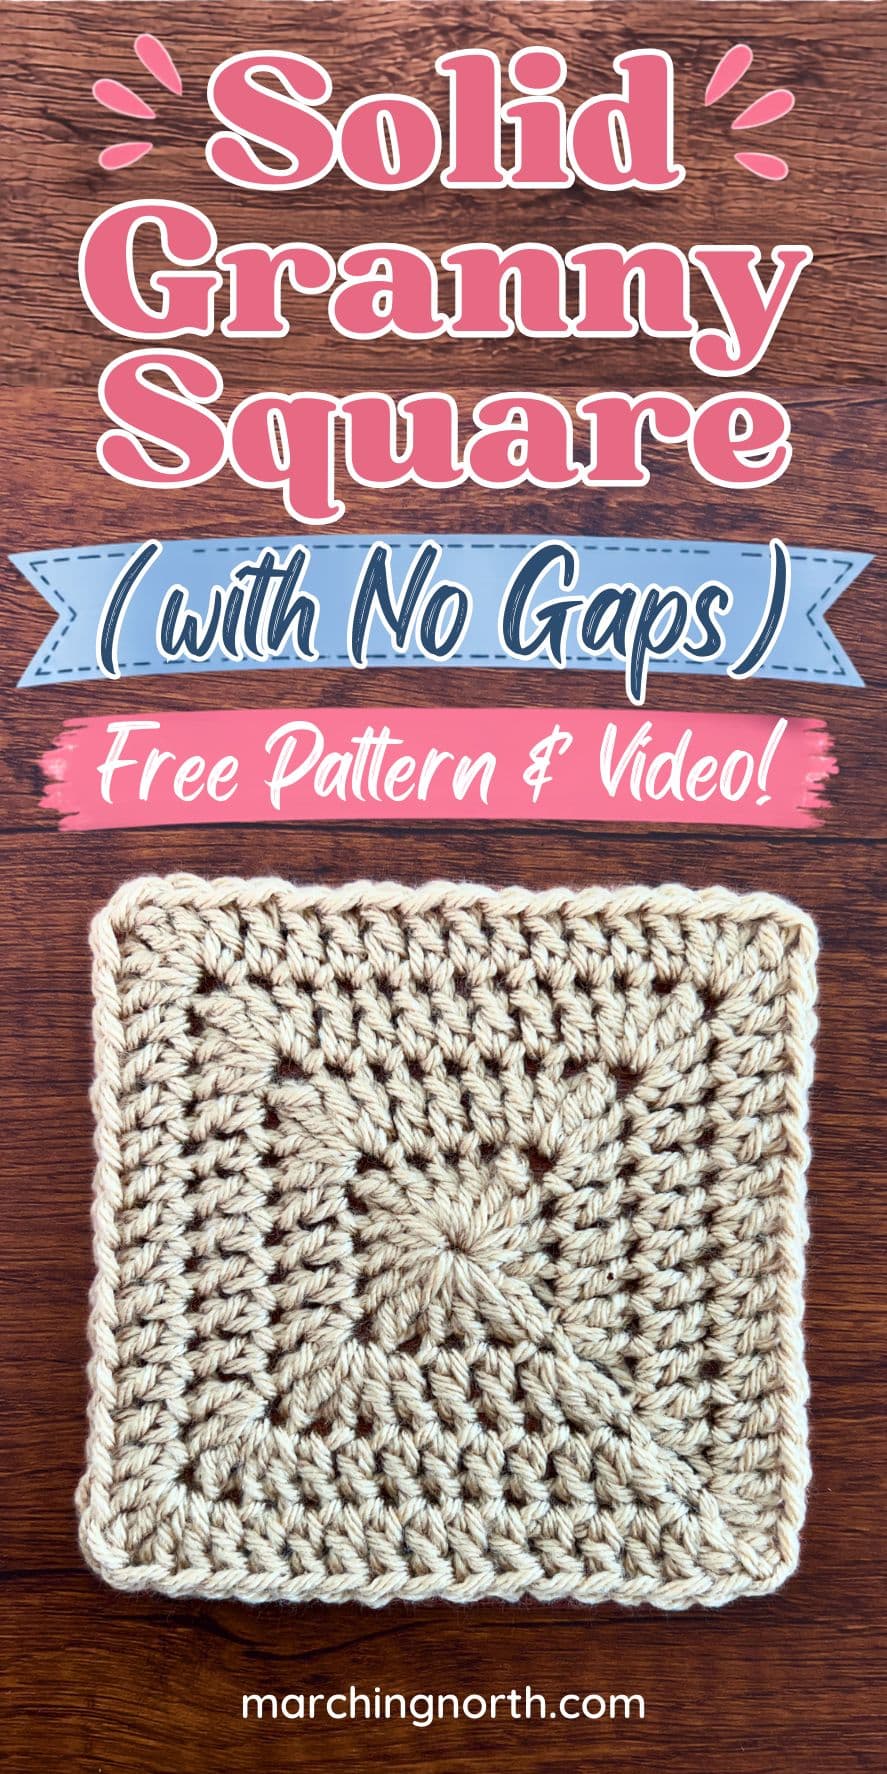
I love a classic granny square, but let’s be honest, sometimes all those little holes just aren’t what you want. Enter the gapless granny square: solid from edge to edge, all the way around.
By utilizing double crochet stitches paired with a treble crochet in the corners (instead of working into spaces like usual), this square closes up all those gaps.
And that makes it a great pick for blankets, bags, sweaters, or really any project where you want a clean, solid fabric instead of a lacy, holey one.
Don’t forget to pin this for later!
(This post may contain affiliate links. If you click one and make a purchase, I may receive a small commission at no extra cost to you. Read the disclaimer here. Thank you for your support!)
I think you’re going to love how tidy this square looks once it’s done.
Like most of my patterns, this one’s totally beginner friendly. It stitches up quickly, and I’ll walk you through the whole thing round by round.
Scroll down for the full written pattern, grab the free printable pattern if you’d rather have it on hand, or hit play on the video tutorial to follow along with me.
Grab the FREE printable PDF pattern for instant download below!
Best Yarn for Granny Squares
When it comes to granny squares, I always reach for a smooth worsted weight (size 4) yarn.
Smooth yarn means you can actually see your stitches, which makes a huge difference when you’re figuring out where your hook needs to go… especially if you’re still newer to crochet.
Fuzzy or heavily textured yarns work against you here. They mask your stitch definition and make it hard to tell what’s already been worked, so I’d recommend holding off on those until you’ve got more reps in (or skip them altogether, no judgment, I usually do).

Acrylic is my default for blanket squares. It’s safe to toss in the wash, holds up over time, and you can find it in nearly any color you’re after. My usual go-to’s:
- I Love This Yarn! from Hobby Lobby (easy to find, loads of gorgeous colors)
- Lion Brand Pound of Love (great for big blanket projects)
- Paintbox Simply Worsted Superwash Wool (a great option for bold solid colors)
Approximate Yarn Amount for one 4-round Square: Each square uses about 12 grams of worsted weight yarn, which is roughly 22 yards.
Looking for an easy granny square blanket pattern? Check out this one!
Pattern Information
- Skill Level: Beginner
- Pattern written in US terms
- Finished Size: After 4 rounds, square should be approx. 5” across.
Supplies & Materials
- Yarn: worsted weight (size 4) yarn
- Hook: 5.5 mm crochet hook
- Notions:
- yarn needle (linked ones are nickel free and include a bunch of needle sizes!)
- scissors (these thread snips are titanium coated, so if you have a nickel allergy like me, these are awesome and don’t make you break out!)
- stitch markers (optional) – you can use these to mark the corners, which is helpful for beginners
Abbreviations
- ch(s): chain(s)
- st(s): stitch(es)
- sl st: slip stitch
- dc: double crochet
- tr: treble crochet
- sp: space
- rep: repeat
- FO: finish off (cut yarn, pull yarn tail through last loop on hook and pull to tighten)
- IJ: invisible join – how we’ll join the last stitch of the round to the first one so there isn’t a bump
Pattern Notes
You can continue making rounds if you want a larger granny square. Just repeat round 4, but on each side you’ll add an additional 4 stitches for each round.
For example, on round 5 you’d work 1 dc in next 15 sts per side, round 6 would be 19, etc.
These squares tend to be a bit misshapen at first and will look a lot better after you get them blocked.
Special Stitches
Invisible Join (IJ)
Cut your yarn, leaving a tail of about 6 inches. Pull the last loop on your hook all the way out to “lock” your stitch.
Thread the tail onto a yarn needle. The ch 4 at the beginning of the round counts as the first tr, and we’re going to be working into the top of the second dc, which is immediately to its left.
Insert the needle under both loops at the top of that second dc, going from front to back, and pull the yarn through.
Then insert the needle down through the center of the last dc of the round (where the yarn tail is coming out).
Pull through and adjust the tension to match the rest of the stitches.
Weave in the tail really well on the back side of the square to secure. Go back and forth under several stitches a couple times.
(If this was confusing, definitely watch this part in the video – it’s one of those things that’s way easier to see than to read!)
Weaving In Ends As You Go
If you know you’re making a big batch of these squares, save yourself the headache and weave in your ends as you go, one square at a time.
Because here’s what happens if you don’t: you finish square number fifty-seven, look up, and realize you’ve got a whole pile of squares just sitting there with loose ends everywhere, waiting for you to clean up. That’s a special kind of sad.
And then you’re stuck doing it all in one go, glassy-eyed, wondering WHY. you. didn’t. just. DO. THIS. AS. YOU. WENT.
(No judgment if that’s genuinely your idea of a good time, though. You do you, friend.)
Honestly, weaving in ends square by square, and round by round if I’m switching colors, is the only reason I ever finished my first granny square blanket.
Prior to that, I just had raw-tail-having squares scattered around my house doing nothing more useful than serving as the occasional coaster.
Video Tutorial
Here’s the video tutorial for this crochet pattern, and be sure to subscribe to my YouTube channel so you don’t miss any new videos!
Instructions
Starting Ring
Ch 4, sl st into first ch to form a ring.
Round 1
Ch 4 [counts as first tr here and throughout pattern], *3 dc into ring, tr into ring* rep from * to * 2 more times, 3 dc into ring, sl st to top of beginning ch 4 to join.
Round 2
Ch 4, 2 dc in same st, *dc in next 3 sts, (2 dc, 1 tr, 2 dc) in corner tr*, rep from * to * 2 more times, dc in last 3 sts, 2 dc in same st where beginning ch 4 was worked, sl st to top of ch 4 to join.
Round 3
Ch 4, 2 dc in same st, *dc in next 7 sts, (2 dc, 1 tr, 2 dc) in corner tr*, rep from * to * 2 more times, dc in last 7 sts, 2 dc in same st where beginning ch 4 was worked, sl st to top of ch 4 to join.
Round 4
Ch 4, 2 dc in same st, *dc in next 11 sts, (2 dc, 1 tr, 2 dc) in corner tr*, rep from * to * 2 more times, dc in last 11 sts, 2 dc in same st where beginning ch 4 was worked, sl st to top of ch 4 to join, or if this is the last round, do Invisible Join to finish [see Special Stitches section].
Weaving in the Starting Tail
By this point, you’ve likely already woven in the tail from your invisible join (if not, hop back to the Invisible Join section under Special Stitches and it’ll walk you through it).
There’s just one more tail to deal with: the starting one.
Technically it’s already been crocheted over, so you could snip it right now and be done.
Except… take a look at your starting ring. See that tiny gap?
Yeah, that one gets me every time. So instead of just cutting it, I weave that starting tail in about halfway around the ring first, which closes the gap right up.
Pull it through, trim the extra, and that’s it… gap officially handled.
And of course if that gap never bothered you in the first place, feel free to skip all of this and move on with your life.
In Conclusion
And that’s your super solid gapless granny square!
Once you’ve got this one down you can make it any size you want (peek at the pattern notes for how to keep going), then stack up a whole pile of them for your next project.
If you make one, I’d love to see it! Tag me on social media or share a picture of your makes in the Yarn Stash Facebook community!
Once you’ve got this one down, make these granny squares next:
- The Perfect Granny Square (5 colors, super tidy, no magic ring!)
- The Classic One Color Granny Square (no turning, and no wonkiness!)
- The Almost Solid Granny Square (only has holes in the corners!)
Looking for more crochet fun? Check out these recent posts!