Free Crochet Pug Amigurumi Pattern (Cute Potato Dog!)
Calling all pug lovers! Are you looking for the cutest crochet pattern humanly possible? Well, you found it!
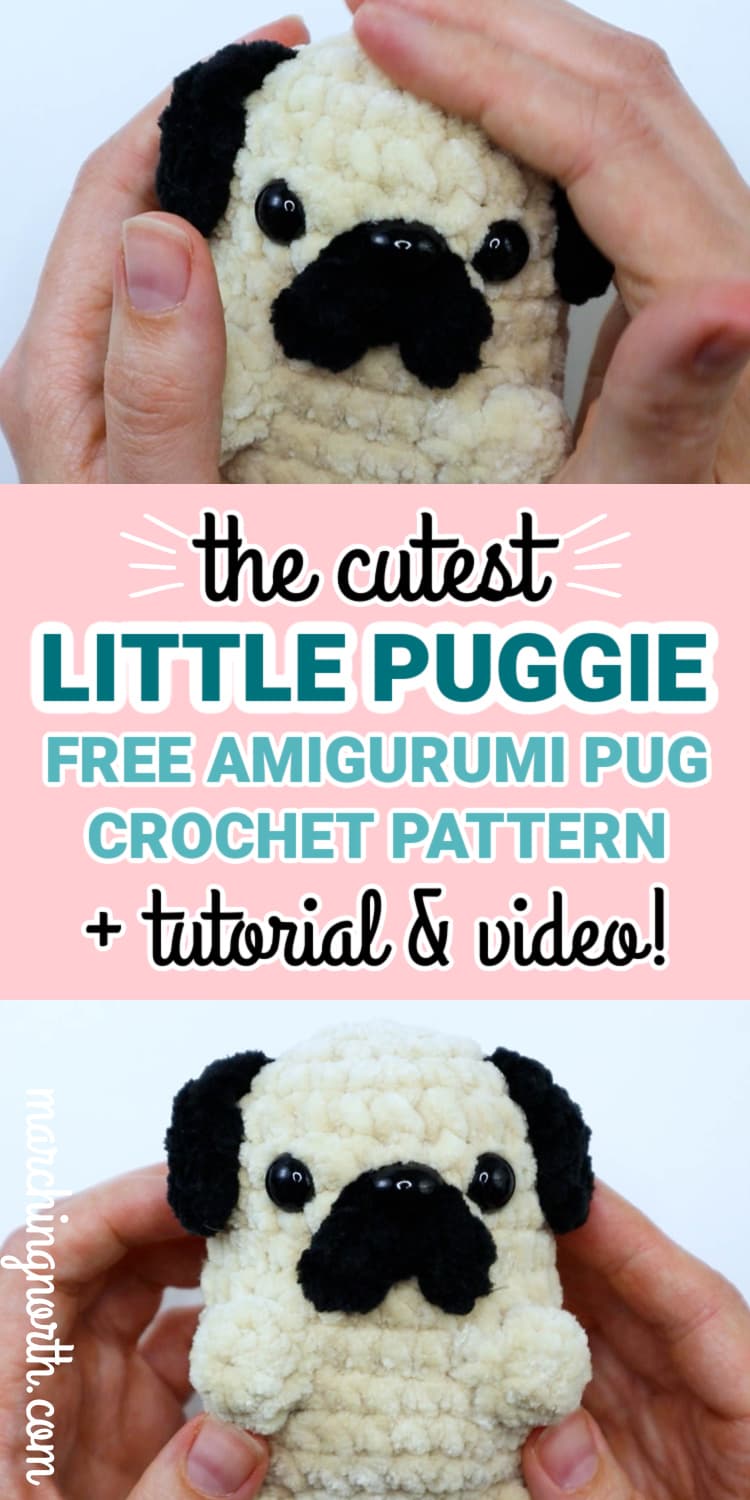
This adorable pug crochet pattern will absolutely melt your heart, and it’s really quite easy to make.
Want to remember this? Post this Crochet Pug Amigurumi pattern to your favorite DIY Pinterest board!
(This post may contain affiliate links. If you click one and make a purchase, I may receive a small commission at no extra cost to you. Read the disclaimer here. Thank you for your support!)
I’ll walk you through this whole free pattern step by step, and there’s a video as well.
Let’s take a look at the yarn we’ll be using and what you need to know about this fun free crochet pattern.
Fluffy Amigurumi Yarn
My all time favorite yarn for making sweet little amigurumi animals is Honey Bunny by Hobbii.

That’s what I used for our sweet little pug friend!
It’s not too big and not too small, and it’s wonderfully soft and fluffy.
Plus, it comes in soo many beautiful colors (says the person who bought it in every color…lol).
This is a chenille yarn, and if you’ve ever used it you know that it can be a bit of a pain sometimes, but the outcome is definitely worth it.
You have to be careful because chenille yarn can shred a bit on you, so you don’t want to pull super hard or be too rough with it.
Also, it’s hard to see the stitches very well, so you have to kind of know what you’re doing before you start this project.
If you’re new to crochet, I’d start with an amigurumi project that doesn’t use chenille yarn first to get the hang of it, then come back to this pattern.
Safety Eyes and Noses
For this pattern, I used a set of 12 mm safety eyes and a 15 mm safety nose.
Safety eyes and noses are plastic, and they kind of look like a big earring.
There’s a stem that goes through the amigurumi and a plastic ring that you push on the back to hold it in place.
If you’re making this for yourself or older kids or adults, that’s fine and the safety eyes/noses work great!
But it’s really important NOT to use them if you’re making this for a baby.
Babies can pull out the safety eyes and end up with them in their mouth, so it’s a choking hazard.
Instead of safety eyes, you could embroider the eyes on, or sew on a couple of pieces of round felt instead.
The safety nose can be left off all together if you want, because the “pugstache” or snout still gives the illusion of a nose even without it.
The finished item will still be totally cute!
Pug Crochet Amigurumi Pattern
Materials Needed
- Size 6 bulky chenille yarn (I used Honey Bunny by Hobbii)
- Beige – (#05 if you’re using Honey Bunny)
- Black
- 4.25 mm crochet hook
- 2 x 12 mm safety eyes with backs
- 1 x 15 mm safety nose with back
- Polyfil stuffing
- Tapestry needle to weave in your ends
- Stitch marker
- Sharp scissors
Gauge
- Try to crochet fairly tightly so you don’t end up with noticeable holes in your pug. You don’t have to crochet overly tight, but definitely don’t crochet loosely.
- If you use a different yarn weight, use a hook that’s a few sizes smaller than recommended for that yarn. This will prevent holes in your finished design.
Abbreviations
- st(s) – stitch(es)
- sl st – slip stitch
- MR – magic ring
- sc – single crochet
- inc – increase (2 sc in the same st)
- dec – decrease (using special amigurumi decrease)
Notes
- Skill level: Intermediate
- Pattern is in US crochet terms
- For the ears, we’ll be starting with a magic ring. If you’ve never done one of those before, check out my tutorial right here.
- All the rounds
- Feel free to use different colors of yarn and make your little puggie look however you want!
Video Tutorial
Check out the video for this free crochet pattern over on my YouTube channel Yarn Stash with Marching North, and don’t forget to subscribe! ?
Pugstache (Snout)
You’ll use the black yarn for this section.
Ch 6.
Sc in 2nd ch from hook and next chain.
Inc in next ch.
Sc in last 2 ch.
Sl st to underside of last st, finish off leaving a long tail.
Body
Use the tan color for this section.
Round 1: ch 2, 6 sc in 2nd ch from hook
Round 2: inc in each st (12 sts)
Round 3: (inc, 1 sc) x 6 (18 sts)
Round 4: (inc, 2 sc) x 6 (24 sts)
Rounds 5-8: sc around (24 sts)
Round 9: (inc, 3 sc) x 6 (30 sts)
Rounds 10-12: sc around (30 sts)
Round 13: (dec, 3 sc) x 6 (24 sts)
*add safety eyes and safety nose with pugstache/snout now, you don’t have to sew on the snout yet*
Round 14: (dec, 2 sc) x 6 (18 sts)
Round 15: (dec, 1 sc) x 6 (12 sts)
*add stuffing now*
Round 16: dec around (6 sts)
Finish off, leaving a long tail.
Thread tail onto tapestry needle and sew up hole, whip stitching through each of the 6 remaining stitches.
Tie a knot, insert needle into center of hole and bring it out somewhere on the other side of your pug.
Pull the yarn a bit and cut the end close to the stitches so the end will get buried in the center of your plushie.
Legs (x 4)
Use the tan color for this part.
Round 1: ch 2, 6 sc in 2nd ch from hook
Round 2: 1 sc in each st around
Finish off, leaving a long tail.
Stuff starting yarn tail into the center of the leg to fill it in a bit.
Tail
Use the tan color for this part.
ch 9
Sc in 2nd ch from hook.
Inc in next 6 chains.
(The increases will cause the tail to naturally curl up.)
1 sc in last ch.
Finish off, leaving a long tail.
Ears (x 2)
Use the black yarn for this part.
Make a magic ring. (See this post if you need a more in depth tutorial about the magic ring!)
Row 1: 2 sc inside magic ring, ch 1, turn.
Row 2: inc in both sc, ch 1, turn.
Row 3: (inc, 2 sc, inc)
Finish off, leaving a long tail.
Pug Assembly
Pugstache (Snout)
First we’re going to sew on the pugstache.
Thread the short end onto your yarn needle and bring that tail from the front to the back.
Now remove that end from the needle and thread the longer end on.
Sew the ‘stache to your pug’s face with a running stitch.
(I don’t recommend using a whip stitch around the edge because it’ll show and won’t look as seamless.)
When you get back to where you started, tie a knot with the two ends of your yarn and bury the ends inside your plushie by threading them on the needle and inserting it through and bringing it out somewhere on the other side.
Pull on the yarn tails and cut them close to the stitches, and pick off any fluff that comes off of the yarn.
Ears
Grab the ears and hold them on the top of the head.
The shortest edge (also the last row we made) will be against the head, and you want the longer side that sort of curves down to be facing up.
It makes it easier if you pin them in place, at least on the top corners.
You want to position them so they’re a little closer to the face and not right in the middle.
I ended up with the top corner lined up about on the 3rd or 4th round down from the top, and it’s about 3 rows up from where the eyes are inserted.
Thread the yarn tail that’s coming out of the top ear edge onto your yarn needle and whip stitch the ear to the head.
Once you get down to the bottom corner, stick the needle through the head and bring it out between the ear and the eye.
Bring the needle through a loop on the underside of the ear, and pull to fold the ear down to the head.
Thread the needle back through the head and come out by the yarn tail in the bottom ear corner.
Tie the tails together and bury them inside the plushie like we did before, then cut off the excess yarn.
Paws
Decide where you want to put your pug paws and pin them in place.
Make sure you have the center starting yarn tail stuffed up inside each of the paws before you sew them on.
Thread the long tail onto your yarn needle and whip stitch each paw in place.
Finish off and thread the yarn tail through and cut off the excess like before.
Repeat for both of the front paws and the hind legs or paws.
Curly Q Tail
Pin the flat side of the tail with the yarn ends coming out on the back of the pug right next to the bottom center area.
You want it to be positioned so the pug can sit up and it’ll help hold it in place.
Once you’re happy with the placement, whip stitch the tail to the body with the long tail.
Insert your needle up through the body and bring it out about an 1/2 an inch or so up the back from where you sewed it on.
Just like we did with the ears, sew the needle through a loop on the tail and pull it to tighten up to the back of the pug.
Bring the needle back into the pug and come back out next to the other yarn end of the tail.
Tie them together and finish off, burying the yarn tails inside your pug.
B-Hole (Optional)
This part is optional, but any pug mom or dad knows this is a very prominent part of an authentic pug.
Use the black yarn for this part. You’ll need a piece that’s maybe a foot long or so.
Thread the yarn onto your needle.
Envision the b-hole area as a square. You’ll insert the needle on the bottom right corner and come out on the top left corner.
Insert the needle back into the bottom right corner and come out on the top right corner.
Insert the needle into the bottom left corner and come out through the bottom right corner again.
Tie both ends together and bury them inside the body. Trim off the excess yarn.
Done!
I hope you enjoyed this super cute crochet pug pattern!
If you make one of these, please share a pic over on Instagram and tag me @marchingnorth so I can take a look. I love seeing all of your awesome creations!
Check out some of my other free crochet patterns below!
Hi! thanks for this pattern! It’s super cute. <3 I made it for my mom for Mother's Day. I made the arms and legs with bobble stitches instead. It's way easier and no sewing. Here's some modifications I did starting from row 10.
(arm row) row 10: Sc 10, bobble stitch, Sc 5, bobble stitch, Sc 13. (30)
row 11: Sc all around (30)
row 12: Sc all around (30)
(legs row) row 12: Sc 10 bobble stitch, Sc 5, bobble stitch, Sc 13. (30)
add eyes between rows 4 and 5, 4 stitches apart.
sew on snout.
I didn't have a safety nose, so I just used acrylic yarn to embroider a nose with yarn needle.
then I started the decreases:
row 13: dec, Sc 3 (24)
row 14: dec, Sc 2 (18)
row 15: dec, Sc 1 (12)
add stuffing.
row 16: decrease all around, Fasten off.
then I added the tail and ears sewing them on.