Super EASY magic ring (magic circle) crochet tutorial!
Get ready to demystify the magic circle/magic ring/magic loop with this step by step crochet tutorial for beginners!
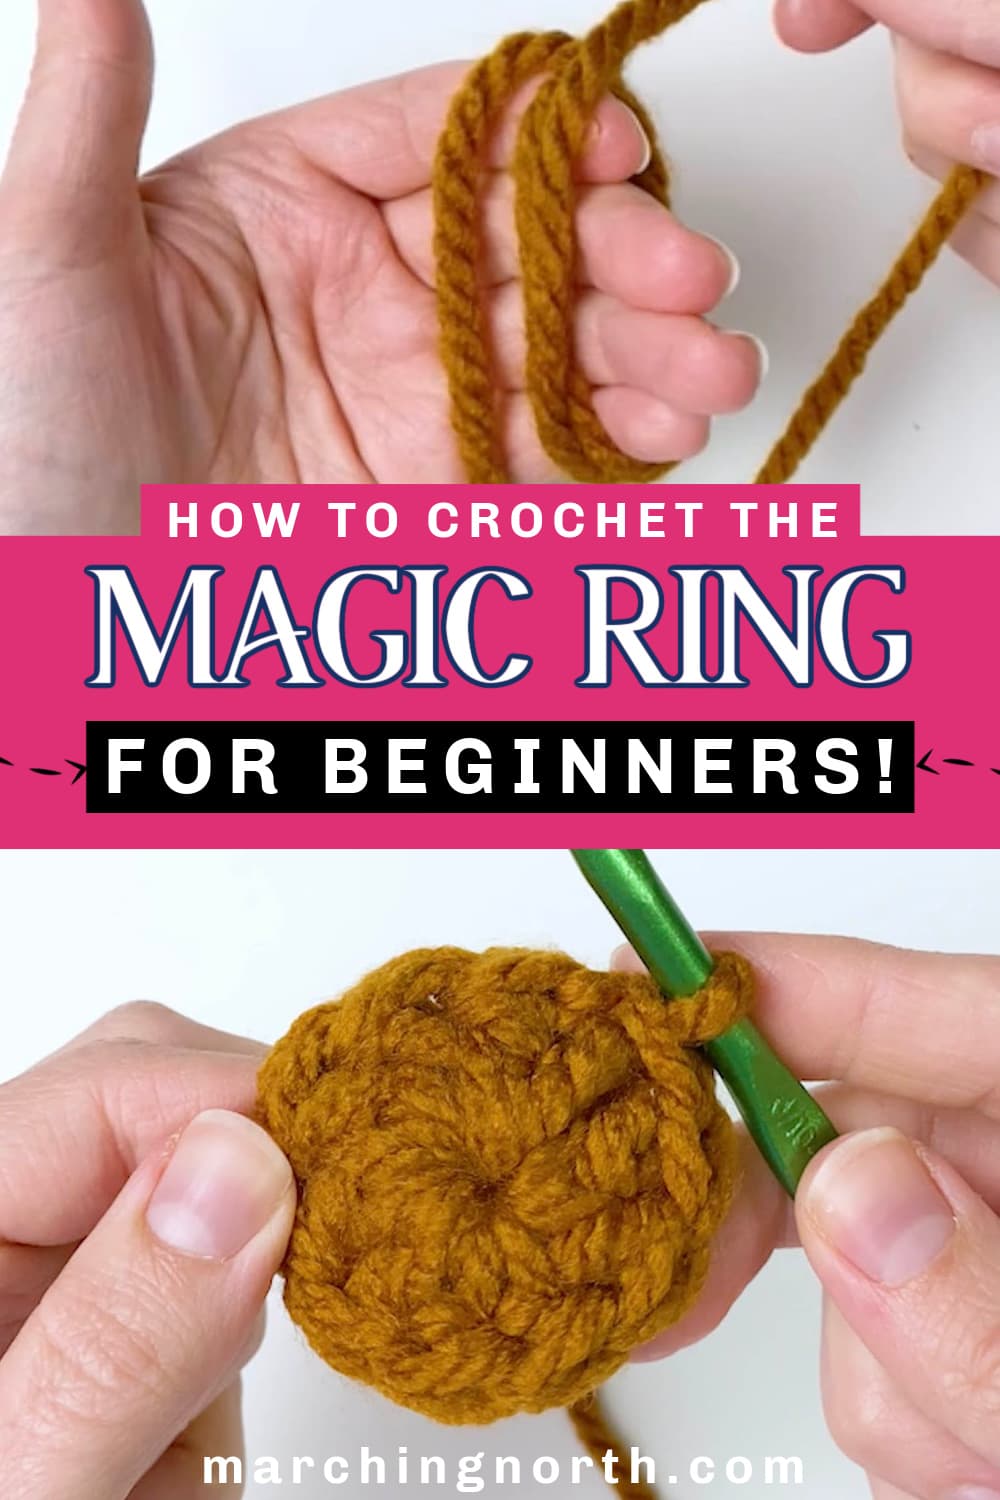
Want to remember this? Post this Crochet Magic Ring tutorial to your favorite DIY Pinterest board!
(This post may contain affiliate links. If you click one and make a purchase, I may receive a small commission at no extra cost to you. Read the disclaimer here. Thank you for your support!)
Have you been putting off learning how to do the crochet magic ring? Or did you come across a pattern you want to make that includes it?
Don’t worry, I’ve got you covered. Luckily, this mysterious technique isn’t as elusive as it may sound. In fact, it’s pretty straightforward once you get the hang of it.
Let’s talk about what the magic ring is, what it’s good for (hint LOTS!), why it’s so misunderstood, and why you need to know how to do it!
Why you need to learn the magic circle/loop/ring crochet technique
I know, I know, the magic circle is one of those things that people either love or hate. But hear me out.
The crochet magic circle might seem complicated at first, but it’s actually really easy. It just takes a minute to wrap your mind around it.
Trust me on this.
Let’s take a minute to explore the main advantages of using the magic ring (or magic loop) in your crocheting quests:
- A tidy and firm center: No more annoying, gaping holes in the center of your projects! With a magic ring, you can crochet a tight, snug center that will make your creations look professionally made. Plus, your fellow crocheters will be amazed at your magical skills.
- Ease of adjusting: The magic loop is an adjustable loop, which means you have the power to close it up as much or as little as you want. A simple tug of the yarn tail, and poof! The loop tightens like magic, giving you the control you need for creating precise, beautiful patterns.
- Flexibility: Whatever your crochet project – be it a hat, blanket, or amigurumi – mastering the magic ring method will help ensure that your work starts confidently and without any unsightly gaps that could ruin your otherwise flawless work.

The main advantage of the magic ring method is that you don’t have a hole in the center of whatever you’re making.
Other methods of starting crochet in the round can leave a noticeable hole in the center.
If you use the magic circle technique, there’s no hole! Hooray!
The magic circle/ring works awesomely for granny squares, crochet flowers, amigurumi projects, and more.
You can use the magic ring for projects that use single crochet stitches, double crochet stitches, or any other stitches. It’s super versatile!
There are 2 different ways to do the magic ring: the regular way, and the double magic ring.
I’ll show you how to do both down below in this video and photo tutorial!
Wait, there’s a double magic ring? (Yes there is!)
OK, so sometimes when you’re using the magic ring/loop/circle to start your work, you need to make sure it won’t ever come undone later.
One good example of this is for granny squares.
Picture this: You used a regular magic ring for your granny squares, made a beautiful blanket, and you’re super proud of it. You should be, it’s awesome!
Then about a week later you accidentally spill your salted caramel latte all over it. NOOO!! Luckily, you used washable yarn so you throw it in the washing machine. No biggie!
When you pull it out of the washing machine, you realize some of the centers of your granny squares came UNDONE!
Crying and gnashing of teeth ensues. It’s not pretty.
Well, that sucks.
But, if you start your granny squares with the DOUBLE magic ring, this scenario is far less likely to occur.
The double magic ring starts with (you guessed it) a double adjustable loop or adjustable ring, and it holds together MUCH tighter.
Now, I used the granny square blanket disaster as an example of when the magic ring can go wrong. If you’re worried about that happening to you, it might be a good idea to start your granny squares with a chain 4, join it into a circle, and work your first round into that ring of chains.
Then you really won’t have anything to worry about. And granny squares usually have holes anyway, so it’ s not a big deal if there is a slight hole in the center.
But for something smaller, like a crochet hat, or a throw pillow made with granny squares, the double magic ring is a great way to start and will hold together just fine.
I’ll show you how to do both magic circle methods down below!
How to crochet a single magic ring
Ready to give it a try? OK, it’s time to learn the oh-so-magical magic ring crochet technique!
Grab your yarn and crochet hook, because it’s time to conjure up something spectacular using the magic ring! (Sorry, I couldn’t resist)
How to do the magic circle for RIGHT handed folks:
Step 1: Wrap the yarn around the fingers of your left hand going clockwise to make a loop.
Step 2: Insert your crochet hook under the loop on the back of your fingers and pull up a loop.
Step 3: Pinch the top of the magic circle right under the loop you just pulled up with your right fingers. Carefully remove your fingers from the ring and pull your working yarn over to the left side.
Step 4: Chain 1, and now your magic circle will be secure! At this point you can chain however many times you need to for the stitch you’re planning to do. In this example, I made a chain 3 because I’m doing double crochet stitches in the center of the magic ring.
Step 5: Crochet how ever many stitches your pattern calls for in the center of the ring for your first round of stitches.
Step 6: Pull the tail end of the yarn to tighten up your magic circle. Slip stitch to your starting stitch, and now your magic circle round is done and you can move on to your next round!
How to do the magic circle for LEFT handed folks:
Step 1: Wrap the yarn around the fingers of your right hand going counterclockwise to make a loop.
Step 2: Insert your crochet hook under the loop on the back of your fingers and pull up a loop.
Step 3: Pinch the top of the magic circle right under the loop you just pulled up with your left fingers. Carefully remove your fingers from the ring and pull your working yarn over to the right side.
Step 4: Chain 1, and now your magic circle will be secure! At this point you can chain however many times you need to for the stitch you’re planning to do. In this example, I made a chain 3 because I’m doing double crochet stitches in the center of the magic ring.
Step 5: Crochet how ever many stitches your pattern calls for in the center of the ring.
Step 6: Pull the tail end of the yarn to tighten up your magic circle. Slip stitch to your starting stitch, and now your magic circle round is done!
Ta-da! You’ve now officially mastered the mystical art of the crochet magic circle. Great work!
How to crochet a double magic ring
Now that we learned the regular magic ring, it’s time to step it up a notch and learn the double magic ring! This nifty technique creates a more secure and stable starting point for your projects compared to the single magic ring.
How to do the double magic ring for RIGHT handed folks:
Step 1: Wrap the yarn around the fingers of your left hand TWICE going clockwise to make a double loop.
Step 2: Insert your crochet hook under the two loops on the back of your fingers and pull up a loop.
Step 3: Pinch the top of the double magic circle right under the loop you just pulled up with your right fingers. Carefully remove your fingers from the rings and pull your working yarn over to the left side.
Step 4: Chain 1, and now your double magic circle will be secure! At this point you can chain however many times you need to for the stitch you’re planning to do. In this example, I made a chain 3 because I’m doing double crochet stitches in the center of the double magic ring.
Step 5: Crochet how ever many stitches your pattern calls for in the center of the ring.
Step 6: To tighten the double ring, first pull just a bit on the tail end of the yarn and pay attention to which of the two loops starts to tighten. Let go of the tail, and instead pull on the LOOP that started to tighten. Pull it until the center of the ring cinches up. Once it’s totally tightened, THEN pull on the tail end of the yarn to tighten the second loop. Slip stitch to your starting stitch. Done!
How to do the double magic ring for LEFT handed folks:
Step 1: Wrap the yarn around the fingers of your right hand TWICE going counterclockwise to make a double loop.
Step 2: Insert your crochet hook under the two loops on the back of your fingers and pull up a loop.
Step 3: Pinch the top of the double magic circle right under the loop you just pulled up with your left fingers. Carefully remove your fingers from the rings and pull your working yarn over to the right side.
Step 4: Chain 1, and now your double magic circle will be secure! At this point you can chain however many times you need to for the stitch you’re planning to do. In this example, I made a chain 3 because I’m doing double crochet stitches in the center of the double magic ring.
Step 5: Crochet how ever many stitches your pattern calls for in the center of the ring.
Step 6: To tighten the double ring, first pull just a bit on the tail end of the yarn and pay attention to which of the two loops starts to tighten. Let go of the tail, and instead pull on the LOOP that started to tighten. Pull it until the center of the ring cinches up. Once it’s totally tightened, THEN pull on the tail end of the yarn to tighten the second loop. Insert hook into the first stitch of the row and make a slip knot. Done!
Hooray! Now you know how to do the double magic ring and the regular magic ring. Great job, now you’re unstoppable!
Frequently Asked Questions
Is the magic circle and the magic ring the same thing?
Yes they are, it’s just different words for the same thing. Sometimes you might also see it called an adjustable ring or a magic loop.
What is the difference between a magic ring and a slip knot?
A magic ring is an adjustable loop that you use to start a crochet project in the round. A slip knot is the adjustable knot that you use to attaching yarn to your crochet hook for crocheting in rows.
What types of crochet projects are best for using a magic ring?
Lots of projects can be started with a magic ring! Here’s a list of some of the most common ones:
- Amigurumi – Small stuffed animals or creatures are often made in the round and require a magic ring to begin.
- Beanie Hats – Many crochet hat patterns start with a magic ring to create a seamless, circular shape at the top of the hat.
- Mandala – Crocheting a mandala often starts with a magic ring to create the center circle.
- Coasters – Crochet coasters can be made in the round and a magic ring can be used to start the project.
- Granny squares – A magic ring can be used to create the center circle of a granny square, which is then worked in rounds to create a square. I recommend a double magic ring for this!
- Flowers – Crochet flowers, such as sunflowers or daisies, can be made using a magic ring to start the center of the flower.
Can I use a magic ring with any type of yarn?
For the most part yes. The only issue is if you use a bumpy yarn that would be hard to pull and tighten the loop, or if the yarn is fragile and tends to break.
Roving yarn can sometimes pull apart when you try to tighten the ring.
How tight should I pull the magic ring?
That mostly depends on the yarn you’re using. If it’s a strong yarn like cotton or acrylic, you can pull it as tight as you want!
If you want there to be a slight hole in the middle, just tighten it until it looks the way you like.
How do I keep the center of my magic ring tight?
Once you finish your project and it’s time to weave in your ends, thread the yarn tail from the magic ring onto a yarn needle and run the tail of the yarn around the stitches from the magic ring. Make sure you’re not threading the yarn through backwards, so you don’t end up undoing the loop on accident.
If you’re really worried about it coming undone, you can tie a knot through one of the stitches and then thread the yarn through a few more and cut the end. I do that sometimes and it helps keep it secure.
Also, if you’re worried about it coming undone, definitely check out the double magic ring!
Can I use a magic ring with other crochet stitches besides single crochet?
Yes! You can crochet any stitch you want into the center of the magic ring, just like you would if you started with a chain 4 loop or any other crochet in the round technique.
Are there any alternative methods to the magic ring for starting a crochet project in the round?
Yes, there are, but they do tend to leave a hole in the center. If you’re cool with that, here are two other options:
- Make a ring of chains – Make a chain 3 or 4, slip stitch into the first chain to form a loop. Then make your stitches in the center of the chain loop.
- Work directly into a chain – Make a chain 2, and work all your stitches for the first round in the 2nd chain from your hook.
That’s it!
I hope you feel confident doing the crochet magic loop now and you’ll give it a try for your next crochet in the round project!