Easy DIY Spiral Macrame Keychain (Free Pattern!)
Learn how to make a super cute and easy macrame key chain with today’s free pattern and video tutorial!
This DIY keychain pattern uses the spiral knot, which is a very beginner friendly knot and a great way to get started with macrame.
Want to remember this? Post this DIY Spiral Macrame Keychain tutorial to your favorite DIY Pinterest board!
(This post may contain affiliate links. If you click one and make a purchase, I may receive a small commission at no extra cost to you. Read the disclaimer here. Thank you for your support!)
We’ll also use the lark’s head knot to attach the cord to the keychain ring, and the wrapping knot (sometimes called a gathering knot) to finish off the keychain.
So you can learn 3 knots with this one simple pattern!
If you’re new to macrame, be sure to check out my FREE printable PDF guide to the 5 most important macrame knots beginners need to know-
In the printable guide, you’ll find step by step photo tutorials for all the knots in this project, plus double half hitch knots and square knots.
You can make so many macrame projects with just those few basic knots! Many beautiful wall hangings and plant hangers are made with only a couple knots. Seriously!

Buy the PRINTABLE copy
Swirly Spirals Macrame Keychain – Printable PDF Pattern!
Reference this pattern any time you want with the printable PDF version!
It’s ad-free, and includes the written pattern with step by step photo tutorial!
Supplies You’ll Need
- 5 mm single strand cotton macrame cord in your favorite color
- 2 pieces @ 33 inches long
- 1 piece @ 15 inches long
- 1″ keychain ring with lobster clasp
- scissors
- comb
Skill Level: Beginner
Spiral Macrame Keychain Free Pattern
Check out the video tutorial for this macrame keychain over on my YouTube channel, and don’t forget to subscribe!
Step 1: Attach cords to key ring
Take one of your 33″ long pieces of cord and fold it in half.
Stick the folded end of the cord through the key ring and pull the ends through the loop to make a lark’s head knot.
Repeat that with the other 33″ piece of cord.
Adjust the cords so the two inner cords are about 7″ long. The outer cords will be way longer.
The short inner cords will be filler cords for your knots, and the outer cords will be the working cords. That’s why the outside ones are going to need to be so much longer.
Related: 3 DIY Macrame Leaf Patterns
Step 2: Tie the spiral knots
Take the left most cord and cross it over the two center cords in a “4” shape.
Place the right cord on top of the crossed over left cord, then bring the end of the right cord back behind the two center cords and through the opening on the left side.
Pull both ends of the cord to tighten the knot and pull on the filler cord so everything lays nice and neat.
That’s your first spiral knot. Now you’re going to repeat that same exact process for all the rest of the knots.
You’re going to tie 17 spiral knots all together.
After you tie about 5 or 6 knots, it’ll start to twist around and you’ll need to bring the working cords around 180 degrees (going counter clockwise).
Then just continue tying the knots the same way and rotate the working cords around again when you need to.
Step 3: Tie the wrapping knot
Grab your 15″ piece of cord and hold it in front of the bundle of cords at the bottom of the spiral in a U shape.
Wrap around with the long end of the wrapping cord about 5 times, then bring the end through the loop, pull the short cord sticking out of the top of the wrapping knot and carefully pull the end up about halfway under the wraps.
Trim off the excess cord and poke the short ends under the wraps.
Related: DIY Macrame Friendship Bracelets
Step 4: Trim and brush the fringe
Now all that’s left to do is cut the fringe so it’s even, and brush it out with your comb or macrame brush.
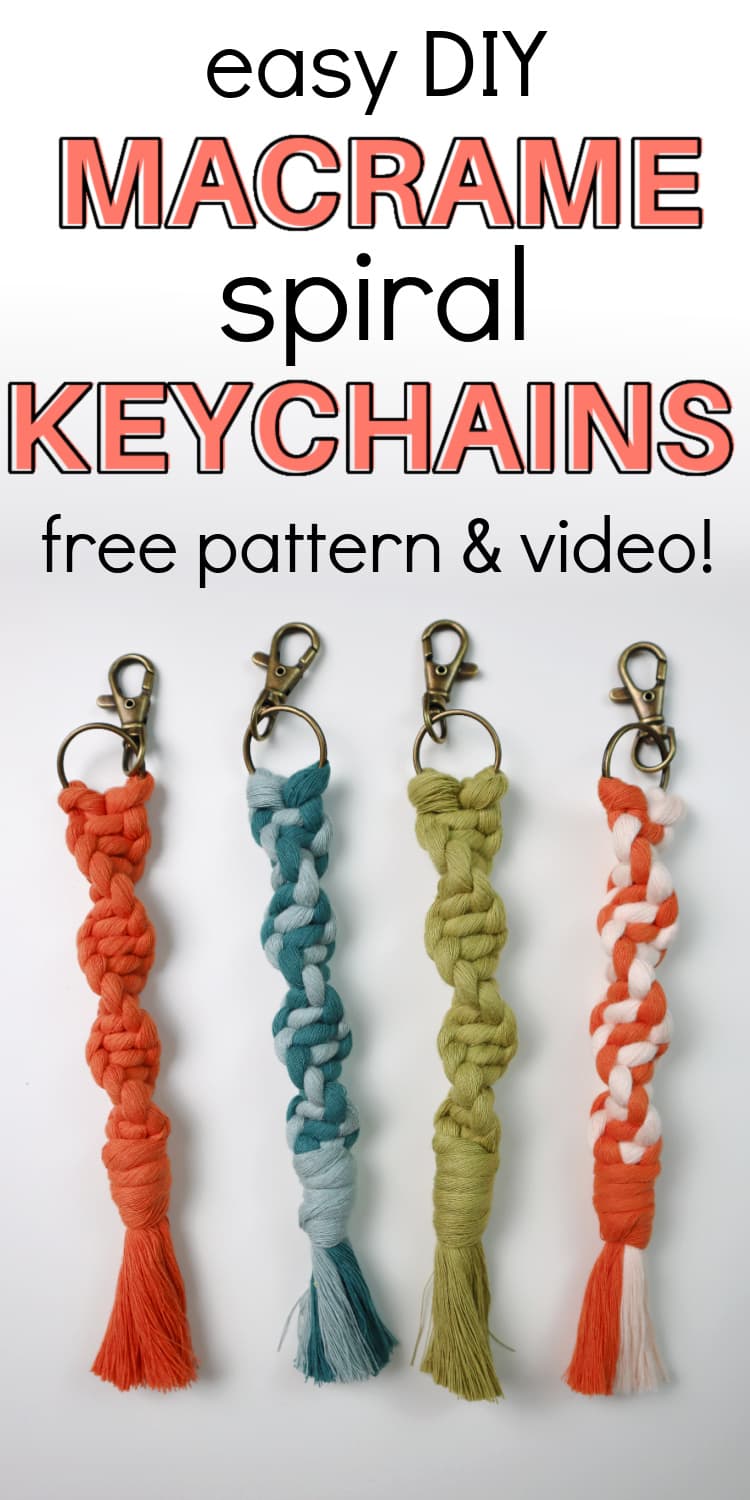
Two Color Variation
You can easily make a two color variation of this keychain too! Just make one of your cords one color and use a different color for the second cord. Everything else is done the same way.
I love the striped pattern it makes!
Another way to change this keychain up is to add some wooden beads at the end, or use different color or types of key clasps.
Done!
I hope you enjoyed this easy step by step free macrame keychain pattern!
If you’re looking for more free patterns, check out the ones below!