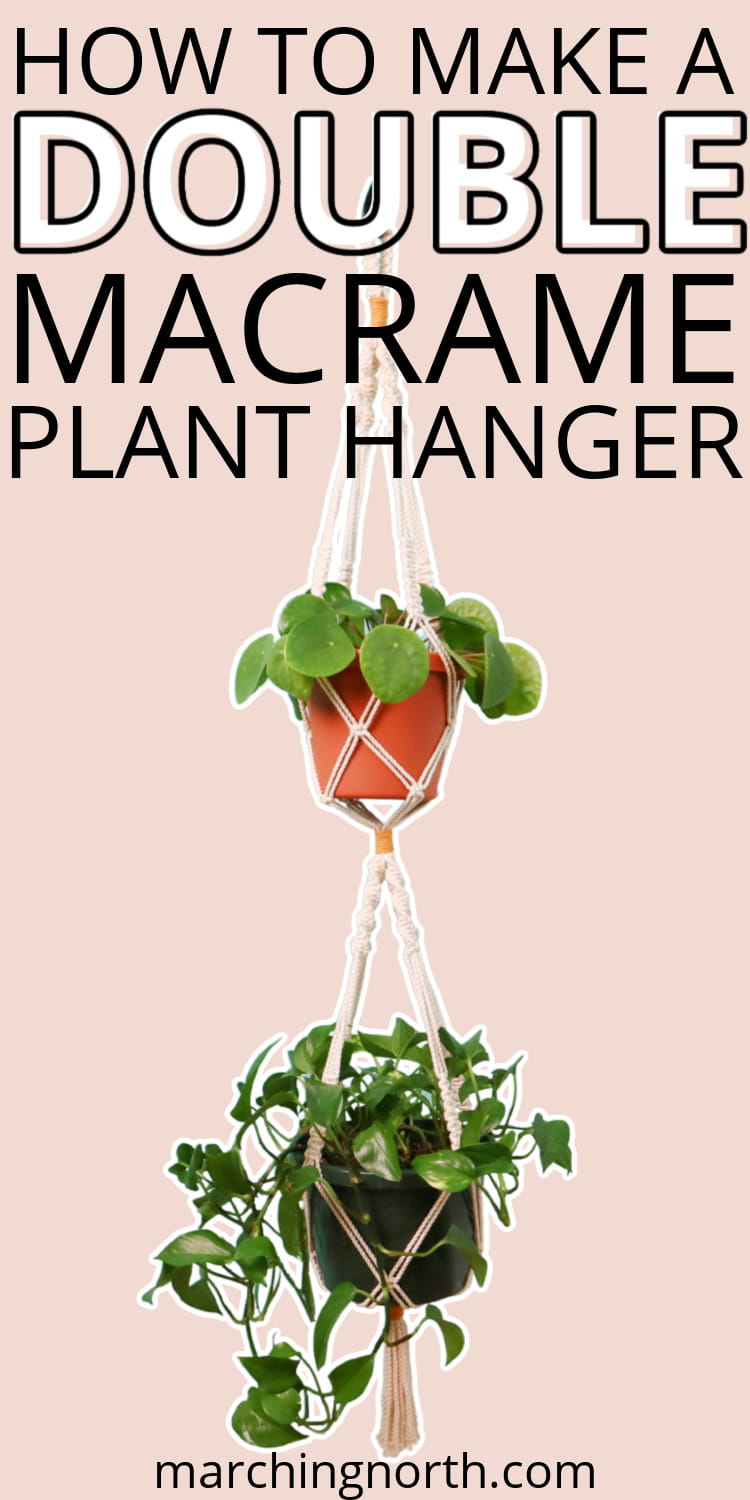
How to Make a Double Macrame Plant Hanger (Tutorial & Video!)
Learn how to make a stunning plant hanger that holds two pots in this free macrame plant hanger pattern, step by step tutorial and video!
Want to remember this? Post this Double Macrame Plant Hanger tutorial to your favorite DIY Pinterest board!
(This post may contain affiliate links. If you click one and make a purchase, I may receive a small commission at no extra cost to you. Read the disclaimer here. Thank you for your support!)
One of my favorite macramé projects to make in the spring is a hanging planter.
If you have a lot of plants in your home, a double plant hanger is awesome because you get two plant hangers in one!
Macrame Knots You Need to Know
This free pattern only requires a few basic knots: the half knot (or spiral knots), square knot, and the wrapping knot.
If you’re new to macrame and want to learn those and more simple knots, be sure to check out my Basic Knots for Macrame Beginners post!

Make Your Own Macrame Plant Hanger!
To add a little visual interest to this beautiful plant hanger, I used a different color of cord to make the wrapping knots. That’s optional, but I think it adds a little flair.
You could also add in some wooden beads in between some of the half knots if you want.
I made this pattern using a no ring method, which means you won’t need a wooden ring or a metal ring to start it off.
This technique makes a really strong and sturdy macramé plant hanger, and you won’t have to worry about any wood rings breaking on you!
You can fit several different sizes of pots in this plant hanger, anywhere from 4 inches up to 10 inches or so should work just fine.
Spider plants or pothos plants look really nice in these macrame hangers, and you can use small plants or longer, vining ones.
If you want to put a small pot on the top tier and a large pot on the bottom tier that works, or you could put large pots on both the top and bottom.
Or if you want, you could also put a large mason jar inside to hold cut flowers. There’s lots of different options!
If you want to put a pot larger than 10 inches across in your hanger, you’ll want to space the knots out for the plant holding basket a bit more, and you might want to add some more length to the cords.
I always do a test fit before I make the wrap knot just to be safe!
Join the Macrame for Beginners and Beyond Facebook Group!
If you’re new to macrame or if you’ve been knotting for a while, connecting with other macrame lovers is always a great idea!
Come check out our Facebook group, Macrame for Beginners and Beyond. It’s a friendly community where you can ask questions, get inspiration, and share your awesome work with other macrame lovers! Come join the conversation today!
More Macrame Plant Hangers
Check out these other macrame plant hanger tutorials with step by step instructions:
- Super Cute Air Plants Hanger (Pattern & Video)
- Fringy Beginner Plant Hanger (Pattern & Video)
- Mini Macrame Plant Hanger (Pattern & Video)
Supplies You’ll Need for this Project
- 3 mm 2 ply twisted cotton rope in the following lengths
- 6 pieces @ 188″ long – inner cords
- 2 pieces @ 212″ long – outer cords
- 3 pieces @ 24″ long – wrapping knots (optional: use a different color of cord for these, I used 3 mm single strand cotton in gold)
- sharp scissors
- tape
- plants!
Double Macrame Plant Hanger Pattern
Video tutorial – Subscribe to Marching North on YouTube!
Step 1: Making the hanging loop
Take the eight pieces of cord and line up one end of them. You’ll have the six 188″ pieces in the center and one 212″ piece on the left and the right.
Keep the one end lined up, and fold the cords in half to find the center of the SHORTER cords. Hold onto the center point with one hand, and then lay it on your workspace.
Take a tape measure or a ruler and line up the 3 inch mark with the center point that you marked with your hand.
Put a piece of tape at the top of the ruler (3 inches away from the center point) to hold the cords in place.
Now we’re going to tie 15 square knots starting at the piece of tape. Use the two longer outer cords as the working cords to tie the 15 square knots around all the center cords.
Once you finish your square knots, untape the cords. Fold the cords over so the square knot section forms a loop.
Take one of your 24 inch pieces of cord and tie a wrapping knot right at the base of the loop.
Trim off the excess cord and hang the loop up on your rack or where ever you’ll be working from.
Step 2: Making the arms of the top plant hanger
Separate the cords into four sections with four cords in each section.
Take one of the sections and tie 22 spiral half knots.
Repeat that with the rest of the sections.
Measure 5″ down on one of the arms.
Switch the inner cords to the outside, then tie 8 square knots, leaving a 5″ space between this section and the spiral section.
Repeat that with the rest of the sections.
Step 3: Making the basket of the top plant hanger
Measure 5″ down from the square knot section.
Take two arms that are next to each other, and grab the right two cords of the left arm and the left two cords of the right arm.
Tie a square knot at the 5″ mark with those cords to connect the two arms.
Repeat that around to connect all the other arms.
Measure down 3″ from the last row, and tie another row of alternating square knots around.
Leave a 3″ space and tie a wrapping knot with another 24″ piece of cord.
Step 4: Repeat!
For the second plant holder basket, you’re going to repeat steps 2 and 3 the same way.
Once you finish the final knot, trim the excess cord underneath.
You can leave long fringe or make it shorter, just be sure to leave at least 5 inches so the bottom wrapping knot stays secure.
Done!
I hope you enjoyed this tutorial and made yourself one of these beautiful macramé hangers!
They also make a wonderful gift for any plant lover you know. The simple design goes well with lots of different home decor styles!
If you made one, please share a pic over on Instagram and tag me @marchingnorth so I can take a look. I love seeing all of your awesome creations!
If I wanted to make an identical single plant hanger, what length cords would I need to use please?
Hi Crystal!
I need to make a dbl tiered plant hanger but using a wooden ring for the top.
can I still use your measurements for 4mm cords? not sure how long they should be if I want the hanger to be 51″ finished product.
Thanks so much for the pattern/tutorial. My final project is lovely, I’m so happy with it. For those asking the length, I used 3mm cord and my final was 45″ plus fringe.
Also wondering the final length of this beautiful hanger. Thanks so much for sharing 🙂
What length is the finished project?
oopsie! I found where to purchase the pattern and it’s in my shopping cart, now. This turned out to be one of my favorite macrame projects that I have made. Thanks again for sharing your creations!
I just made this! I love it! Thank you for sharing all your awesome creations, patterns, and the videos. Is there a way to buy or access a pdf of this pattern with the photos?
Unfortunately I ran out of yarn by the end 🙁 I’m guessing it is because I used 5mm yarn instead. I ended up just putting my smaller pot on the bottom still turned out super cute! Thank you for the pattern!