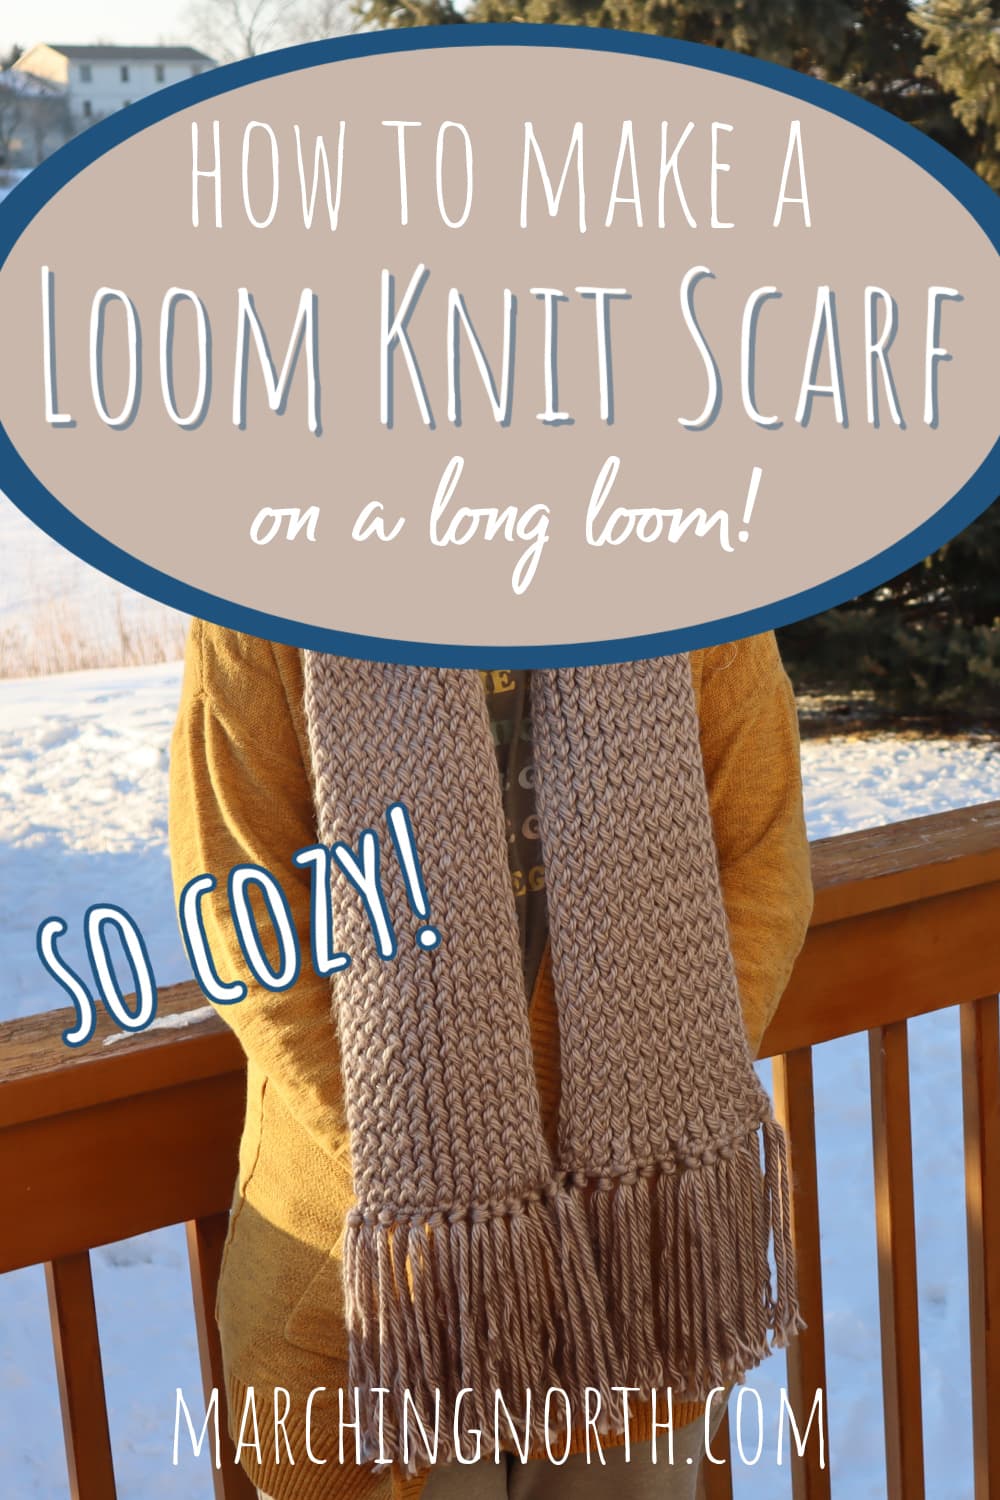
How to Knit a Scarf on a Long Loom (Easy Tutorial for Beginners!)
Learn how to loom knit a scarf on a long loom in this easy, step by step tutorial and free pattern for beginners!
Want to remember this? Post this Loom Knit Scarf tutorial to your favorite DIY Pinterest board!
(This post may contain affiliate links. If you click one and make a purchase, I may receive a small commission at no extra cost to you. Read the disclaimer here. Thank you for your support!)
If you’re new to loom knitting, you’ve probably been working with a round loom.
You can make so many projects with round knitting looms using the stockinette stitch, ribbed stitch, and lots of loom versions of traditional knitting stitches.
So, what is a long loom, anyway?

A long loom (also called a rectangular loom) has two rows of pegs that sit across from each other. These rows are called rakes.
You knit back and forth across the rakes to make your knitted scarf, blanket, or whatever you’re making.
The long loom I’ll be using in the tutorial below is from the brand “Knifty Knitter”.
It has 26 pegs, and it’s a red oblong plastic loom. I got it several years back and that brand is discontinued now, but there are lots of other options!
We’ll be using super bulky yarn for this project, so you’ll need a loom that has a larger gauge.
You’ll find a link below in the supply list with a good option if you need to pick one up.
Most of the long looms you’ll see on places like Amazon should be fine, you just don’t want to get a small gauge long loom that’s for making socks or anything like that.
Don’t worry if you have a longer loom with a different number of pegs, you can just work off of 24 of them and still follow along.
As for the yarn, I used Hometown Yarn by Lion Brand in the color Dallas Grey.
I ended up using 2 full regular sized skeins (81 yards each), and somewhere around half of a “bonus bundle” skein (162 yards in the skein).
This made a scarf that’s around 80″ long, not counting the fringe.
So I recommend you get 4 of the regularly sized skeins (81 yards each) or 2 “bonus bundle” skeins (162 yards each).
Grand total of yarn is somewhere around 250 yards give or take.
Note: This pattern is for a traditional long scarf with fringe on the ends. If you wanted to make an infinity scarf instead, you could make it a bit shorter, skip the fringe, and sew the two ends together!
Alright, let’s get started!
Supplies You’ll Need:
- long knitting loom with at least 24 pegs
- loom hook or loom tool (should come with your loom)
- Lion Brand Hometown Yarn in Dallas Grey
- 4 skeins that are 81 yards each OR
- 2 skeins that are 162 yards each
- tape measure
- scissors
- large eye yarn needle
- large crochet hook (optional, for fringe)
Long Loom Knit Scarf Pattern
Check out the YouTube video tutorial over on my channel Yarn Stash with Marching North.
Be sure to subscribe so you don’t miss any new videos!
Step 1: Make the slip knot and attach to the loom
The first thing to do is grab the end of the yarn and make a slip knot.
If you’ve never done this before, run over and check out this tutorial showing how to make a slip knot for crochet and loom knitting.
Attach the slip knot onto the anchor peg on one side of your loom.
Step 2: Knitting the scarf
To start knitting, you’re going to wrap the yarn under and around the first peg, then go to the peg straight across from it and wrap under and around that peg.
You’ll be doing a figure eight motion.
Continue wrapping around each peg going back and forth across the loom.
We won’t be wrapping around the two pegs on the end, just the ones across from each other in rows. (24 pegs all together)
Once you’ve wrapped them all, push the yarn down to the bottom of the pegs.
Now, you’re going to skip the peg you just wrapped (it’ll have one loop only), and go back in the opposite direction.
You’ll be doing the same figure eight motion, just heading back to the other end of the loom.
When you get back to the other end, wrap hold the yarn in place and use the hook to bring the bottom loop up and over the top loop for each of the pegs.
Do that all the way across on one side, and flip the loom around and repeat for the other side.
You’ll have one loop with only one peg, just skip that one and continue until all the pegs only have one loop.
Now you’ve completed your cast on row.
Push the loops down to the bottom of the pegs, and wrap all the pegs again in the figure eight motion.
From now on you’ll wrap all the pegs so there are two loops (except you’ll always have one peg with only one loop), knit the bottom yarn loop over the top loop, push the loops to the bottom of the pegs and repeat.
You’ll do this until your scarf is to the desired length. This is the perfect time to put on your favorite show and relax with your loom knitting.
It won’t be long until you’ll run out of yarn and need to add on a new skein, which brings us to the next step!
Step 3: Adding more yarn
To add on more yarn, you’re just going to tie the end of the old skein and the end of the new skein together.
Make a nice, secure knot and pull on the yarn really good to make sure it’s not going anywhere. Then, cut the tails pretty close to the knot.
Now you can just continue loom knitting as you were, and the knot will end up hidden inside the scarf.
It doesn’t get much easier than that!
Continue making knit stitches until your scarf is the length you want and I’ll show you how to bind off or finish off your scarf.
Step 4: Binding off
Starting on the opposite side from where your working yarn is, you’re going to grab the loop off of the top left peg and hold it on your hook.
Now, move that loop to the peg below it.
Insert your hook into the top loop and grab the bottom loop.
Pull the bottom loop up through the top loop and bring both loops off the peg.
Move the loop that’s on your hook to the next peg on the other side of the loom and repeat that process again.
You’re going to continue in this manner until you have the last loop from the last peg on your hook and the scarf is off the loom.
Keep that last loop on your hook and cut the yarn so you have a tail about 6 or 7 inches long. Grab the last loop and bring the tail of the yarn through it.
Now you can thread the end of the yarn onto your yarn needle, tie a knot to secure, and weave the end under a few stitches.
That side is done. Now let’s address the other end of the scarf.
Step 5: Tightening up the starting end of the scarf
This step is optional, but I think it makes the scarf look a lot nicer once it’s complete.
You’ll notice that the starting end of your scarf is way stretchier and wider than the end we just finished off. We can fix that!
Find the end of the yarn from where we started the scarf. Now go across to the opposite corner of this side of the scarf.
We’re going to pull the loops going back and forth across this end of the scarf to remove the extra slack.
Just pull one side of a loop to tighten it up, then move down and pull on the other side to move the slack down the row.
Once you get to the starting tail of yarn, you should have a huge loop of slack.
At that point you can just pull the yarn tail and get rid of all of it. This part is super satisfying!
Then, thread the tail onto your yarn needle, tie a knot in the corner, weave in the end and cut off the excess yarn.
Step 6: Adding the fringe
To make the fringe, I wrapped yarn around all the pegs several times and cut the yarn at the top of the loom.
Each wrap made one piece of fringe and that way it was super easy to get them all the same size.
Then you’ll need to grab a crochet hook (or you can use your knitting hook).
Hold two pieces of fringe together and pull them through the end of the scarf in the right corner.
Even up the ends and then you’ll make an overhand knot, and tighten it up close to the scarf.
Continue adding pieces of fringe to the end of the scarf, making one fringe bundle at the end of the row.
I ended up with 12 bundles of fringe on each end of the scarf.
Now you just need to trim the fringe if it’s a bit uneven and your scarf is ready to wear!
Done!
I hope you enjoyed this free long loom scarf knitting pattern!
If you make one of these please share a picture over on Instagram and tag me @marchingnorth so I can see. I just love getting to see all of your awesome creations!
Having a hard time. It gets to tight to move bottom over the top. Trying to keep it loose. Dont know what I am doing wrong.
how wide is this scarf? have a friend wants me to make one that is 11″ wide and 90″ long? Wondering how many pegs I would have to cast on to get this measurement?
3 pegs
=
1 knitted inch
I really liked this tutorial! the pictures and instructions were really easy to follow, and now at the end of the weekend I’ve got a finished scarf, which is pretty cool even if it IS 90° out lol thanks for making this, it really made my first attempt at the loom much less daunting 🙂
What happened to the split knot from the beginning in casting off I’m not sure if I totally missed it