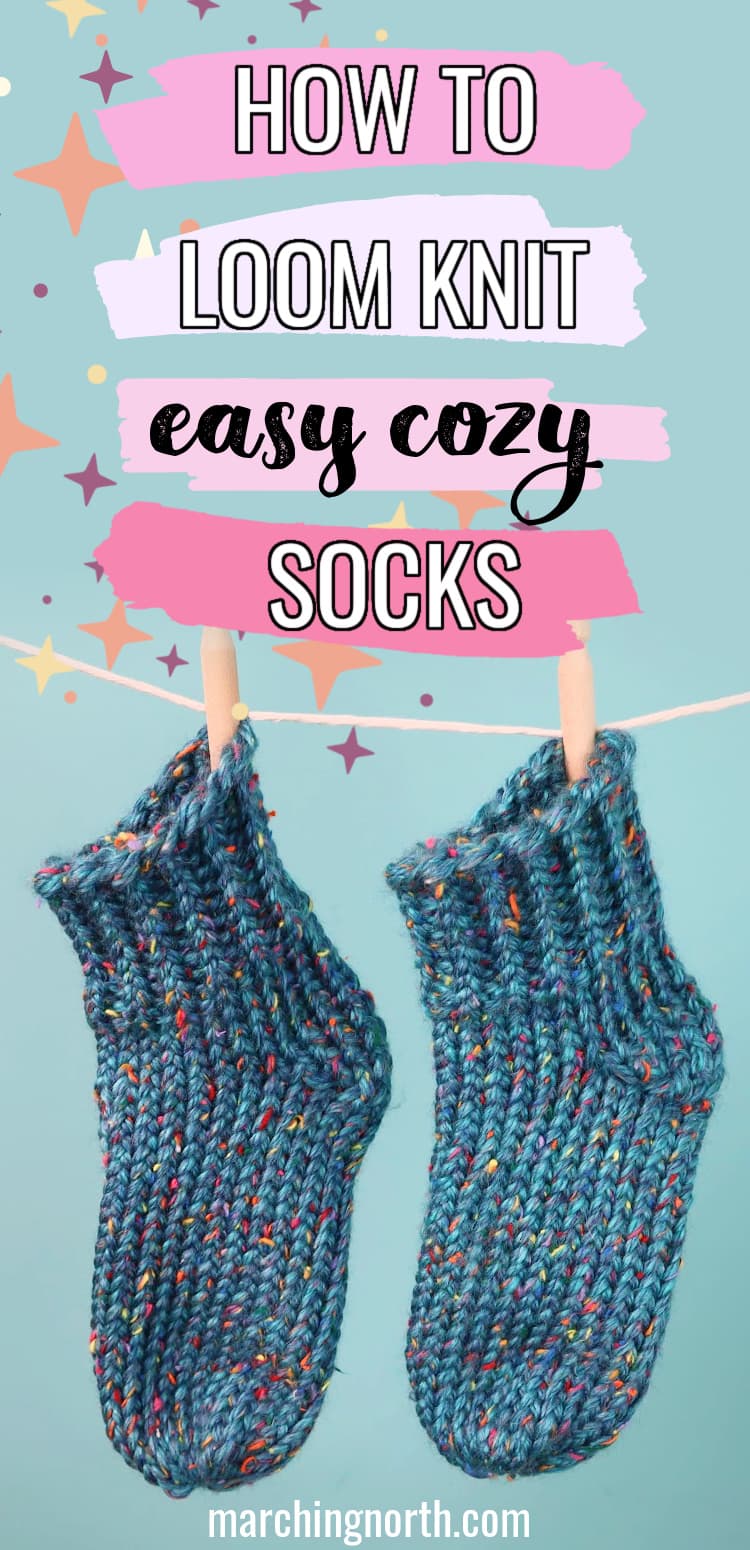
How to Loom Knit Slipper Socks (Easy Tutorial & Video!)
Learn how to make a super comfy and easy pair of loom knit slipper socks in this free pattern and step by step tutorial!
Loom knitting is so much fun. Once you make a project or two, you’ll want to make more!
These slipper socks are one of those perfect easy projects to try after you’ve mastered the basic loom knit hat pattern and want to try something a little more challenging, but still fairly simple.
This is a very basic sock pattern that’s totally beginner friendly.
Want to remember this? Post this easy loom knit socks tutorial to your favorite DIY Pinterest board!
(This post may contain affiliate links. If you click one and make a purchase, I may receive a small commission at no extra cost to you. Read the disclaimer here. Thank you for your support!)
To make these fabulous socks, we’ll be using the basic e wrap knit stitch and the purl stitch, plus we’ll do a very easy short rows technique to form the heel of the sock (don’t panic, it’s so easy).
Even if this is your first time loom knitting socks, you can totally make this pattern.
We’ll be using nice, chunky working yarn to make a pair of thick socks that’s perfect for cold winters and curling up by the fire with a good book and a cup of coffee or some cocoa.

I made the socks in this tutorial to fit me, and I wear a size 9.5 women’s US shoe. You can make these for any shoe size by adding extra rows or reducing rows after the heel.
You could also change the pattern up to make your own unique designs by adding extra rows to the ribbed ankle portion or just skip the heel section all together to make tube socks! Once you learn some more stitch patterns, you can jazz it up even more.
You’ll just need a 24 peg round loom, plus a few other supplies. Your loom should come with a hook, but if you can’t find it, a small crochet hook will also work.
My favorite looms to use are the large gauge set by KB. They seem to be a popular loom brand, I know I love them!
This loom knitting set works with chunky yarn and is perfect for making hats, gloves, and slipper socks!
Let’s get started!
Supplies You’ll Need
- 24 peg knitting loom (5/8″ gauge for bulky yarn)
- loom hook that comes with knitting loom
- 2 skeins of bulky yarn (I used Lion Brand Yarn Hometown in Key Largo Tweed)
- scissors
- 2 stitch markers (or scrap yarn)
How to Loom Knit Socks
Step 1: Cast On
First we’re going to do a cast on row of e-wrap knitting.
Put a stitch marker on one of the pegs. This will be your starting peg.
Make a slip knot and slide it onto the peg you marked and tighten up the knot.
Start e-wrapping clockwise around each peg going to the right.
When you get all the way around, push the loops down and do another row of e-wraps above the first row.
Once you get all the way around, use the hook to bring the bottom loop up over the top loop and off the peg.
Continue that around the loom.
Your cast on row is done!
Step 2: K1P1 Rib
Now we’re going to start the ribbed ankle section. It’s made up of a knit 1 purl 1 rib. If you’ve never done a purl stitch on a loom before, don’t worry, it’s easy!
Start by making an e-wrap knit stitch on the first peg to the right.
For the next peg, we’ll do a purl. Hold the yarn in front of the peg and under the loop already on the peg.
Take the hook and slide it under the loop from the top, grab the yarn with it, and pull up a loop through the top loop.
Grab that loop and carefully pull the loop that’s currently on the peg off. Then put the new loop onto the peg.
Pull the yarn to tighten.
And that’s how you do a purl stitch! I know it seems like a pain, but once you get the hang of it, it’s not bad at all.
Continue alternating knit 1 purl 1 all the way around the loom. Repeat that for 10 rows total.
Step 3: Knit 5 rows
Now we’re going to knit 5 easy rows of e-wrap knit. You just e-wrap around all the pegs, and then knit them off. Super simple!
Step 4: The Heel (Part 1)
Alright, time for the slightly tricky part. Honestly, it’s easy, but you have to pay attention a little bit.
For this part we’ll only be knitting on pegs 1-12 and just ignoring the other pegs. Don’t worry, they’ll be fine. We’ll come back to them.
First, you’re going to count to peg 12 (going to the right from peg 1) and put a stitch marker on it.
Now we’re going to knit 4 rows only on pegs 1-12 going back and forth.
E-wrap knit starting from peg 1 to peg 12. Knit off.
Then, e-wrap going back to the left, but this time you’ll start wrapping on peg 11 (skip peg 12), and wrap to peg 1. Knit off.
E-wrap from peg 2 to peg 12. Knit off.
E-wrap from peg 11 to peg 1. Knit off.
Alright, that’s the first part of the heel. Take a quick snack break and then we’ll dive into part 2!
Step 5: The Heel (Part 2)
For the second part of the heel, we’ll be decreasing by one on each row.
First, take the loop on peg 12 and move it over to peg 11. Now there will be two loops on peg 11.
Now you’re going to e-wrap knit from peg 2 to peg 11.
When you go to knit off the loops, you’ll take both loops from peg 11 and treat them as one loop, knitting them both off at once.
We’re going to continue doing this back and forth for the rest of the heel. Each time you’ll knit back across the heel row, stopping when you get to the peg with 2 loops. Here we go!
Put the loop from peg 1 onto peg 2. E-wrap knit across to the left.
Put the loop from peg 11 onto peg 10. E-wrap knit across to the right.
Put the loop from peg 2 onto peg 3. E-wrap knit across to the left.
Put the loop from peg 10 onto peg 9. E-wrap knit across to the right.
Put the loop from peg 3 onto peg 4. E-wrap knit across to the left.
We did it! At this point, your sock will look like this.
Now we have to address those big gaps.
This part is a little bit of a guessing game, but it’ll be OK. You have to pick 3 loops to place onto the empty pegs on each side where the gaps are.
My method is to find a center loop and put it on the center empty peg on one side.
Then choose the loops on either side. That way it’s at least pretty centered.
Keep in mind that the part you’re looking at on top of the loom will be inside the finished sock, so pick a loop kind of towards the underside to avoid a lump on the side of the sock.
Here’s how mine looked after I picked my random loops and put them on the pegs.
Repeat that on the other side of the heel. Now it’ll look like this.
Pat yourself on the back, you officially made it through the hairy part of this sock pattern! You’ll have to do it one more time, but it’ll be even easier the second time around.
Now let’s finish this thing!
Step 6: Knitting the foot of the sock
The rest of the sock is super easy. You just do rows of e-wrap knitting until it’s the length you want.
I wear a size 9.5 US women’s shoe and I did 25 rows after the heel.
To determine the number of rows I wanted to do, I just kept sticking my foot into the unfinished sock right through the loom. I’m sure there’s a way to do a more accurate measurement, but that method worked pretty
For larger socks sizes, add more rows, and for smaller sizes, knit less rows. It’s easiest if you can test the sock on your intended recipient.
Step 7: Finishing off the toe section
We’re so close to done!
Wrap the yarn around the loom one and a half times to make sure you have plenty to finish it off. Cut the yarn at the 1.5 loom wraps mark.
Thread the end of the yarn onto a yarn needle.
Feed the needle up under the loop on the first peg and pull the yarn through.
Slide the loop off of peg 1.
Continue that around the loom until you’ve removed all the loops from the pegs.
Pull the end of the yarn to cinch the hole up. Now we’re going to use the yarn needle to thread the yarn back through all the loops around the hole again, just to make it extra secure.
Once you get all the way around, tie a knot to secure. Then weave the end of the yarn up through some of the loops and cut it. I made sure to weave the yarn in along the top of the foot so there won’t be any weird lumps on the bottom when I’m walking.
Use the yarn needle to weave in the end from the beginning of the sock over on the ankle part.
Done!
Give yourself a round of applause! We did it! And it has a heel and everything!
I was seriously proud of this accomplishment because prior to this, I had never made a sock with a heel. I’ve made crochet slippers and whatnot, but never with a real heel! Woo hoo!
Now that the first sock is done, it’s time to make the second sock. You got this!
In Conclusion
I hope you enjoyed this tutorial and made yourself a pair of these seriously cozy loom knit slipper socks! If this is your first pair of socks, congrats!
If you want to try knitting socks on a smaller gauge loom with finer yarn, I’ve heard that this comprehensive book by Isela Phelps is top notch. You’ll learn lots of tricks of the trade!
I’m a big fan of chunky yarn, so I haven’t quite gone there yet.
Once you finish your pair of chunky loom knit socks, share a pic over on Instagram and tag me @marchingnorth so I can see! I love seeing your awesome creations!
Thanks for your video…been looming for years and my first attempt at socks! I have sock looms but gonna try this. I made it to where I need to place loops back on loom and getting nervous… hard for me to see which loops but I’ll watch video couple of times and get brave!!
Help!!
I only have a 44 peg loom. For the heel part 1 would I still do 4 rows? And then 7 decreases?
Many thanks
This was super easy. Thank you!
20 stitches in Step 6 was perfect for my size 6 feet.
Is there a way to download your written instructions. Thanks so much for making this.
This is an excellent pattern! It’s super easy to understand and follow! My only question is if I wanted to make higher socks like instead of ankle, maybe crew or boot socks. Would I add the length before the heel? I’m thinking it would work but I thought I would ask just in case!
For your Loom Knit Slippers Socks, love them by the way. I have a square loom. Will your pattern work on a square loom as well?? Or would I need to buy the circular loom? I realize the concept is the same. If you could, please let me know. I’m a beginner with anything to do with knitting. I’ve knitted before .. OLD SCHOOL way with the 2 needles. I decided that crocheting was better for me. I saw my son’s girlfriend with a loom. I wanted to try it. Thanks for your awesome pattern. Beautiful work. BTW, your video and tutorial was fantastic and easy to follow. Only via reading your work. Thanks.
I’m not 100% sure because I haven’t tried it, but I would think if the loom has a similar amount of pegs and is the same gauge, it should work the same as a round loom. It’s certainly worth a try! I’m so glad you enjoyed the video and tutorial!! 🙂
Very easy instructions to follow. Love it!
Hello Crystal
Thank you for this pattern with lots of photos. I can do this! I think I just found my Christmas gift to me. 🙂
This looks like a calming thing to do and since the weather isn’t really nice I’ll just curl up in my chair with the loom and yarn (and the cat of course) and knit myself a pair of slipper socks. Since we have just warmed up to -33C (it has been -45 for the last 5 days) and the snow is falling again I feel I need these. Thank you for your generosity in sharing your patterns. You are truly gifted in your creative abilities.