Easy Fingerless Gloves on a Knitting Loom (Free Pattern!)
Learn how to make a super easy pair of loom knit fingerless mittens in this step by step free pattern and video tutorial!
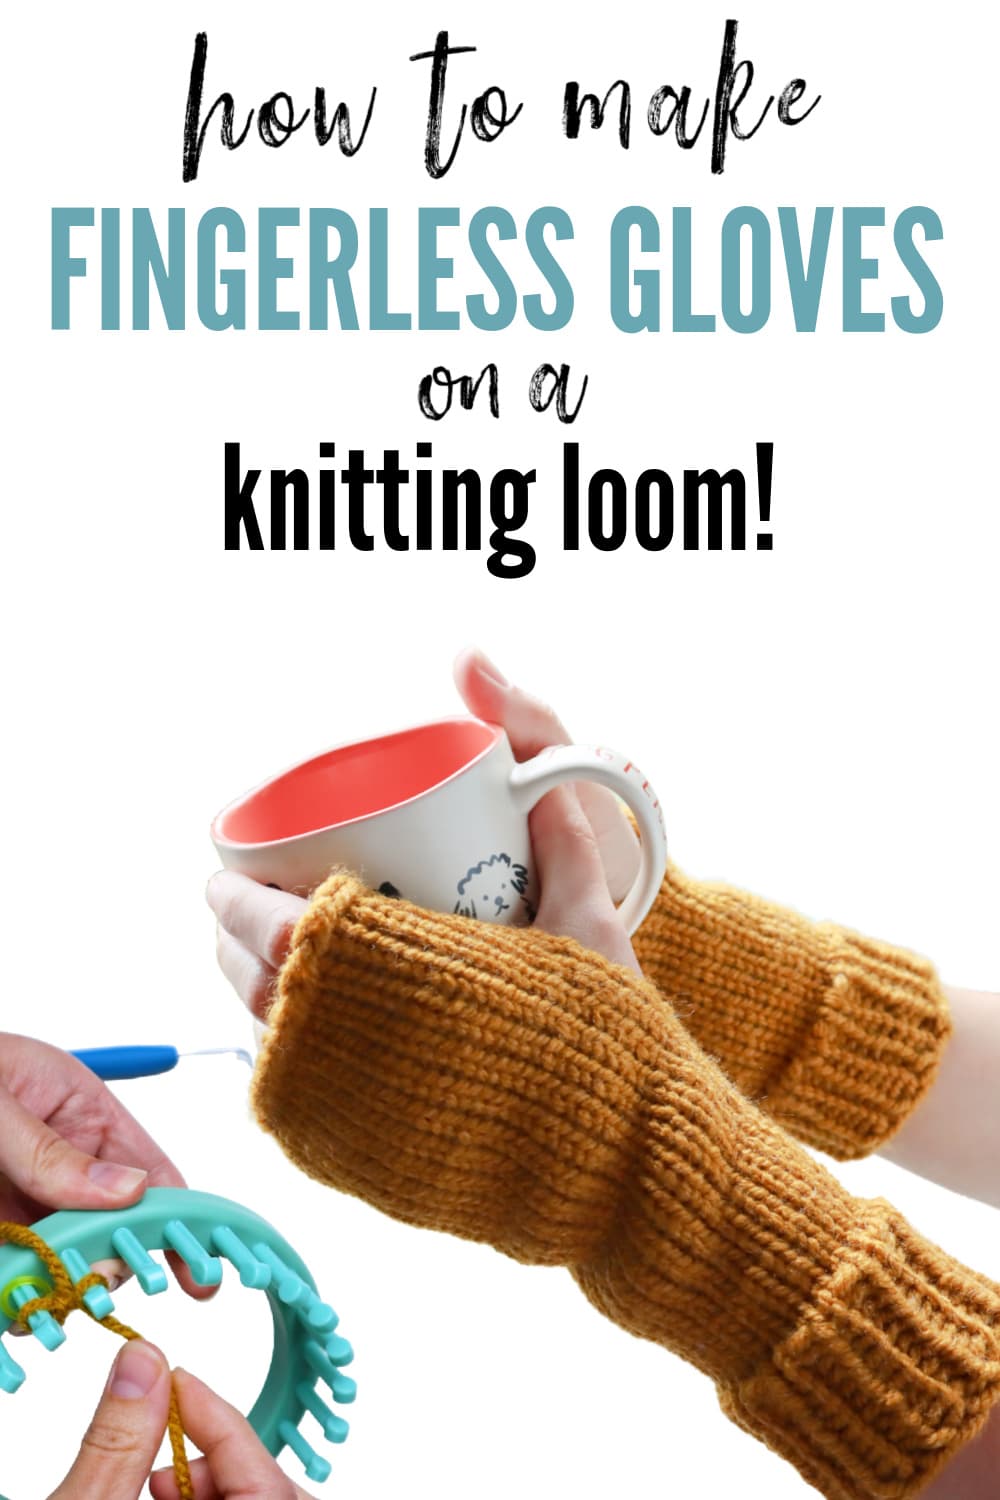
Want to remember this? Post this Knitting Loom Fingerless Gloves tutorial to your favorite DIY Pinterest board!
(This post may contain affiliate links. If you click one and make a purchase, I may receive a small commission at no extra cost to you. Read the disclaimer here. Thank you for your support!)
Don’t you just love a nice cozy pair of fingerless mitts when the weather starts to turn a little chilly? They also make a great wrist warmer if you work in front of a computer and the air conditioner is on full blast.
This loom knitting pattern is beginner friendly and you won’t have to touch a pair of knitting needles.
All you need is a round 24 peg knitting loom and hook, some chunky yarn, and a couple of hours to make these simple fingerless gloves.
Below you’ll find the video tutorial and a step by step walkthrough which is perfect for visual learners!

For this pattern, we’ll be using the u-wrap knit stitch as well as the purl stitch, and we’ll do a simple e-wrap cast on to get started.
I’ll also show you how to make a thumb hole and how to cast off once we finish.
If you’re totally new to loom knitting, this is a great pattern to try.
Be sure to check out my easy loom knit hat pattern which is SOOO beginner friendly and a perfect place to start.
Best Knitting Loom for Fingerless Gloves
To make a pair of these gloves, you’ll need a 24 peg knitting loom.
If you pick up a set of looms, this will most likely be the smallest circular loom that comes in your set.
I use the KB large gauge loom set and it’s one of my favorites. You can also use the 24 peg Knifty Knitter round loom.
This loom knitting set works with chunky yarn and is perfect for making hats, gloves, and slipper socks!
You’ll also need the hook that goes along with the loom, a stitch marker, and a yarn needle for this project.
Best Yarn Loom Knitting these Fingerless Gloves
I used Amigo Chunky yarn for the gloves in the tutorial below. It’s an acrylic size 5 chunky yarn that I really like from Hobbii.
Any size 5 yarn should work for this pattern, and I recommend sticking with acrylic since it’s easy to wash and easy to loom knit with.
Another good option would be Lion Brand Wool Ease Thick and Quick, which is an acrylic wool blend and super warm and cozy.
One last option is to hold two strands of worsted weight yarn together and knit them as one. I haven’t tried that with this pattern yet, but it should work just as well.
Supplies You’ll Need
- 1 skein of chunky size 5 yarn (I used Amigo Chunky by Hobbii in the color Curry #38)
- 24 peg large gauge knitting loom
- knitting loom hook
- stitch marker
- yarn or tapestry needle
- scissors
Loom Knit Fingerless Gloves Written Instructions Tutorial
Check out the video tutorial over on my YouTube channel, and be sure to subscribe so you don’t miss any new videos!
Step 1: Cast on row
Place the stitch marker on one of the pegs to mark your starting peg.
Make a slip knot and place the loop on your first marked peg. Pull the working yarn to tighten the slip knot.
E-wrap around each peg going around the loom (you can go to the left or to the right, you just need to stick to whichever direction you pick).
Once you wrap all the pegs, push the loops to the bottoms of the pegs and make another row of e-wraps.
Use the hook to bring the bottom loop up over the top loop and off the first peg and all the remaining pegs.
Step 2: Ribbed cuff
Now that we’ve cast on it’s time to make the ribbed cuff. We’ll be doing a knit one, purl one rib for 10 rows.
Make a u-wrap knit stitch on the first peg.
Then on the second peg make a purl stitch.
Repeat that around for the first row.
Continue this ribbing pattern for the next 9 rows, until you have 10 rows of ribbing all together.
Step 3: Tightening the cast on row (optional)
You’ll notice that the cast on row is much looser and loopy looking than the other rows. We can fix that!
Find the slip knot from the beginning of the cast on row and partially untie it. Just pull the end back out through the first loop of the knot, but leave it loosely knotted the rest of the way.
Now locate the stitch to the right of the knot on the front of the cast on row. Pull it to remove any slack. Then repeat that with the next loop to the right. This should pull over the slack from the first stitch.
Repeat that around, moving the accumulated slack yarn down the row as you go. The loop you’re pulling will get larger and larger each time.
Once you reach the slip knot, pull on the yarn end to remove the excess slack. Cut off some of the excess yarn if you want to keep it out of your way.
Doesn’t it look so much better now?
Step 4: Main body of the glove
For the first part of the main glove section, you’ll be knitting 20 rows.
Do the u-wrap knit stitch for each stitch for 20 rows.
Be mindful of your tension and don’t pull the yarn too tight.
Step 5: Thumb hole
Now it’s time to make the thumb hole. We’ll continue with the knit stitch, but for the next 10 rows we’ll be working back and forth instead of in the round.
This will leave a hole where you turn for each row.
For the first thumb row, you’ll be working in the opposite direction that you’ve been working this whole time. So if you’ve been knitting to the left like me, switch to the right for this row.
Skip the first peg (this is the turning peg for this row) by pulling the yarn behind that peg.
Then start u-wrapping and knitting the rest of the pegs until you get back to the starting peg.
Once you knit the starting peg (the one with the stitch marker on it), you’ll switch back the other direction for the next row.
Again, skip the first peg which will be the turning peg, and u-wrap knit back around to the left.
When you knit the peg to the right of the marked peg, turn back the other way for the 3rd row.
Repeat this until you have 10 short row thumb hole rows all together.
Step 6: Top of the glove
For the rest of the glove, we’ll go back to knitting in the round like we did before.
U-wrap knit 15 rows the same way as you did for the section before the thumb hole.
Step 7: Cast off
To cast off, first you’re going to knit the first 2 pegs as usual.
Then move the loop on the 2nd peg you just knitted to the right peg. Knit the bottom loop over the top loop and off the peg.
Now, move the loop on the right peg back to the left peg.
Knit the next peg (this will be the 3rd peg), move the loop on the 3rd peg over to the 2nd peg. Knit the bottom loop over the top loop and off the peg.
Move the loop on the 2nd peg back to the 3rd peg.
Repeat this around for all the pegs until you have on loop remaining on the last peg.
Carefully remove the loop from the loom, cut the yarn leaving a tail a few inches long, and pull the loop until the end of the yarn comes through.
Step 8: Finish off and weave in the yarn tails
Grab your yarn needle, thread the end of the yarn onto it and we’re going to make one stitch to pull the top edge of the glove together.
Find the last knit stitch across to the left from where the yarn is coming out.
Insert the yarn through the front of the knit stitch under both loops. Bring the yarn back down through the stitch where the yarn was originally coming out.
This should make a stitch that looks the same as the other knit stitches and it’ll blend in really nicely.
Flip the glove around and weave the end under a few stitch on the inside. I like to tie a knot to make it extra secure and then weave under a few more stitches. Cut the excess yarn.
Now go back to the cuff side of the fingerless glove and thread the yarn tail onto the needle.
Weave the end down through to the inside of the glove, tie a knot to secure and cut the excess yarn.
Now your first glove is complete. All that’s left is to make the second glove and you’ll be good to go!
In Summary
I hope you’ll make a cool pair of fingerless gloves using this easy tutorial!
If you make these, please share a pic over on Instagram and tag me @marchingnorth so I can take a look. I love seeing all of your awesome creations!
More Free Loom Knitting Patterns & Tutorials
I made these. They are cute. They were easy for me. I followed the video. That made it easier.
Hello, thanks for this awesome tutorial! My first time trying and it was great. I did get very stuck on Step 3 (mostly due to fuzzy yarn making it very hard to see) and ended up giving up on it but want to get it right next time – I was wondering if I knit in a different direction to you (I knit to the right), should I still be starting this step to the right of the slip knot or should I be going left instead?
go left, I also go to the right when I knit, so when tidying up the cast on we start from the left and work round.