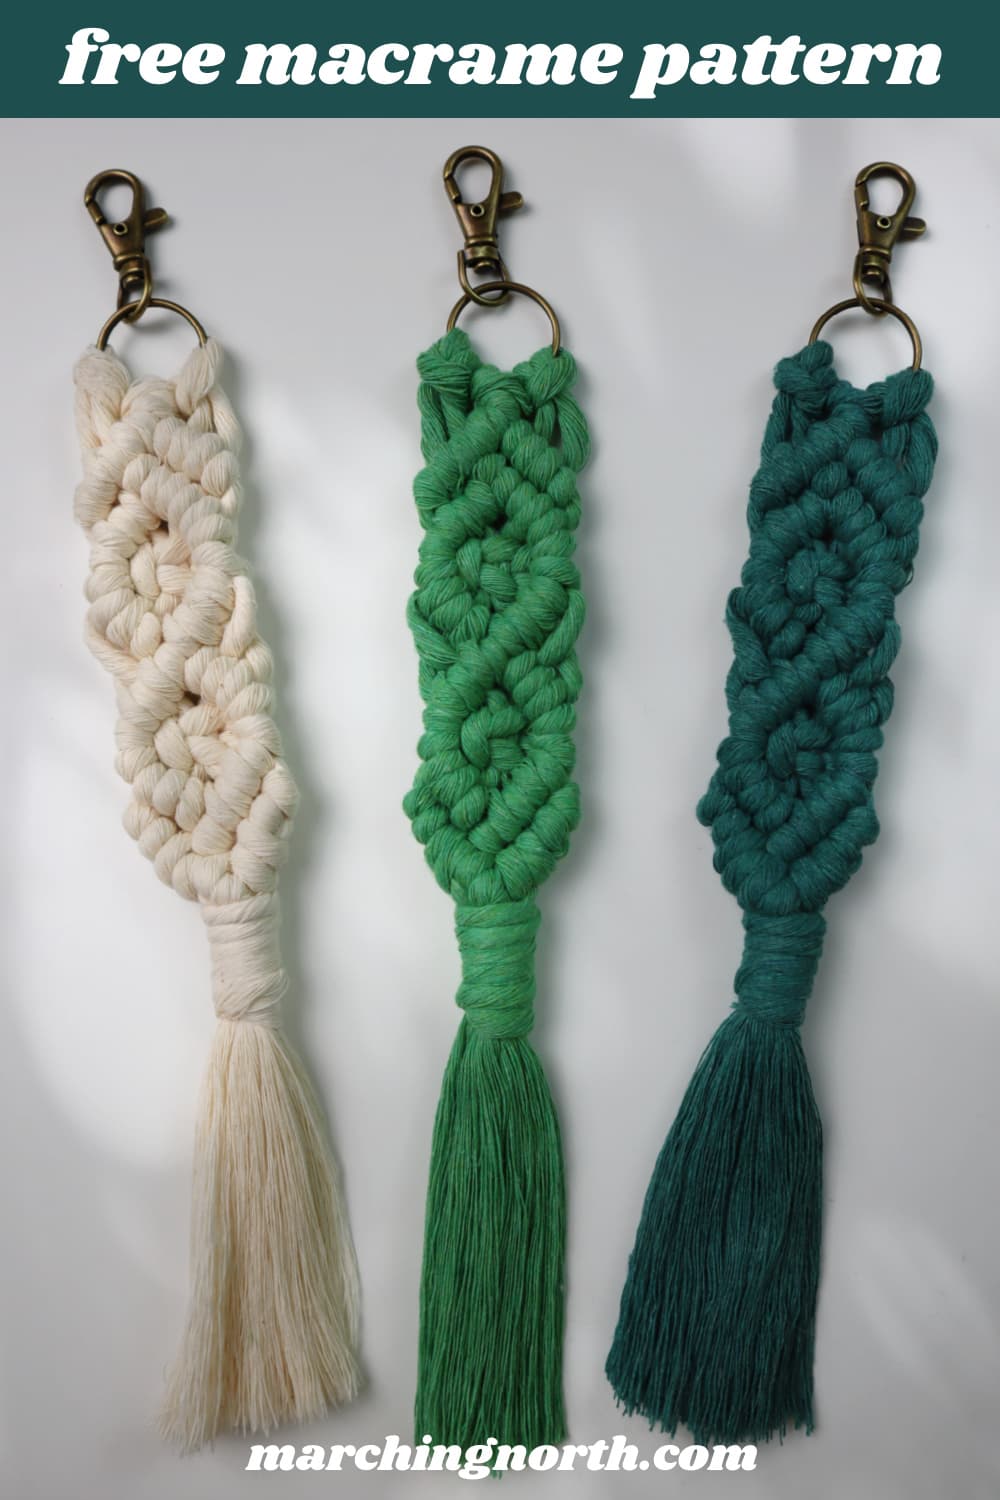
DIY Macrame Diamond Keychain (Free Pattern & Video!)
Learn how to make an easy diamond macrame key chain in this free pattern and tutorial!
This macrame keychain is a fun DIY project and a great way to practice your double half hitch knots.
Want to remember this? Post this DIY Macrame Diamond Keychain tutorial to your favorite DIY Pinterest board!
(This post may contain affiliate links. If you click one and make a purchase, I may receive a small commission at no extra cost to you. Read the disclaimer here. Thank you for your support!)
We’ll be doing plenty of those, as well as the lark’s head knot and a couple of square knots.
If you’re new to macrame, be sure to your copy of my free 5 Basic Macrame Knots Guide by signing up with the form below!
It includes step by step photo tutorials for all of those simple knots, plus the spiral knot and the wrapping knot.
You can either access it online with your smart phone, tablet, or computer, or you can print it out and reference back to it any time you’re working on macrame projects!

Buy the PRINTABLE copy
Double Diamonds Macrame Keychain – Printable PDF Pattern!
Reference this pattern any time you want with the printable PDF version!
It’s ad-free, and includes the written pattern with step by step photo tutorial!
Where to Get Macrame Supplies for this Project
For this pattern, I used 5 mm single strand cotton macrame string. It’s one of my favorites and the fringe brushes out really nicely.
You could also use braided cord if you want, or you could use 3 ply rope.
If you go the 3 ply rope route, you’ll want to add a bit of length to your cords because it tends to be a harder cord and therefore uses up more rope than the softer string does.
One of my favorite place to purchase macrame cord is Niroma Studio- that’s where I got the string I used in this tutorial.
You’ll find links in the supply list below, and you can also see several other great options for macrame supplies in this post.
Supplies You’ll Need
- 5 mm single strand cotton macrame string in the following lengths:
- 3 pieces X 52″ long (133 cm)
- 1 piece X 16″ long (41 cm)
- 1″ keychain ring with lobster clasp
- scissors
- comb
- macrame board with T pins or a cork board to hold your work
Skill level: Confident Beginner
If you’re looking for a project for the absolute beginner (with no double half hitch knots), check out this spiral keychain that is a perfect first macrame project!
DIY Macrame Keychain Pattern
Check out the video tutorial for this project over on my YouTube channel, and don’t forget to subscribe!
Step 1: Attach cords to the key ring
Take one of your 52″ long pieces of cord, fold it in half, and attach it to the key ring with a lark’s head knot.
Repeat with the other two 52″ pieces of cord.
Secure your work to your work surface either by pinning it to a macrame board or cork board, or by taping it down to your desk.
Step 2: Make the first diamond
Take the 4th cord from the left and use it as the filler cord to tie a row of 3 double half hitch knots going down and to the left.
Use the 3rd cord from the right as the filler cord to tie 2 double half hitch knots going down and to the right.
Take the 3rd cord from the left and use it as the filler cord to tie a row of 3 double half hitch knots going down and to the right.
Take the 3rd cord from the left and use it as the filler cord to tie a row of 2 double half hitch knots going down and to the left.
Take the 4 center cords and use them to tie a square knot right in the middle.
Use the far left cord as the filler cord to tie 2 double half hitch knots going down and to the right.
Use the far right cord as the filler cord to tie 3 double half hitch knots going down and to the left. The last knot will connect the two sides of the diamond.
Step 3: Make the second diamond
Use the same filler cord you used for the last row of knots to tie a double half hitch knot using the far left cord as the working cord.
Then use the next cord to the right as the working cord to tie the next double half hitch knot.
Use the 3rd cord from the right as the filler cord to tie a double half hitch knot using the far right cord as the working cord.
Then use the next cord to the left as the working cord to tie the next double half hitch knot.
Take the 4 middle cords and use them to tie a square knot right in the middle.
Use the far left cord as the filler cord to tie 2 double half hitch knots going down and to the right.
Use the far right cord as the filler cord to tie 3 double half hitch knots going down and to the left. The last knot will connect the two sides of the diamond.
Use the far left cord as the filler cord to tie one double half hitch knot going down and to the right.
Then hold the working cord you just used along side the filler cord, and tie the next double half hitch knot around BOTH cords.
Use the far right cord as the filler cord to tie one double half hitch knot going down and to the left.
Then hold the working cord you just used along side the filler cord, and tie the next double half hitch knot around BOTH cords.
Use the center two cords to tie one last double half hitch knot right in the middle to connect the diamond.
Step 4: Wrapping knot
Take your 16″ long piece of cord and use it to tie a wrapping knot (or gathering knot) below the last row of double half hitch knots.
I like to turn the keychain around to the back so it looks extra neat on the front side.
You’ll hold the cord in a u shape, then wrap the long end around 5 or 6 times.
Pull the end of the cord through the loop at the bottom, then pull the short cord at the top until the loop is pulled up about halfway under the wrapped section.
Trim off the excess cord and poke the short ends up underneath the wraps.
Step 5: Finishing
Pull on each cord one at a time under the wrapping knot to remove any excess slack in the string.
Trim the tassel- I usually just cut it to the length of the shortest piece of cord.
Then you can brush it out as you want and you’re done!
Customizing this Keychain
If you want to change this pattern up there are a few ways to make it your own.
The easiest way is by using different colors of cord.
Another option is replacing the square knots with wooden beads. Or you could use pretty glass beads.
There are also different types of key clasps and you can switch those up and choose your favorite color.
The possibilities are endless!
In Conclusion
I hope you enjoyed this macrame diamond keychain tutorial!
If you make one of these, please share a pic over on Instagram and tag me @marchingnorth so I can take a look. I love seeing all of your awesome creations!
Check out these other tutorials for macrame wall hangings, plant hangers, and lots of other free patterns!
Another easy to follow tutorial! Thank you!
Crystal, Thank you for all your care in this work you produce, I have been ill so not been able to watch but kept your e.mails. This key ring I did see though and thought it could also be used with just the rings one at each end for holding curtains back on a wall hook. Ideal for me as I can start off my macrame adventure with you doing just so, for my kitchen curtains when I want more sunshine to enter the room. I should be able to find a way to finish the end somehow onto the second ring. You are truly gifted with useful, fun to make ideas. Thank you so much. Merry, Healthy Christmas to you all. Stay Safe,