DIY Macrame Towel Hanger (Free Pattern & Video!)
Learn how to make a handy macrame towel hanger in this free macrame pattern with step-by-step instructions and video!
Don’t forget to pin this for later!
(This post may contain affiliate links. If you click one and make a purchase, I may receive a small commission at no extra cost to you. Read the disclaimer here. Thank you for your support!)
If you’re like me, you can never have enough kitchen towels when you’re cooking or baking. Especially if you have a small kitchen and not a lot of counter space (also like me…)
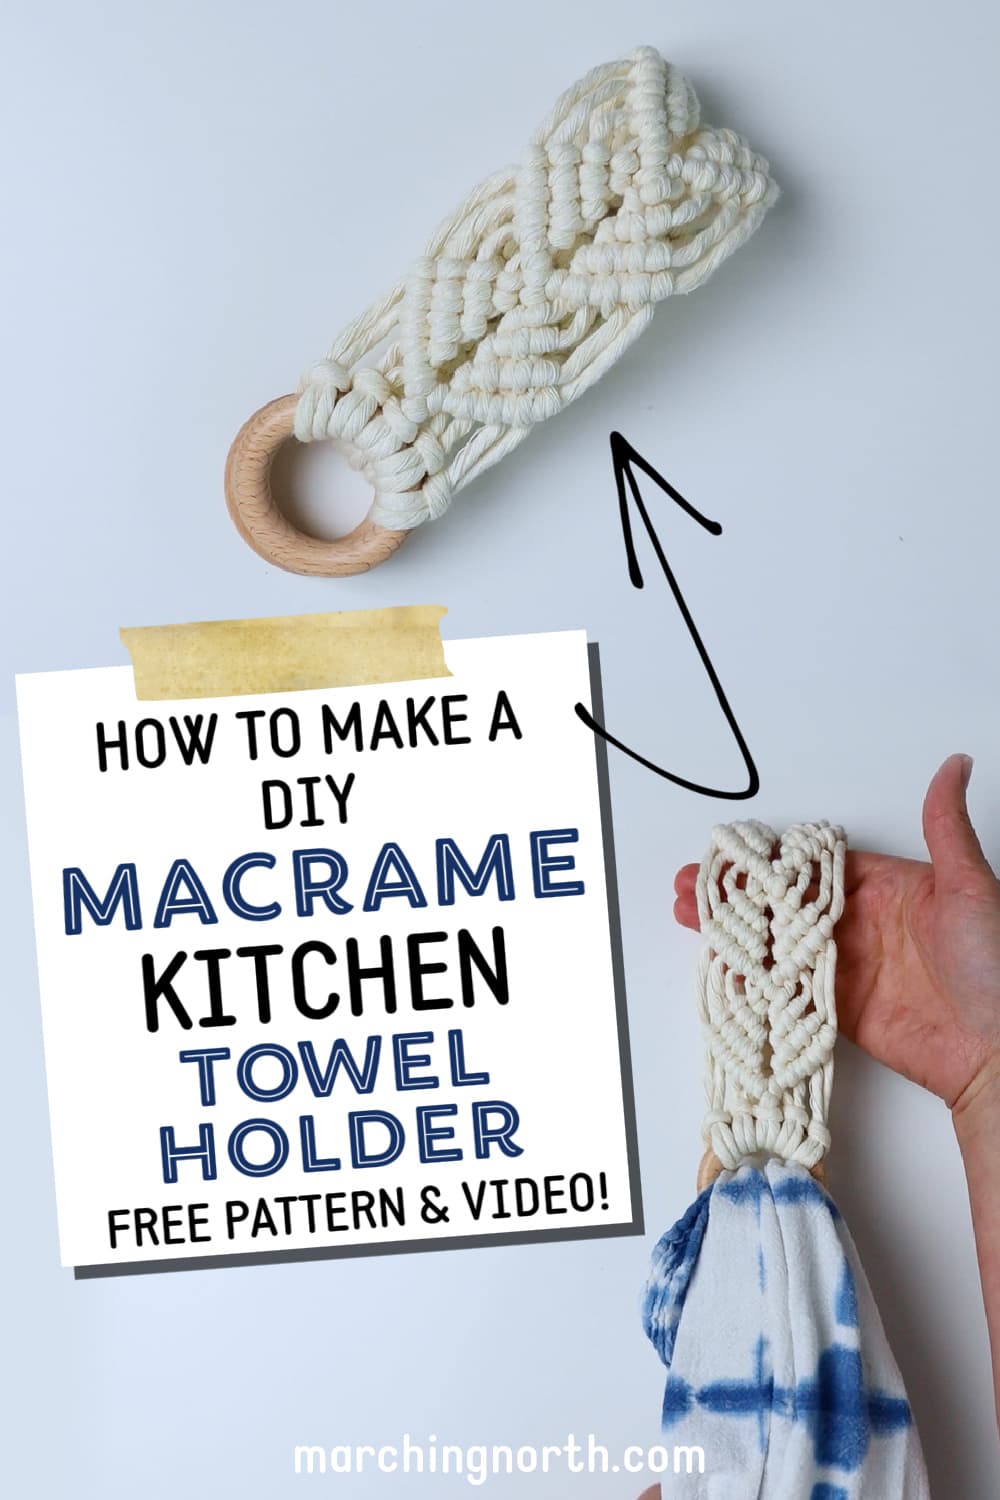
This macrame kitchen towel holder will free up your counter space and look great at the same time. It’s a great way to add a little extra boho vibe to your decor without going overboard.
Depending on the size of wooden ring that you use, you can hang a tea towel or a thicker terry cloth towel with this hanger.
I’ll give you specific size recommendations down below in the supply list so you can customize it for your needs.
This project would make a perfect gift and is a great accessory for anyone who loves boho style and practical gifts!

Grab your PRINTABLE copy
Macrame Towel Hanger – Printable PDF Pattern!
Reference this pattern any time you want with the printable PDF version! It’s ad free, and includes the written pattern and step-by-step photo tutorial!
Macrame Knots You’ll Need to Know
For this hand towel hanger, you’ll need to know how to tie the following macrame knots:
- lark’s head knot
- double half hitch knot
- wrapping knot (sometimes called gathering knot)
If you don’t know those basic knots, that’s OK! I have a beginner macrame knot tutorial that will teach you all of those, plus several other knots like the square knot, spiral knot and more.
Here is a step by step video that slowly shows how to do the double half hitch knot, which we’ll be doing a lot of in this pattern.
Also, be sure to check out our awesome macrame Facebook group, Macrame for Beginners and Beyond with Marching North!
Join the Macrame for Beginners and Beyond Facebook Group!
If you’re new to macrame or if you’ve been knotting for a while, connecting with other macrame lovers is always a great idea!
Come check out our Facebook group, Macrame for Beginners and Beyond. It’s a friendly community where you can ask questions, get inspiration, and share your awesome work with other macrame lovers! Come join the conversation today!
Looking for a PDF macrame pattern? I have lots of digital downloads available in my shop!
Supplies You’ll Need
- 5 mm single strand macrame string in the following lengths:
- 5 pieces @ 96 inches long (244 cm)
- 1 piece @ 20 inches long (51 cm)
- 2 wooden rings (I used 2″ for this example, but 3″ or 4″ rings would work better for thicker kitchen towels)
- here are some 50 mm wooden rings (about 2″)
- and here are some 90 mm wooden rings (about 3.54″)
- you could also use small 3″ embroidery hoop rings as towel rings- just use the inner ring
- sharp scissors
- tape to secure your work to your desk (optional)
Macrame Towel Holder Tutorial
Check out the video for this project down below, and be sure to subscribe so you don’t miss any easy macrame patterns, new projects and creative crafts!
Step 1: Attach cords to wooden ring
Grab your 5 pieces of cord that are 96″ long and one of your wooden rings. Take one of the cords, fold it in half and attach it to the bottom of the ring with a lark’s head knot.
Repeat that with the rest of the cords.
It’s a good idea to tape or secure your wooden ring down to your desk so it’s easier to work.
Step 2: Tie double half hitch knots – first pattern repeat
Lay all the cords out straight. Take the two center cords and cross the left over the right.
Use the cord you crossed over as the filler cord and tie 5 double half hitch knots going down and to the right.
Take the 5th cord from the left, and use it as the filler cord to tie 4 double half hitch knots going down and to the left.
Use the 5th cord from the right as the filler cord to tie 3 double half hitch knots going down and to the right.
Use the 5th cord from the left as the filler cord to tie 3 double half hitch knots going down and to the left.
Grab the 5th cord from the right and use it as the filler cord to tie 2 double half hitch knots going down and to the right.
Use the 5th cord from the left as the filler cord to tie 2 double half hitch knots going down and to the left.
Use the 5th cord from the right as the filler cord to tie 1 double half hitch knot going down and to the right.
Use the 5th cord from the left as the filler cord to tie 1 double half hitch knot going down and to the left.
Now we’ve finished one pattern repeat for the diamond pattern we’re using.
You’ll just repeat that process 5 more times.
Step 3: Continue with that same pattern – 5 repeats total
To start the next diamond shape, you’ll cross the center cords with the left over the right, and continue tying the double half hitch knots just like before.
When you get 5 diamonds finished, cross the center cords RIGHT OVER LEFT and tie one last double half hitch knot going down and to the left.
Now all the diamonds are complete.
Step 4: Attach second ring
Thread the second wooden ring onto the ends of your cords.
We’re going to tie a wrapping knot to secure this end, so leave about 2 inches of space between the ring and the bottom row of knots you just tied.
Fold the cords up to the back of the towel hanger.
Flip the whole thing over, and grab your piece of 20 inch long cord for the wrapping knot.
Tie the wrapping knot, doing at least 4 or 5 wraps.
See my wrapping knot tutorial here.
Before you trim the excess cord, pull on each of the main working cords so everything lays nice and neat.
Step 5: Trim excess cord
Use your sharp scissors to carefully cut the excess cords down close to the wrapping knot.
Since its on the back, you don’t have to worry about tucking them under, you won’t be able to see them from the front.
Done!
I hope you enjoyed this macrame towel holder pattern!
If you make one of these, please share a pic over on Instagram and tag me @marchingnorth so I can take a look.
I love seeing all of your awesome creations!
More Macrame Posts
Check out the posts below for more easy macrame projects!
- 15 Free Macrame Plant Hanger Patterns
- 18 Free Macrame Wall Hanging Patterns
- Macrame Necklace Pattern (Interchangeable Crystal Holder Pouch!)