How to Make a Spiral Macrame Plant Hanger (DIY Tutorial & Video!)
Learn how to make a simple handmade macrame plant hanger using basic knots in this step by step tutorial and video!
Spring is in the air, and if you’re a plant lover it’s the perfect time to start making macrame plant hangers.
It may not be quite warm enough to start digging in the garden, but you can still get more greenery in your home after the cold winter months.
Want to remember this? Post this Spiral Macrame Plant Hanger tutorial to your favorite DIY Pinterest board!
(This post may contain affiliate links. If you click one and make a purchase, I may receive a small commission at no extra cost to you. Read the disclaimer here. Thank you for your support!)
This spiral plant hanger uses a few simple knots and cotton rope. All the knots are beginner friendly, so even if this is your first macrame project, you can do this!
Prefer a printable pattern without any interruptions? You can purchase the PDF version of this step by step macrame tutorial over in my shop! Thank you so much for your support.

The spiral knot (sometimes called the spiral square knot) is made by tying a half knot over and over in the same direction. It naturally begins to twist around in a spiral, pretty cool, right?
It takes this project from being an average plant hanger to something really fun and beautiful!
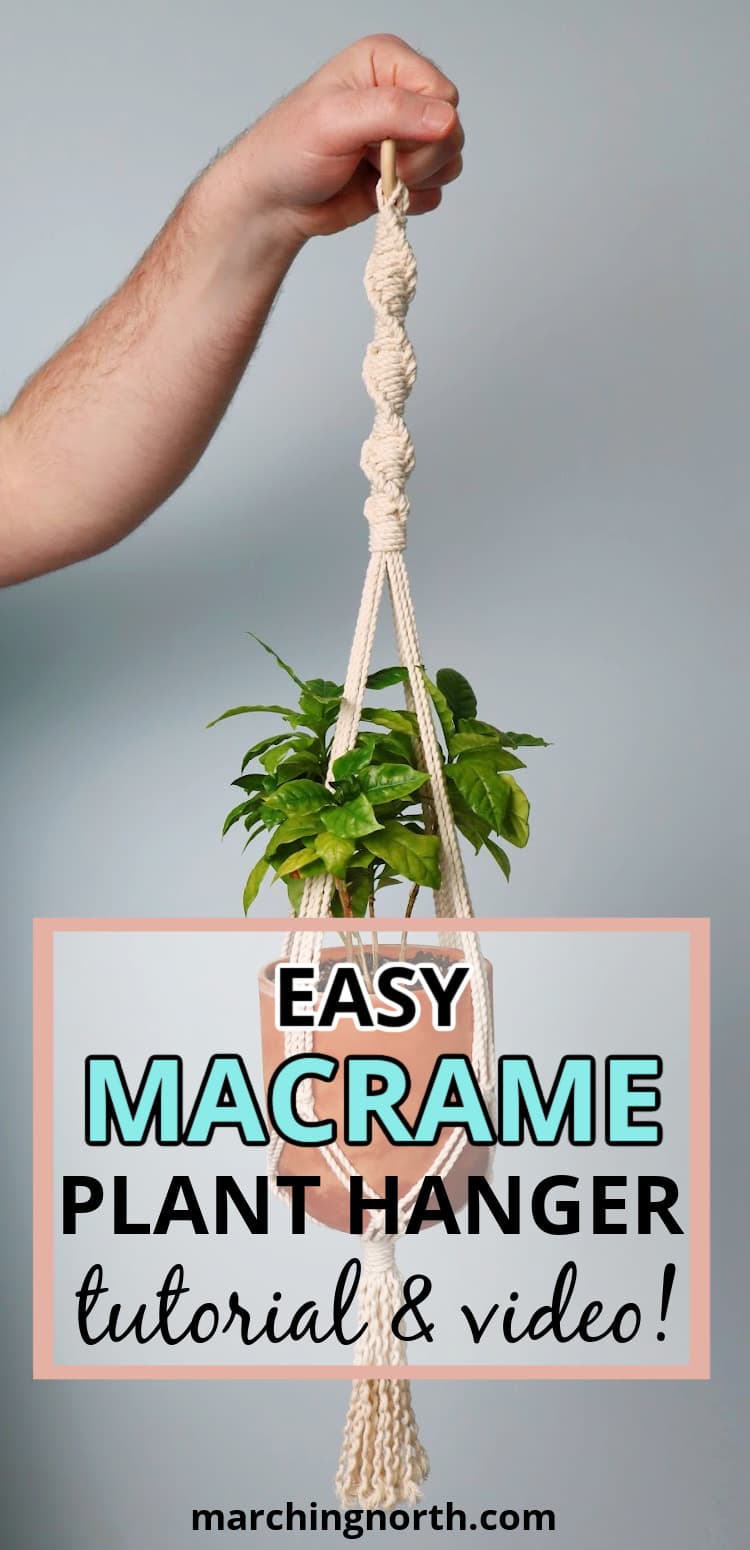
Here’s a picture of the finished plant hanger being held by my hubby (no, that’s not my arm, lol).
Besides that, we’ll be using square knots and a couple of wrapping knots.
You can find out more about those beginner macrame knots and several others in my Basic Macrame Knots for Beginners post.
If you want to, you can add some large wooden beads to the arms of the hanger, but I didn’t in this tutorial. Feel free to make it your own!
A 5″ plant pot fits perfectly in this easy macrame plant hanger, but it should also work with 4″ – 6″ and maybe even larger.
It’s always a good idea to do a test fit before you do the last wrapping knot, and you can adjust the knot spacing of the basket section to fit your pot better if need be.
Join the Macrame for Beginners and Beyond Facebook Group!
If you’re new to macrame or if you’ve been knotting for a while, connecting with other macrame lovers is always a great idea!
Come check out our Facebook group, Macrame for Beginners and Beyond. It’s a friendly community where you can ask questions, get inspiration, and share your awesome work with other macrame lovers! Come join the conversation today!
More Macrame Plant Hanger Posts
- How to Make a Macrame Plant Hanger (Ultimate Guide!)
- Diamond Motif Macrame Wall Hanging Plant Hanger
- Super Easy Macrame Plant Hanger with All the Fringe
- Elegant Crown Knot Macrame Plant Hanger
- Adorable Mini Macrame Plant Hanger with Beads
- How to Make a Macrame Air Plant Hanger
- Beautiful Macrame Terrarium Hanger
SUPPLIES YOU’LL NEED
- 3mm macrame rope (mine was 2 ply) in the following lengths:
- 6 pieces @ 92″ long (inside cords)
- 2 pieces @ 146″ long (outside cords)
- 2 pieces @ 24″ long (wrapping knots)
- 2″ wooden ring (these ones are the only ones I trust NOT to break!)
- sharp scissors
- a potted plant in about a 5″ pot (can be a bit smaller or bigger)
How to Make a Spiral Macrame Plant Hanger
Step 1: Attach the cords to the wooden ring
Thread the 8 cords evenly through the wooden ring. Make sure you have the two long cords on the left and the right and all the shorter cords in the center.
Step 2: Tie the spiral knots
You’ll tie the spiral knots holding 2 long cords on the left as one cord and the two long cords on the right as the other cord.
Hold the left cords in front of the center cords in the shape of a number 4.
Bring the right cords up under the left cords and behind the center cords. Bring the ends through the loop on the left.
Pull both cords to tighten up the knot.
Now repeat that until you have 25 spiral knots all together.
Step 3: Tie the first wrapping knot
Take one of the 24 inch pieces of cotton cord and hold it against the other cords in a U shape, with the short end sticking up on the left.
Wrap the long end of the cord around about 6 times. Then thread the end you’ve been wrapping with through the loop that’s sticking out on the bottom of the wraps.
Pull the top cord that’s sticking up and bring the loop up about halfway under the wraps.
Cut off the 2 excess pieces of cord from the wrapping knot. Poke any excess cord up under the wraps with the end of your scissors.
Step 4: Make the plant basket
Measure down about 12 inches from the bottom of the wrapping knot.
Now we’re going to tie four square knots to make the top of the plant basket area. Grab 4 cords that are close together and tie a square knot at the 12 inch mark.
Continue tying square knots around until you have 4. Make sure they’re even so your plant hanger isn’t crooked!
Measure down about 3 inches and tie a square knot between two of the square knots from the previous row.
Repeat that around tying 4 alternating square knots all together.
Before you make the wrapping knot, you might want to test out the basket with your plant pot and make sure it looks right. You can always change the spacing between the knots a bit if it’ll better suit the size of the pot you’re planning to use.
Step 5: Make the last wrapping knot
Grab the second pieces of 24 inch macrame cord and tie one last wrapping knot about 3 inches down from the last row of square knots.
Step 6: Cut the fringe and you’re done!
Cut the fringe about 5 or 6 inches from the bottom of the wrapping knot, and either untwist the rope or leave it the way it is.
Your simple macramé plant hanger is done!
I untwisted the fringe on mine. Don’t you just love how wavy it is?!
In Conclusion
I hope you enjoyed this fun spiral macrame plant hanger pattern!
If you make one please share a pic over on Instagram and tag me @marchingnorth so I can take a look.
I love seeing all of your awesome creations, it really makes my day!
Hi,
Your video is so helpful and I’m excited to try this. The link to the type of rope you used isn’t working. Can you share another link? I’ve found some at Michael’s, but it looks like the cotton rope you mentioned in another video not starting with as a beginner. Thanks for these posts!
I love your work. I am aiming to make a large wall hanging to put on the wall behind the bed. I did see one I liked but cannot find the pattern anywhere. it had hearts hanging down in pastal colours. it seemed to have a piece or pieces hanging over it. have you any patterns like this please. like I said it is my wish to make this or maybe I’m dreaming.
hi mid July, need to stay inside. Watched this tutorial and i have a difficult time making the transition from the square knot to borrowing from the adjacent knot forming alternating knots. Really messes up my old brain. Do i take the left two from another square knot and make the transition? Hard to explain. Beginner
What is the length of the finished product?
Thankyou for your time.
I’m going to add this under another macrame plant hanger since I have about 9’ of cord left. That way I can add a smaller pot under the bigger one. I also plan to add a spiral under it as well. Thanks for such easy to understand tutorials!
I found this video easy to follow and understand. Thanks.
Loved your tutorial. It seems really easy to understand. How could I change the directions for a 12″ pot?
Thanks
This was by far the best tutorial ever!! Such an easy uncomplicated tutorial. I have been looking for an easy one for a long time and did find a few but there directions were not easy for me to follow but this one was!!!