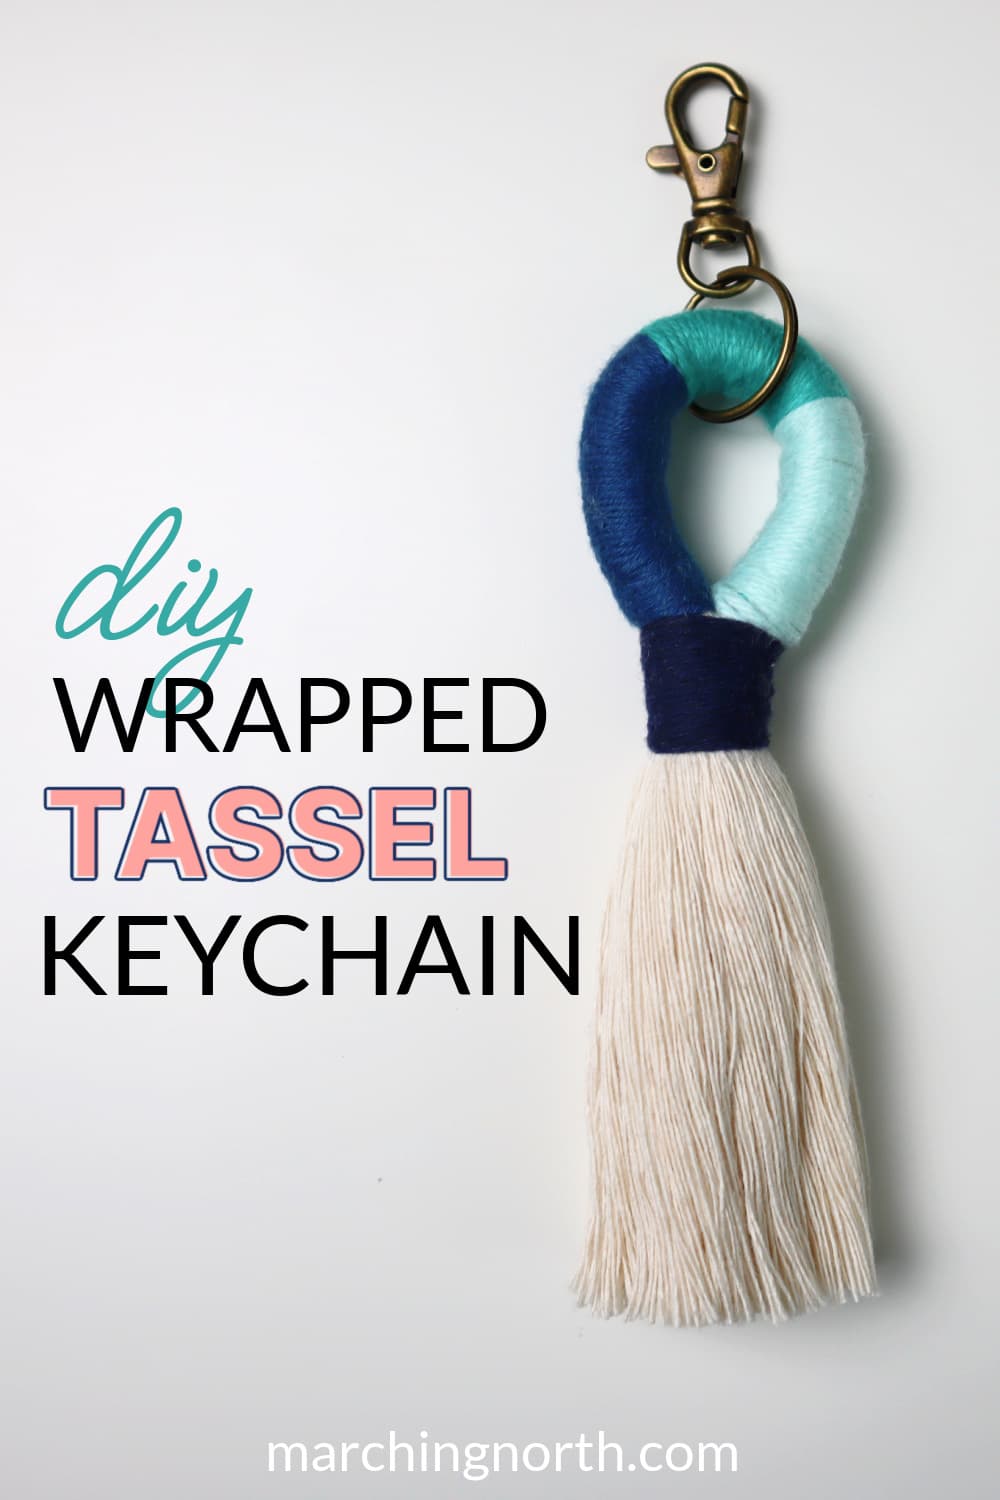
DIY Colorful Wrapped Tassel Keychain
These colorful wrapped DIY tassel keychains are so much fun and easy to make with some scrap macrame cord and colorful yarn or embroidery floss!
If you have lots of leftover macrame string or rope scraps, this is a great way to use some of it up and make something beautiful while you’re at it.
Want to remember this? Post this DIY Wrapped Tassel Keychain tutorial to your favorite DIY Pinterest board!
(This post may contain affiliate links. If you click one and make a purchase, I may receive a small commission at no extra cost to you. Read the disclaimer here. Thank you for your support!)
You can change up the colors of the top of the tassel for a different look and even use scraps of fabric or ribbon to wrap it for some added texture.
Plus, a tassel key chain will make a great gift if you need one last minute!
You can make small tassels or really big tassels, and even add in a wood bead or some colorful beads to your design. The possibilities are endless!
I’ll show you how to make this easy DIY down below, with a step by step written tutorial and a video.

More DIY Keychains
Looking for more keychain ideas? Here are a few more from my site!
- Leafy Vine Macrame Keychain Pattern
- Macrame Wrapped Stone Tutorial
- Mermaid Tail Macrame Keychain Pattern
- Macrame Wristlet Keychain Tutorial
Supplies You’ll Need
- 1″ split ring keychain ring with lobster clasp
- 15″ long pieces of scrap cotton macrame string (enough to make about a 3/4″ thick bundle) >> Check out my favorite place to buy macrame cord<<
- different colors of yarn, string or embroidery thread
- scissors
- comb
DIY Wrapped Tassel Keychain Tutorial
Check out the video tutorial over on my YouTube channel, and don’t forget to subscribe so you don’t miss any new videos!
Step 1: Gather your supplies
Hold your bundle of 15″ long pieces of string together and lay in on your work surface.
Then grab your yarn that you’re wrapping with. Hold all the ends of the yarn together, and tie a half knot (half of a double knot) around the bundle of string about 5″ away from the left side.
Hold the first color of thread that you’ll be wrapping with in one hand, and hold all the other colors along with the ends of the yarn on the other side.
Step 2: Wrapping the keychain
Start wrapping with your first color, going backward a bit to cover the knot, and then continuing to the right until this color section is as long as you like.
When you’re wrapping, try not to overlap the wraps and keep it really neat and tidy. Also try not to leave any gaps.
Switch to the next color, and hold the color you were just using against the filler cord.
Cut the yarn you were using first (unless you plan to use that color again) to help keep tangles to a minimum.
Continue wrapping down the filler cord, changing colors as you like, until the wrapped section is about 5″ long.
When you are done wrapping, tie a half knot with the end of the yarn so it doesn’t come undone.
Step 3: Assembling the keychain
Before we attach the keychain together, we’ll need to add the keychain hardware. I’ve forgotten to do this before, and it’s a bummer.
Thread the key ring onto the wrapped section.
Fold the wrapped keychain in half, and grab the color of yarn you’ll use to wrap the two sides together.
Make a wrapping knot by holding the yarn in a U shape where the two sides are coming together, and wrap until it covers about an inch or so.
I have a tutorial showing how to make wrap knots here, and it’s the same process even though we’re using yarn instead of macrame cord.
Bring the end of the yarn through the loop at the bottom of the wraps, then pull the top piece of yarn to pull the end up about halfway under the wraps.
Cut the excess cord from the top and bottom with some sharp scissors, and poke the ends up under the wraps to hide them.
Step 4: Finishing touches
Before you finish off the keychain, pull on the filler cords under the wrapping knot to make sure there isn’t a gap between the wrapped section and the wrapping knot.
Use a pointy object of some sort to fix any imperfectly wrapped sections of the keychain and smooth out any bumps or gaps.
Now that the keychain is assembled, all you have to do is brush out the ends of the macrame string until they’re nice and fluffy.
Then give the ends of your tassel a trim.
Now your DIY Wrapped Tassel Keychain is complete!
Note: If you want to do something a little different, you could take a piece of leather (about 1/2 inch strip that’s maybe 4 inches long), wrap it around the loop of the tassel and hot glue the ends together. Then punch a hole in the top and thread the key ring through the hole. There are lots of options!
In Conclusion
I hope you enjoyed this fun and cute keychain project!
These little guys make a perfect gift at the last minute, and they also make great Mother’s Day gifts if you’re struggling to come up with one.
Besides making a keychain, you could also use these wrapped tassels to add a pop of color to a large purse or even use one as a purse zipper pull!
Looking for more craft projects and tutorials? Check out these crafty ideas below!