Easy Chunky Crochet Blanket Free Pattern (& Video!)
This chunky crochet throw blanket pattern is so luxurious and squishy, plus it’s crazy easy and it works up fast with super bulky yarn. You gotta love a free crochet pattern like that!
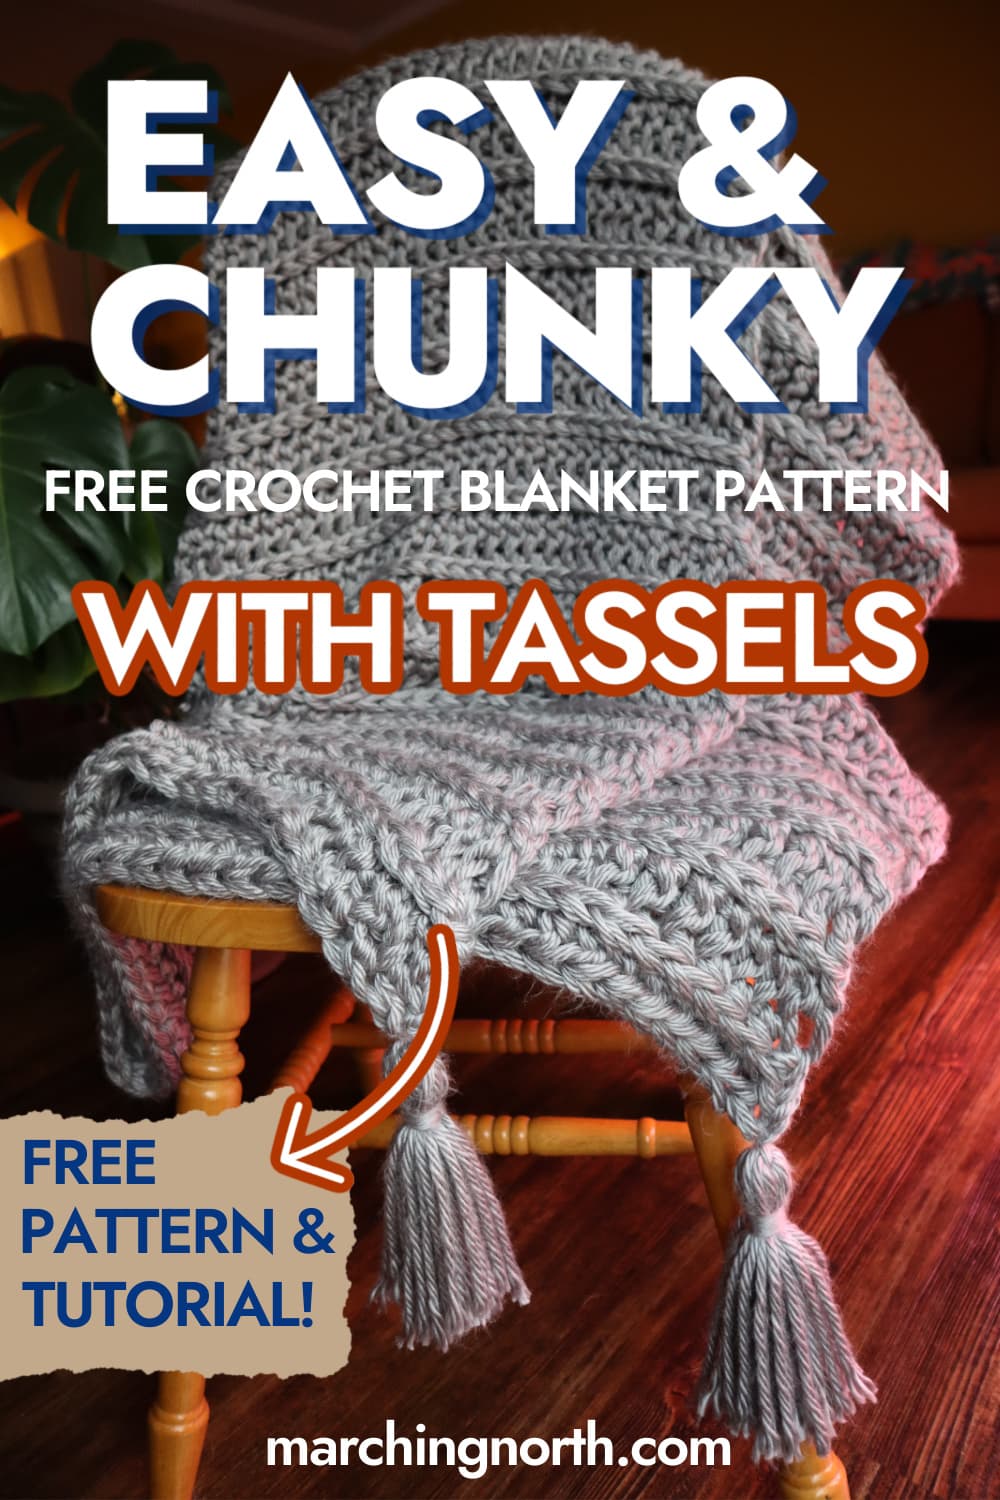
I’ll show you how to make this cozy throw with chunky tassels in today’s easy crochet pattern and step by step tutorial.
Want to remember this? Post this Free and Easy Chunky Crochet Blanket Pattern to your favorite DIY Pinterest board!
(This post may contain affiliate links. If you click one and make a purchase, I may receive a small commission at no extra cost to you. Read the disclaimer here. Thank you for your support!)
Before we go much further, let me tell you that this blanket is heavy.
I weighed it… it came in at 6 lbs.

So just know that going into this thing! Personally, I LOVE a heavy, cozy blanket.
It’s also incredibly soft and very squishy. It’s perfect for laying on the couch and snuggling under when it’s cold outside.
These blankets make great gifts for people that love all of those things.
Over all this is an easy blanket to make with simple stitches and a large crochet hook, and very beginner friendly.
Best Yarn for this Chunky Crochet Blanket Pattern
To get this level of squish, I held together two strands of bulky weight yarn (specifically, Lion Brand Hometown) and used a 15 mm hook.
I highly recommend buying the Bonus Bundle size of this yarn because it’s twice as big as the regular skeins.
You won’t have to add yarn as many times that way!
And I also recommend taking advantage of sales when you purchase the yarn for this blanket.
Crochet blankets take a decent amount of yarn and the cost can add up.
I got this yarn at Michael’s and they had a discount code going at the time which helped avoid extra cost. Be sure to look for that discount code!
This yarn is size 6 bulky, so if you want to substitute a different super chunky yarn that should work as well. Just be sure it’s soft and washable.
More Bulky Yarn Crochet Blanket Patterns
Looking for more chunky blanket patterns that work up fairly fast? Here’s are a few free crochet blanket patterns to try:
- Easy Crochet Throw Blanket using Bernat Blanket Yarn (uses the double crochet stitch)
- Quick and Easy Crochet Baby Blanket Pattern with Ruffled Border
- Free Bulky Continuous Granny Square Blanket Pattern
Skill Level
Easy Beginner
Supplies You’ll Need
- 10 BONUS BUNDLE skeins of yarn (162 yds each) of Lion Brand Hometown Yarn in Dallas Grey or color of choice
- NOTE: If you can’t get the larger Bonus Bundle skeins, you’ll need 20 regular size skeins (81 yds each)
- 15 mm crochet hook
- sharp scissors
Finished Blanket Size
- Approx. 48″ x 54″
Gauge doesn’t matter for this pattern, and you don’t have to block it.
NOTE: If you want to make this blanket in different sizes, you’ll just want to make the starting chain as long as the desired width of the blanket and crochet rows until it’s your desired length.
51 rows equaled about 54″ long (this is a stretchy stitch pattern so it’s hard to get exact measurements), so you can sort of roughly say each row adds about an inch of length, give or take.
Larger sizes will take more yarn and smaller sizes will take less, but I haven’t tested them yet so I can’t say exactly.
Stitches and Abbreviations
This pattern is in US crochet terms.
- ch – chain
- st – stitch
- bb – back bump (when you turn the starting chain over to the back, there’s a loop called the “back bump”)
- hdc – half double crochet
- 3LO – 3rd loop only – using the stitch combo of half double crochet and working in the 3rd loop gives a pretty knitted effect to your rows
- finish off – cut the yarn, leaving a tail of 5 or 6 inches. Pull the loop your hook is on until the yarn end comes through and pull gently to tighten.
Notes
Turning chain 2 at the beginning of the row does NOT count as a stitch.
Video Tutorial
Subscribe to the Yarn Stash with Marching North YouTube channel for lots of free tutorials about crochet, loom knitting, punch needle, and other yarny goodness!
Easy Chunky Crochet Blanket Instructions
Holding two strands of yarn together as one, attach the yarn to your hook with a slip knot. Ch 67.
Keep even tension and don’t make the chains too tight or too loose. Try to relax while you work, if you’re all tense you’ll make tighter stitches.
Row 1: 1 hdc in bb of 3rd ch from hook, 1 hdc in bb of each ch to end of row. Ch 2, turn. (65 sts)
We’ll be making the first hdc in the 3rd chain from the hook for the first row. After that, you’ll chain 2 at the end of each row before turning, and the chain 2 does NOT count as a stitch.
Turn the crochet chain over to find the back bump (bb). You’ll crochet into it for each stitch in this first row.
Row 2: 1 hdc in the 3LO of each st. Ch 2, turn. (65 sts)
When you turn your work, you’ll see that on the top of the row, there are two loops that form a V shape for each stitch. Since we’re doing half double crochet, there’s also an extra loop on the front down below the top V’s called the 3rd loop.
We’re going to be working into that 3rd loop only and ignoring the top V loops for each row.
If you’re still not sure about which loop to work into, definitely watch the video, it should help you out.
Repeat Row 2 until you have a total of 51 rows.
Adding More Yarn When You Run Out
When one of your skeins runs out you’ll need to tie on the next skein of yarn.
I found that I would run out of yarn with one skein a few stitches before the other, so I just added more yarn to the one that ran out, crocheted a little more and then did the other skein.
The best way to add more yarn when you run out is with the magic knot.
How to Tie a Magic Knot
Take the end of your new piece of yarn and lay it above the end of the old piece of yarn pointing in the opposite direction.
In my example, the old yarn is pointing to the left and the new yarn is pointing to the right.
Tie a knot around the new piece of yarn with the old piece of yarn, leaving a longish tail in the new yarn on the right side of the knot.
Now take the tail you left of the new yarn and tie a knot around the old yarn to the right of the first knot.
Your pieces of yarn will be tied together in two places now and there will be a circle or loop of yarn in the center of the knots.
Hold both pieces of yarn and pull to slide the knots together. Pull really well to sort of mush them together firmly.
Now you can cut the tails of the yarn close to the knot and the magic knot is complete!
Repeat that process every time you run out of yarn and you won’t have any loose tails to weave in and the end of your project.
Finishing Off
Once you’ve finished the last row of your blanket, go ahead and cut the yarn leaving a tail that’s long enough to weave in and finish off.
Use your yarn needle or tapestry needle to weave in the tail on this side and on the starting corner of your blanket.
You can leave the blanket as it is, or add the corner tassels.
Making and Attaching the Tassels
Making the Tassels
To make the tassels, you’ll need either a piece of cardboard that’s 7″ wide, or something that’s a similar size and shape.
I used a self healing mat I had laying around, but you could really use anything that’s pretty flat but ridged enough to wrap yarn around.
We’ll be using one strand of yarn at a time for this part.
Hold the end of your yarn against one side of the cardboard, and wrap it around 20 times.
Make sure you stop on the same side that you started on so the two ends are on the tassel side and cut the yarn.
Take another piece of yarn that’s about 10 inches long or so. Thread it through the wraps and tie a knot on the opposite end as the yarn ends.
This is the top of your tassel. You’ll use the ends of the yarn you just tied around the top to attach the tassel to the blanket.
Carefully cut the other loops on the end of the tassel and set the cardboard aside. (You’ll need it again for the next 3 so don’t get rid of it yet.)
Now we’re going to wrap the top part of the tassel. Take the yarn that’s still attached to the skein and hold the end so it’s even with the bottom of the tassel.
Hold it in place with one hand and bring the yarn up to the top of the tassel. This will make it so the ends of the yarn from the wrapped section can just blend in with the rest of the tassel ends.
Wrap around the top of the tassel 5 or 6 times. This will be about an inch from the top.
Tie a knot with the two ends of the yarn right next to the wraps. Then cut the other end of the yarn even with the bottom of the tassel.
Trim the tassel so the ends are even and it’s ready to go.
Repeat 3 more times so you have 4 tassels all together.
Attaching the Tassels
To attach the tassels, just find one of your corners and thread one of the long tails sticking out of the top of your tassel into the corner.
Tie a knot with that piece of yarn and the other end sticking out of the tassel.
I just tied a basic double knot because I want it to be somewhat easy to remove the tassels if I decide to do so before washing the blanket.
Use your yarn needle to weave the ends you used to attach the tassel either into some stitches on the blanket or down into the tassel and cut the excess yarn.
Repeat with the other tassels.
Another option would be to make pom poms and attach them at the corners.
Check out this tutorial to learn how to make a super fluffy yarn pom pom!
Finished!
That’s it! Once you weave in the yarn ends and add the tassels, your blanket is complete!
I hope you enjoyed this free chunky crochet throw blanket pattern and tutorial! If you make one of these, please share it on Instagram and tag me @marchingnorth so I can take a look. I love seeing your awesome creations!
Looking for more free crochet patterns? Check out the ones below!
I’m a crochet beginner and making this chunky blanket. The problem I’m having is the two skeins of yarn twisting while I am crocheting the chain. How do I stop the two lines of yarn from twisting together?
That can be a challenge for sure! The easiest way is to do a center pull with the yarn, which is where you dig into the center of the yarn skein and find the yarn tail that’s buried in the center instead of using the one on the outside. It’s a little bit of a pain at first (and you might end up with yarn barf, lol) but that way your skeins don’t roll all over the place while you’re working and it really makes it easier.
Hi Crystal,
Is there a printable tutorial for the chunky crocheted throw. Thanks. Marg