Easy Boho Macrame Christmas Tree (Free Pattern & Video!)
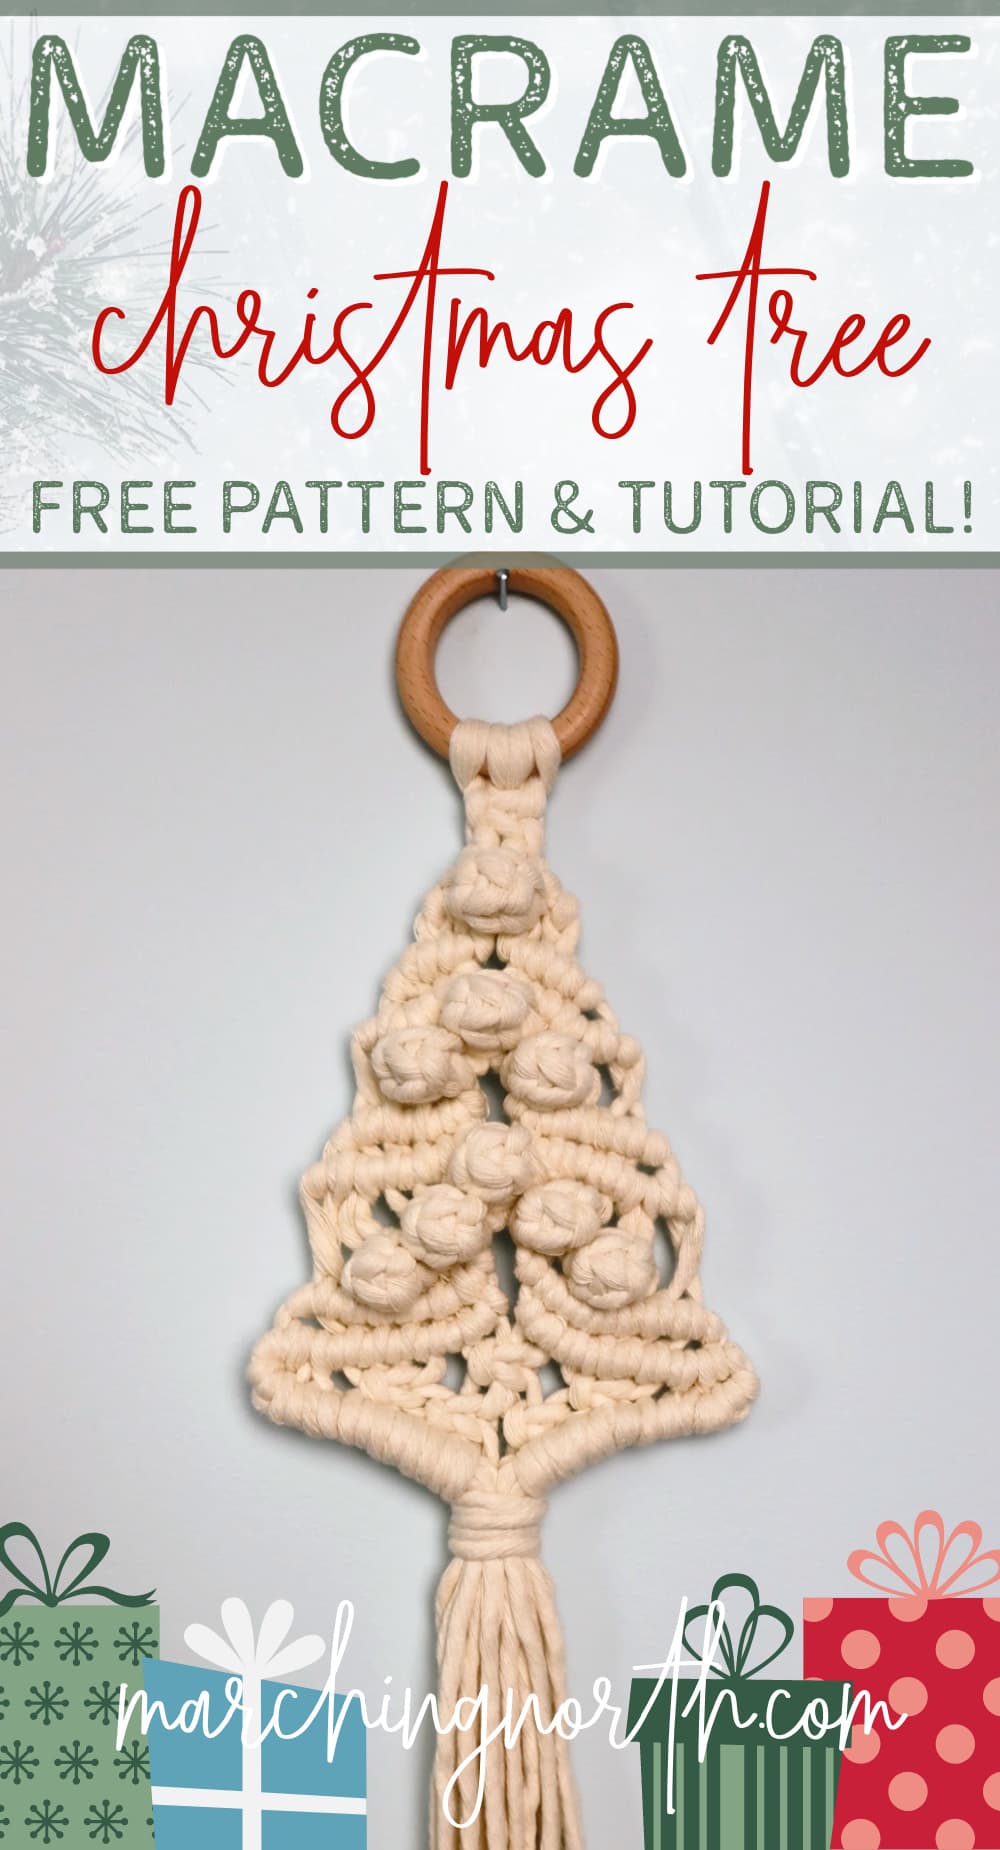
Learn how to make a beautiful macrame Christmas tree wall hanging in this step-by-step tutorial and free pattern!
Want to remember this? Post this Macrame Christmas Tree tutorial to your favorite DIY Pinterest board!
(This post may contain affiliate links. If you click one and make a purchase, I may receive a small commission at no extra cost to you. Read the disclaimer here. Thank you for your support!)
I’m absolutely loving this adorable DIY mini Christmas tree wall hanging!
It’s about 14″ long and 5″ wide and it’s the perfect size for that small spot on your wall that nothing fits on.
Plus, it doesn’t take a lot of cord. You can even use your scrap cord up if you have some longer pieces laying around and avoid any extra cost.
You can easily finish it in an hour or so and have plenty of time to make some other macrame Christmas ornaments (which is another great way to use up some scraps!)
Let’s take a look at what knots you’ll need to know and then get started on these cute macrame Christmas trees!

Buy the PRINTABLE copy
Boho Macrame Christmas Tree – Printable PDF Pattern!
Reference this pattern any time you want with the printable PDF version!
It’s ad-free, and includes the written pattern with step by step photo tutorial!
Related: 7 Easy & Free Macrame Christmas Ornament Patterns
Macrame Knots You’ll Need to Know
For this macrame Christmas tree ornament, you’ll need to know the following simple knots:
- cow hitch knot (reverse lark’s head knots)
- square knot
- double half hitch knot
- berry knot
- wrapping knot
All of these knots are super beginner friendly, so don’t be discouraged if you’re new to macrame!
I’ve got a handy free tutorial for all the basic macrame knots that will teach you everything you need to know and more.
If you get stuck during this project, just head over to that post and you’ll be able to figure out any knots that are giving you trouble.
Also, be sure to check out my 60 Macrame Knots and Knot Patterns printable ebook!
It has lots of new knots and different configurations of knots that you can use to make your own beautiful macrame creations. For each knot, you’ll get a detailed tutorial with photos and step by step instructions.
Related: 5 More Boho DIY Macrame Ornaments Patterns!
Get your copy of 60 Macrame Knots & Knot Patterns eBook today!
Click here to find out more about this helpful macrame knot book that features step by step photo tutorials for 60 different macrame knots and knot patterns!
It’s a perfect resource to help you take your macrame creations to the next level.
One more pro tip: be sure to check out our Facebook group! It’s a lovely, supportive group of macrame lovers and a great place to find inspiration and answers to your macrame questions.
Join the Macrame for Beginners and Beyond Facebook Group!
If you’re new to macrame or if you’ve been knotting for a while, connecting with other macrame lovers is always a great idea!
Come check out our Facebook group, Macrame for Beginners and Beyond. It’s a friendly community where you can ask questions, get inspiration, and share your awesome work with other macrame lovers! Come join the conversation today!
Alright, now on with the macrame Christmas tree tutorial!
Supplies You’ll Need
- 4 mm single strand cotton macrame cord in the following lengths:
- 2 pieces @ 132″ long
- 2 pieces @ 100″ long
- 4 pieces @ 67″ long
- 2 pieces @ 33″ long
- 1 piece @ 24″ long
- 2″ wooden ring
- scissors
- pins and a cork board or another soft surface to hold your work
How to Make Your Own Macrame Christmas Tree Wall Hanging
Check out the free video tutorial over on my YouTube channel, and don’t forget to subscribe so you don’t miss any new videos!
Step 1
Attach two pieces of 132″ cord to the wooden ring with cow hitch knots.
Tie one square knot.
Take the 2nd cord from the right and use it as the filler cord to tie a double half hitch knot going to the right.
Take the 2nd cord from the left and use it as the filler cord to tie a double half hitch knot going to the right.
Grab your two 100″ pieces of cord, fold one in half and attach it to the far left cord with a cow hitch knot.
Do the same thing on the right side with the other 100″ cord.
Step 2
Take the 4 cords in the center and use them to tie 3 square knots stacked on top of each other.
Now we’re going to tie a berry knot.
Bring the ends of the 2 center cords up, around, and in over the three square knots and pull the ends through the hole above the first knot. Pull the cords down and it will cause the three square knots to roll up on themselves.
Tie a half knot (half of a square knot) up under the berry knot to secure it.
Step 3
Take the 4th cord from the left and use it as the filler cord to tie one double half hitch knot going to the left.
For the next double half hitch knot, you’ll use the far left cord to tie it, skipping one cord.
Now use the cord you skipped to tie the last double half hitch knot.
Repeat that process on the right side, but in the opposite direction.
Add a couple extra pins to hold your work nice and secure.
Use the 4th cord from the left as the filler cord to tie two double half hitch knots going to the left.
Attach one of the 67″ pieces of cord to the filler cord with a cow hitch knot.
Then tie the last double half hitch knot on this side.
Repeat that on the right side in the opposite direction.
Step 4
Using the four center cords, tie another berry knot.
Tie another row with two more berry knots beneath and to the left and right of the first one.
Use the 6th cord from the right as the filler cord and tie a row of double half hitch knots going to the right.
Remember to tie the second to the last knot with the last cord, and then make the last knot with the cord you just skipped.
Repeat that on the left side going in the opposite direction.
Use the 6th cord from the left as the filler cord and tie four double half hitch knots going to the left.
Add another 67″ piece of cord with a cow hitch knot, and then tie the last double half hitch knot.
Repeat that same process on the right side of the tree.
Step 5
Use the center four cords to tie a berry knot.
Tie another row with two berry knots beneath and to the left and right the first berry knot.
For the third row of berry knots, tie one under and to the left of the left berry knot, and another one under and to the right of the right berry knot.
Use the 8th cord from the left as the filler cord to tie a row of double half hitch knots going to the left. Remember to tie the second to the last knot with the last cord, and then make the last knot with the cord you just skipped.
Repeat that on the right side but in the opposite direction.
Use the 8th cord from the left as the filler cord again and tie 7 double half hitch knots.
Attach a 33″ long piece of cord with a cow hitch knot, then make the last double half hitch knot.
Repeat that on the right side of the macrame piece.
Step 6
With the center 4 cords, tie a square knot.
Move over to the next four cords to the left and tie another square knot.
Use the four cords to the right of the center square knot to tie another square knot.
Tie another square knot under and between the left and center square knot. Tie one last square knot under and between the right and center square knots.
That will be our last square knots.
Use the far left cord as the filler cord and tie 7 double half hitch knots going down and to the right. After each knot, add that working cord to the filler cord so you are left with a clean edge and a nice tree shape.
Repeat that on the right side in the same way.
Step 7
Unpin your DIY Christmas tree and flip it over to the back.
Grab your 24″ piece of cord and use it to tie a wrapping knot at the bottom of the tree where the last rows of double half hitch knots meet.
Trim the excess cord from the wrapping knot and tuck the ends under the wraps.
Gently pull on each cord at the bottom to remove any excess slack above the wrapping knot.
Cut the tree fringe how you want it and your macrame Christmas tree is complete!
If you want, you can brush out your fringe at this point. I decided to leave mine as it was.
DONE!
I hope you enjoyed making this fun DIY macrame Christmas tree tutorial as much as I did.
If you decide to make one of these, please share a picture over on Instagram so I can take a look and tag me @marchingnorth. I love seeing all of your awesome creations, it really makes my day!
I’ve got several other macrame Christmas tutorials for you to check out, including a macrame Christmas wreath, a cute cinnamon stick ornament, and a macrame angel video tutorial!
- 7 Macrame Christmas Decorations for your Tree
- Easy DIY Glitter Bauble Ornaments
- 3 Cute Punch Needle Christmas Ornaments to Make
I hope you have a wonderful, Merry Christmas and Happy New Year!
Is there a printable tutorial for the the boho Christmas tree. Thanks. Margaret.
I would love to have a printable pattern for the boho Christmas tree. please